How to Add Labels and Tags to Your Garment
Image Source Here
Adding a label or tag to a garment can have a variety of benefits. It can help you keep things in order and can even help you personalize or prepare items for sale. Here, we are going to take a look at how you can add different types of labels and tags for your close.
Labels for Garments
First, let’s take a look at some different labels that you might want to add to your garments. Labels may attach fully to a garment to lay flat against it or they may be attached on one end. Think about the size labels you see on retail garments, for instance.
Iron-On Labels
Iron-on labels are exactly what they sound like. Much like a patch, you simply iron it into place. These labels are difficult to remove once they are in place, but a new label can be ironed over the previous if needed.
You can buy iron-on labels online or at the craft store or you can make your own with the help of fusible web, twill tape, and a laundry marker.
Sew-In Labels
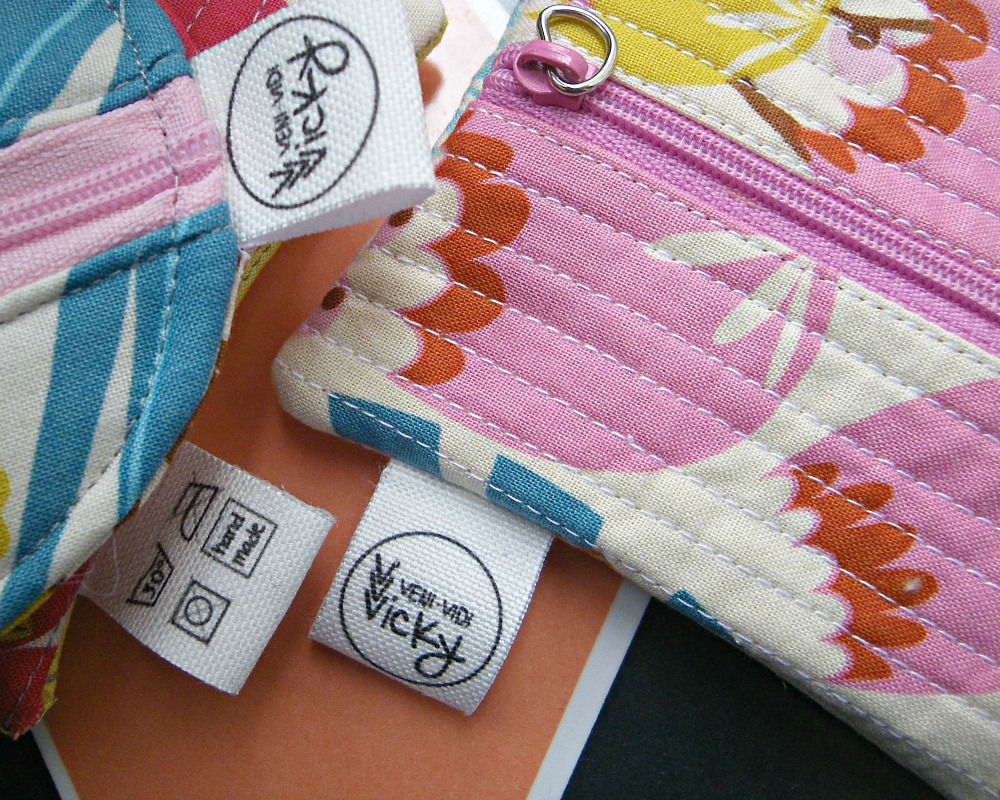
A great way to label something with a one-of-a-kind style is to use more detailed sew-in labels. These can be ordered but if you aren’t making them yourself, you’ll want to make sure to order them in advance; particularly if they’re personalized with your name or brand.
These are a popular choice if you are getting your garments ready for sale and need them to be easily identified.
Stick-On Labels
Stick-on labels are another option but they are the least secure of the types we’ve looked at here. This does, however, make them a good choice if you are looking to temporarily label a garment.
If you remove the label, you might notice a sticky residue left behind on the garment. You can easily remove this by rinsing the area with cool water, using a stain treatment on the spot, and washing it as usual.
Tags for Garments
Tags slightly differ from labels on garments. Instead of being fully attached to clothing, tags hang off of a garment. For example, the price tags you see on clothing in stores which are also known as hang tags.
Using Plastic Connectors
These tags are oftentimes attached to clothing via plastic connectors. When it comes to attaching these plastic connectors is with a special attaching gun. These can be purchased for personal use and used at home.
Guns like these work by loading in the set of plastic connectors in the recommended slot and placing the tag on the needle of the gun. When the trigger is pulled, the gun creates a small hole in the garment and feeds the plastic connector through the tag and material. Because of the
hole created, most suggest that you carefully choose where you are attaching the tag. Areas such as seams or the ends of sleeves are often suggested.
Using a Cord
Another way to attach a hang tag that doesn’t require the purchase of a gun, though, is to utilize a piece of cord or string. To start, just pull the cord through the hole in your tag and line up the ends of the cord so they’re even.
Then, you’re going to want to create a loop to keep the cord in place attached to the tag. To do this, simply pull the ends of the cord back through the hole to create a loose knot.
Now, you can attach the cord to the garment. This can be done by tying the loose ends through a space like a buttonhole. Alternatively, you can tie a knot and attach the tag to a safety pin.
In turn, you can attach that safety pin wherever you want on your garment. When it comes to added a label or tag to your garments, you have more than one option.
With the tips we’ve looked at here, you’ll know how to attach any one that you choose from stick-on and sew-in labels to using cord or plastic connectors for a hang tag.


