Featured Guest Post- Darling Thrifty Blessed Sign
Hello! fellow Craft-O-Maniacs. I’m Laura Beth from A Step in the Journey, but my friends call me LB! I’m thrilled to be here on Craft-O-Maniac, and so honored Jen is letting me share this tutorial. So without further ado…

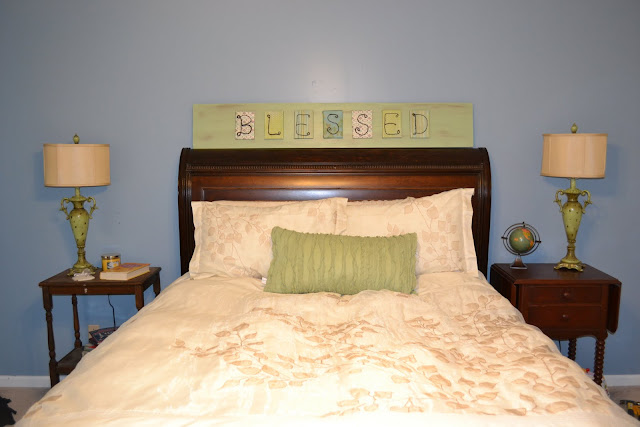
Years ago I saw an amazing BLESSED sign in a local store in Auburn, Alabama
(WAR EAGLE).
I’ve been dying to try my hand at replicating it ever since.
When we moved in our house, I found a home for this piece of art, now all I needed was the art.
So, with III out of town this past weekend, I knew the perfect project!
Supplies:
Wooden Board
Paint
Patterned Paper
Cardboard
Spray Adhesive
Grapevine Wire
Hot Glue Gun
Directions:
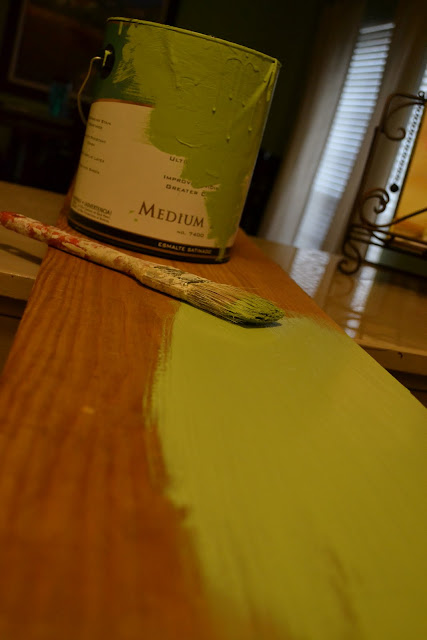
First, Wipe down the board to clean off any residue. I had found the perfect piece in my parent’s garage. Finders Keepers. Paint the board a color of your choice. I used some paint in the closet as the base coat.
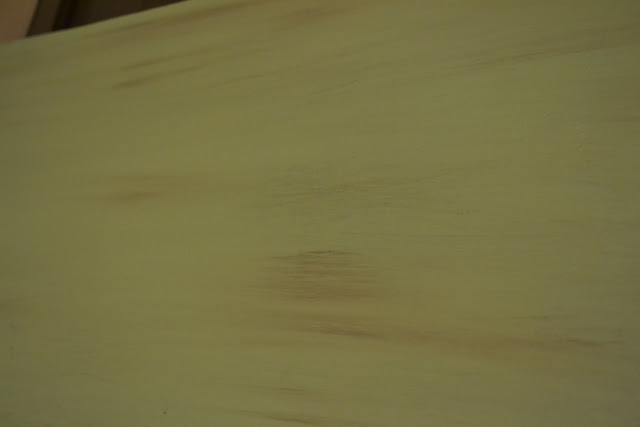
If you would like brush in a little brown (or darker color) to add some depth to the board.
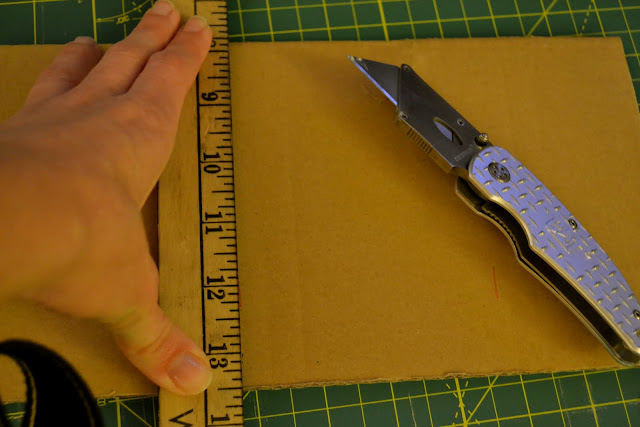
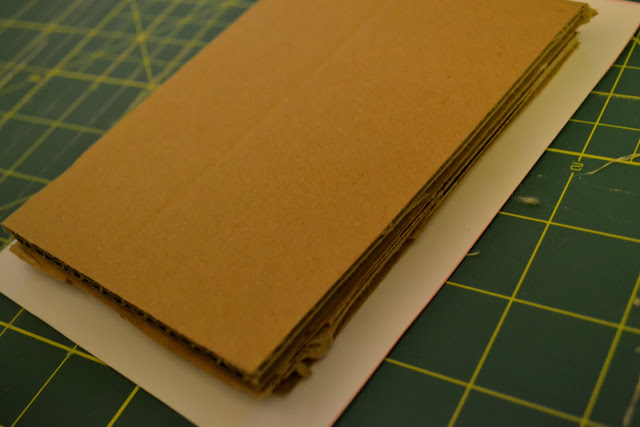
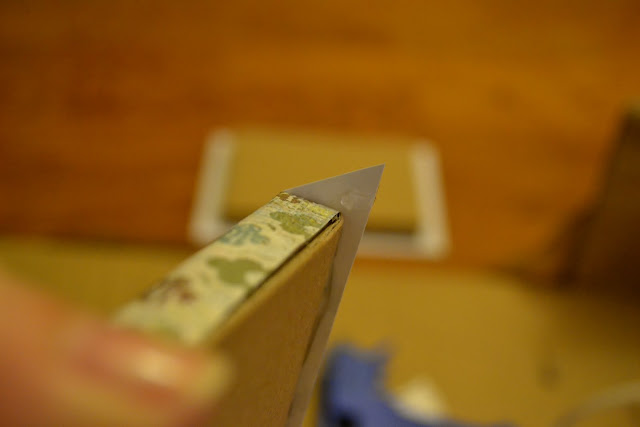
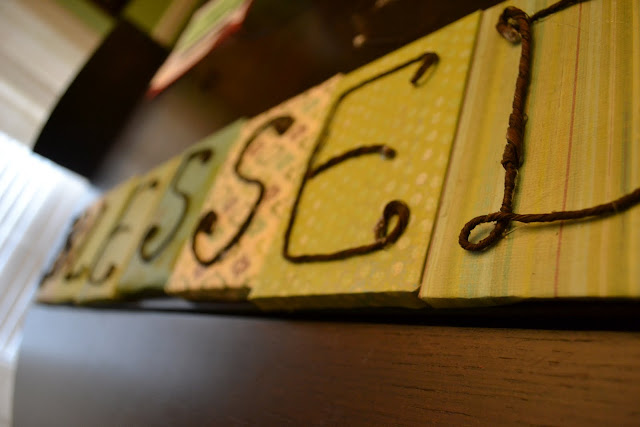
While the board is drying, it’s time to begin on the letter squares. Start by using some cardboard (maybe an old box). Use a ruler to measure & cut 4×6 rectangles, two for each letter of the word BLESSED (or however many you need for your word).
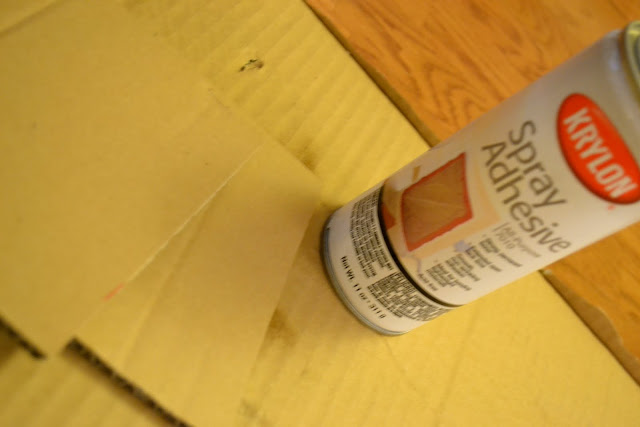
Use the spray adhesive to attach each pair together.
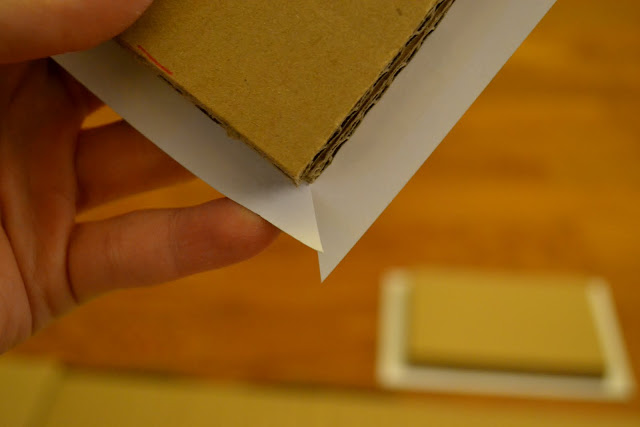
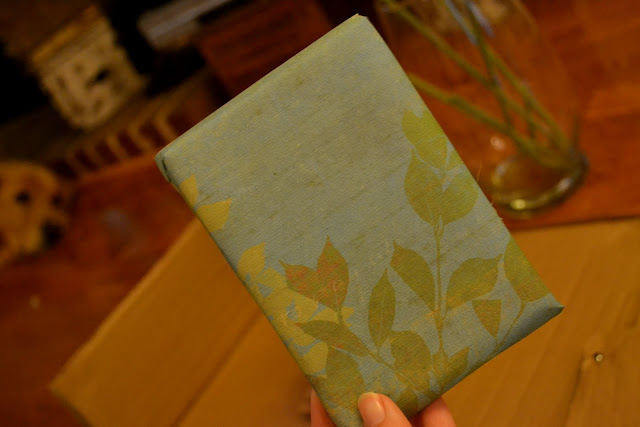
As the adhesive does it’s work, cut out 5×7 rectangles from your patterned paper. The 5×7 size will give you room to wrap the paper around the sides. Since BLESSED has a odd number of letters, I did two cuts for each piece & then cut the last pattern for the center letter.
Pull, out the adhesive again. Now, attach the forms to the center of each piece of paper. Let dry.
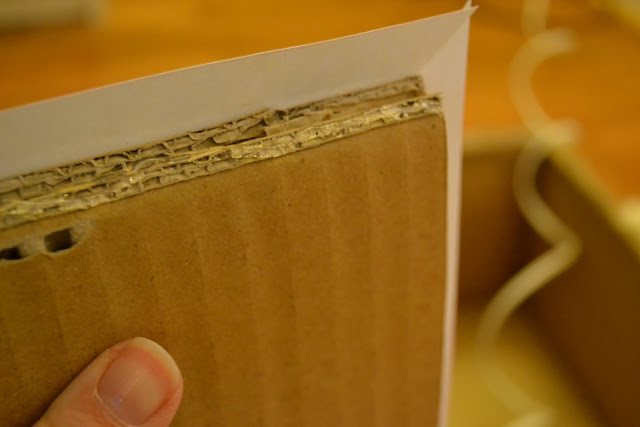
Before you glue down the sides, you need to cut a diagonal slit from each of the paper corner to the cardboard corner.
Spread the hot glue on each edge and glue down the sides.
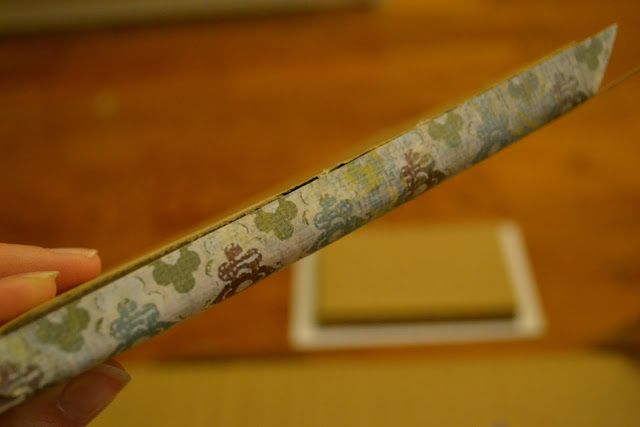
Then fold down the corners & glues as well.
Voila.
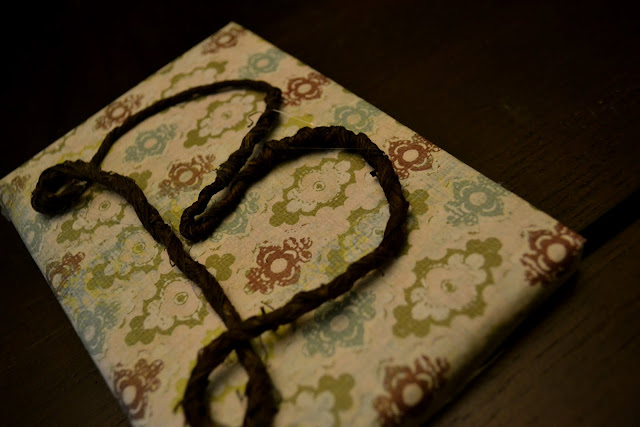
Using grapevine wire,
shape each of the letters in a a way of your choosing, & glue down one at a time.


LAURA THIS IS SO THRIFTY AND SO DARN CUTE, I am so pleased to of featured you today. Thanks, jen
War Eagle! I like it a lot!
This turned out so well! Great job!
That is so, so pretty, I love it! The colors are great! I would love to link to this if you didn’t mind!
I love this! I love the combination of the different materials – the wire in the soft shapes over the paper with the soft pattern looks terrific. love it!
Wow!! This tutorial is so easy to do!! I will also try this out during the weekends!