Knitting 101: A Complete Guide to
Want to knit like a professional but wondering how to begin? Read this
article to know all about knitting.
Getting to knit your outfits is probably one of the coolest projects to do. If
you’re completely new to the knitting world or somewhat of an intermediate knitter who wants to improve their skills, then this article is for you.
If you are wondering about what you need to begin with, then let me tell
you, all that you need to start is a quiet place, needles, and some yarn. Got
all these? You are good to go! Yes, it is that simple.
In this article, you’ll find the following:
● Types of needle sizes
● Types of yarn
● Ways to hold needles
● Ways to hold the yarn
● Few different stitches
● Knitting problems and solutions
First, you need to know as a beginner, what you can create using knitting
skills. From crocheted dresses, mats, sweaters to phone covers and bags,
you can create them all.
Types of Needle Sizes
There are various sizes of needles. Use a knitting gauge to measure your
needle size and then visit websites like The Creative Folk to find charts to
get the accurate size of your needle.
Which needle to use would depend on the type of yarn you are using and what you are knitting. For this reason, understanding the different needle sizes is important.
Types of Yarn
Knitting yarns are usually categorized by how thick the fiber of the yarn is.
Different types of yarns include wool, merino, alpaca, cashmere, cotton,
acrylic, and silk. For beginners, wool and acrylic are recommended as they
are hard-wearing and easy to handle.
Ways to Hold Needles
The way you hold the needles depends completely on your comfort zone.
However you hold them, don’t grasp too tightly. There are typically two ways to hold your needles.
Pen method
Hold each needle in each hand as if you are holding pens. The needles
should be held around 5 cm from the tip.
Knife method
This is another popular method. Hold each needle in each hand as if you are holding a fork and a knife.
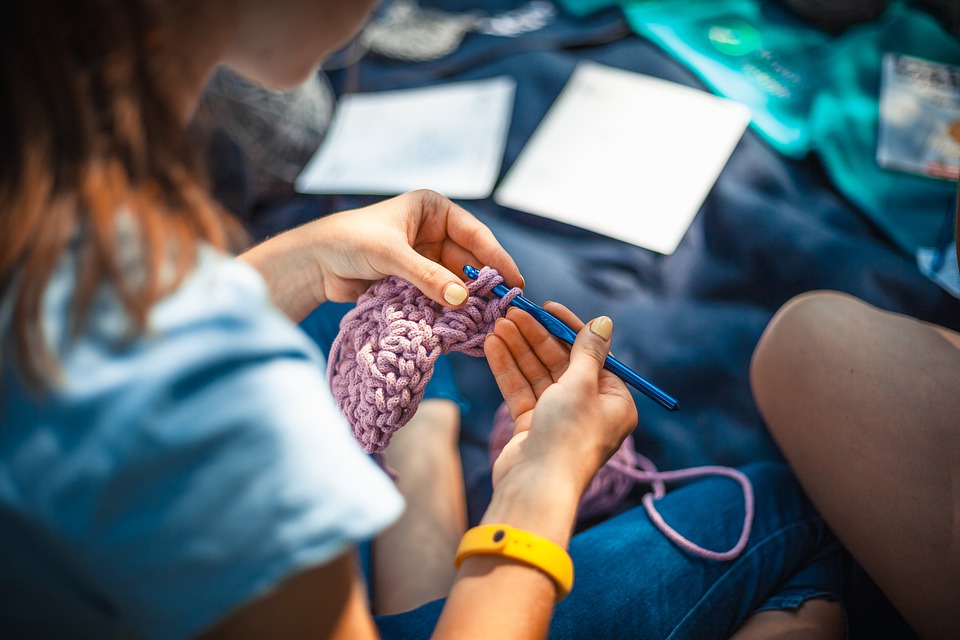
Ways to Hold Yarn
Like any art, there is no correct way to hold your yarn. You can hold it any
way you feel comfortable. However, few techniques could be easy to
practice. Your dominant hand holds the hook while the other hand holds the yarn. How tightly or loosely you hold the yarn will determine your stitches.
Over and Under
Put the string under your little finger and over your ring finger then under
your middle and over your index finger. Finally, pull it towards your palm
and hold it.
Pinky Hold
Keep the string between your little finger and ring finger and bring it over
your little finger by creating a loop and then over your ring finger. Then pull it towards your palm and hold it.
Pointer Hold
Wrap the string over your index finger twice and then bring it under the
middle finger. Hold the two ends of the strings with your pinky and ring
fingers.
Few Different Stitches
There are five main types of stitches that you need to know. You will find the descriptions below.
Knit and Purl
First, you have to cast on fifteen stitches. Hold this cast-on needle on your
non-dominant hand to knit. Insert the other needle into the stitch with your
other hand. Now wrap the yarn clockwise and then pull to get the first stitch.
Repeat the process for as long as you want. Almost all knitted fabrics use
this stitch pattern.
Increase and Decrease Stitches
This stitch pattern enables you to make your fabric narrower or wider. You
add more stitches to the needle when you make your fabric wider. On the
other hand, you remove stitches from the needle when decreasing stitches
to make the fabric narrower.
For increasing stitch, you need to knit a stitch and then wrap the yarn once,
creating a loop on the right needle. Continue as you please. For decreasing stitch, use the knit-return-pass-return method. Knit the first stitch and then return it to the left needle.
Then use your right needle tot take a stitch from the left needle and pass it over the top stitch on the left needle. Then return this stitch to the right needle.
Decorative Stitches
This type of stitch includes all the fancy stitches, such as puffs and ruffles.
Different types of stitches can be combined to create the decorative stitch
that you desire.
Knitting Problems and Solutions
As a knitter, beginner or advanced, you are bound to face some problems.
Let’s take a look at some common problems and ways to solve them.
Dropped Stitch
Missed a stitch and now ended up with an extra loop? You have dropped a
stitch. If not corrected, this will result in a hole in your fabric. But worry not.
First, you need to make sure that whatever you have knitted does not
unravel. So you need to insert your right needle into the extra loop to create
a stitch.
Then take the right needle and pop it under the loose strand. Now
you need to place the left needle through the stitch. Then, slip the left-hand
needle’s point through the front of the stitch and onto the left-hand needle,
so it faces the right direction. Viola! You have just fixed a dropped stitch.
Dropped Purl Stitch
Like before, the first step would be to stop the yarn from unraveling. So
create a stitch like the previous step. The second step is to take the strand
which is loose by the right point of the needle to slip back and forth. They
should settle in front of the stick.
The third step is when the left-hand needle is pulled through the back of the stitch. From this step, the purl stitch needs to be taken away. The last step is where the wrong end needle is fixed by taking it from the front and then slipping the end on the left-hand needle.
Now that you know how to start your journey in the knitting world and how to overcome common problems even as an advanced knitter, you may like to take your knitting to a professional level. It’s your time to shine with
those needle skills.
(link of the picture: Knitting Hobby- Free Photo on Pixabay)