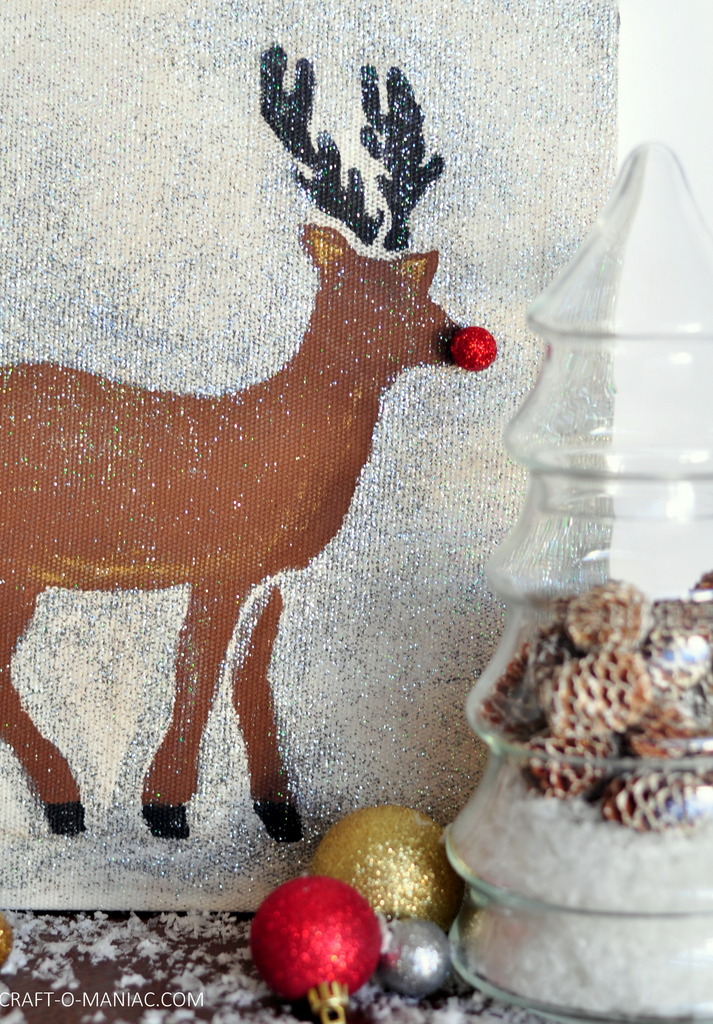
DIY Stenciled Rudolph Canvas
Hi friends, today I am sharing this fun DIY Stenciled Rudolph Canvas. Did you know that the awesome Royal Design Studio Stencils, now carries Christmas stencils for smaller DIY/Craft projects. You will have to check out Royal Design Studio Stencils for all their awesome stencil products.
Supplies:
– 12 x 12 board, or canvas board from Canvas Corp Brands
– Royal Design Studio Stencil/ the reindeer one
– black acrylic paint, brow, and some gold
– silver and white glitter paint
– small red glitter ball
– two sponge brushes
– glue gun
How to:
Start by taping your stencils on the sides of your canvas, then with your brown acrylic paint dab your sponge brush into the paint dabbing off excess on a paper towel and start dabbing the paint onto the canvas. Be sure to hold down the stencil in certain areas as the canvas is hollow underneath and it can bleed if you are to close to the stencil with to much paint. Continue this process. You can remove the stencil, and let the canvas dry. Once dry tape off the deer’s head and ankles and paint the antlers and hoofs black. Let it dry again. With your other sponge brush combine a bit of both glitter paints and start painting around the deer to create a shadow like image. Then continue going over the canvas adding glitter where you want it. Last hot glue down the glitter ball giving the deer a Rudolph nose.
 This would be a cute piece to add to a mantel, table, shelf wherever you are decorating for the Christmas holiday. Or you can make this for a fun Christmas Craft night, and even give it away as a “Handmade Gift.”
Here is another fun Rudolph “yummy” craft/treat. Perfect as a neighbor gift. Rudolph Donut Holes
DIY Rudolph Word Sign Here
Thanks for stopping in.
xo jen
This is a review solely off my behalf and will, all writings, and opinions are 100% mine.


