DIY Freezer Paper Toy Truck Bin

Hi – My name is Marni. Haberdashery Fun is my sewing and design blog. I created my blog to unleash all the ideas that keep me up at night. Enjoy! 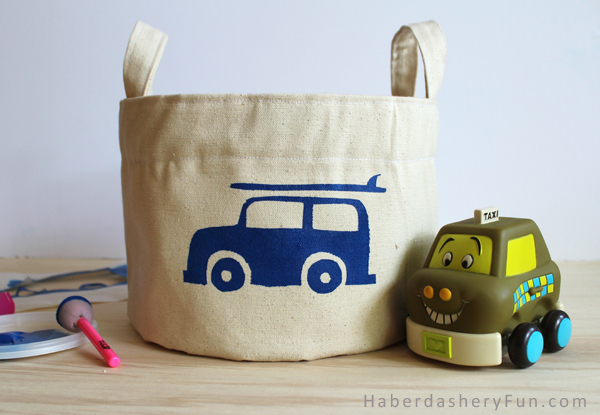
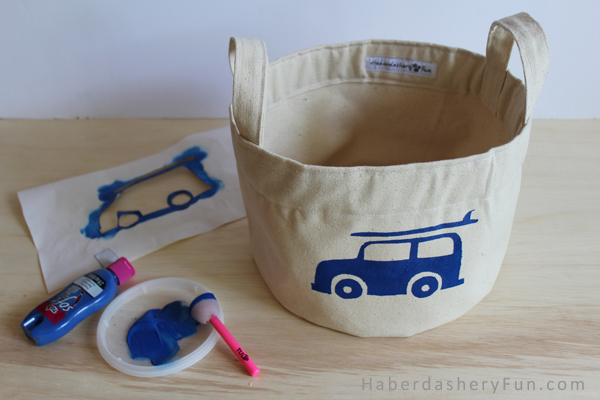
This one is super cute. Like many of my projects, I have wanted to create this storage bin for awhile. I just needed the time and reason to develop it. We had a birthday party last weekend and I had planned on sewing it to hold the gift card. Unfortunately, I didn’t finish the project in time for the party.. So, I had to keep it.. This is the perfect size for storing almost anything. The diameter of the bottom is 10″ and the height is 7 1/2″. Project level – medium sewing skills needed. While this project isn’t overly hard to sew, the maneuvering of the bin through your machine can be tedious. You should also double check whether your machine can sew cotton canvas or cotton duck fabric before taking this project on. Materials Needed:
- Cotton duck fabric/ cotton canvas – Seattle Fabrics is a good source
- Scissors, pins, thread
- Webbing, gros grain – helps support the top edge
- Sewing machine, iron and ironing board
- Freezer paper, fabric paint, sponges – The Tulip Brand works great
- Cut out your fabric – similar to my post on fabric wine covers, you will need 2 bottom pieces and 2 side pieces
- Sew the side pieces together with a 1/2″ SA
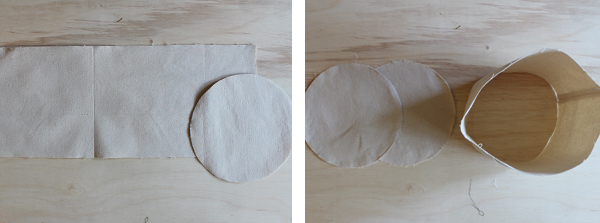 Steps – 3 and 4
- Pin the bottom pieces to each side. Sew together with a 1/2″ SA
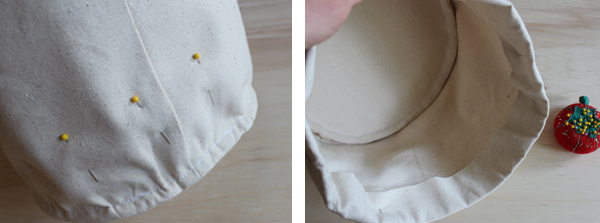
- Press down the top edge 1/2″
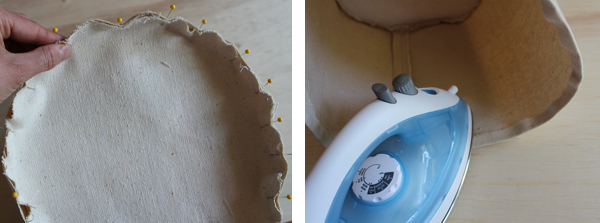
Steps – 5 and 6
- Trim off the bottom seam allowances to around 1/4″
- Turn one of the bucket pieces right side out and leave the other right side in. Place the right side in bucket into the other
- Jiggle around until the bottom seams match up
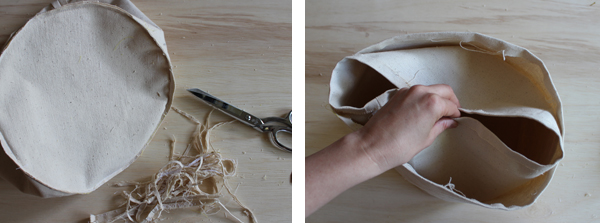
Steps – 7 and 8
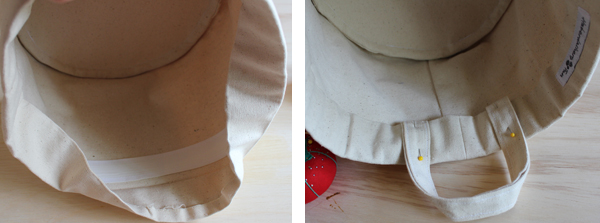
- Around 3″ up from the bottom, pin the bucket pieces together. Place into your sewing machine and stitch with a 1/2″ SA. This will create a french seam around the bottom edge. Turn the bucket, so that the french seams are alond the inside bottom
- Turn the top edge inwards 2″ and press down
Steps – 9 and 10
- Cut your gros grain down to size and place under the top edge
- Place your straps under the top edge and pin
- Place the top of the storage bin into your sewing machine. Edgestitch around the top and also stitch around 2″ down from top edge
- Press!
 Freezer Paper Screen Printing Steps. Note – I would strongly suggest doing the freezer paper steps FIRST.. Just in case you make a mistake you won’t ruin a finished project.
- For detailed steps on how to screen print with freezer paper, check out my dino tote bag post here
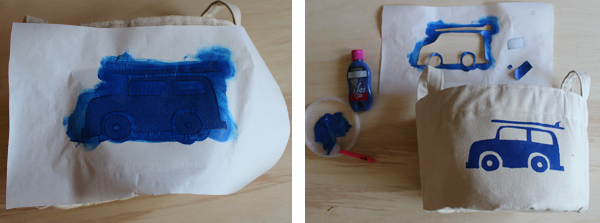
- Iron your freezer paper image down onto the fabric. Dip your sponge into the paint and brush onto your fabric. Work quickly and cover the open area evenly
- Do not goop the paint on the fabric. While the ink is still slightly wet, gently peel off the freezer paper
OOOO this is adorable! Good chose to start that blog! I love it!!!!!
Wow, that’s beautiful and cute. I would try this one to make and thanks for sharing.
I love this!
Hi – Thank you for the wonderful feature!!! Your blog is awesome.