Featured Guest Post {Colorful Ruffled Tree Skirt}
Hi!! My name is Randee and I am
from
Randee’s Organized Chaos
I LOVE to decorate and make anything CRAFTY but there is ALWAYS CHOAS in my life!! I am in the middles of my
80 DAY CHAOTIC CHRISTMAS COUNTDOWN
I hope that you enjoy my No Sew Christmas Tree Skirt Tutorial and will come and FOLLOW ALONG the CHOAS!!!
ENJOY!!!
from
Randee’s Organized Chaos
I LOVE to decorate and make anything CRAFTY but there is ALWAYS CHOAS in my life!! I am in the middles of my
80 DAY CHAOTIC CHRISTMAS COUNTDOWN
I hope that you enjoy my No Sew Christmas Tree Skirt Tutorial and will come and FOLLOW ALONG the CHOAS!!!
ENJOY!!!
Chaotic Christmas Countdown
Day 35
WOW…..this little “PROJECT” has cost me some time and some SKIN!!!! I now have 3rd degree burns to my fingers and permanent creases between my eyebrows…..OK…..maybe I already had those but I would like to blame them on something besides my age!!! 😉
I will give you the “how to” on wrapping the presents in an upcoming post!!
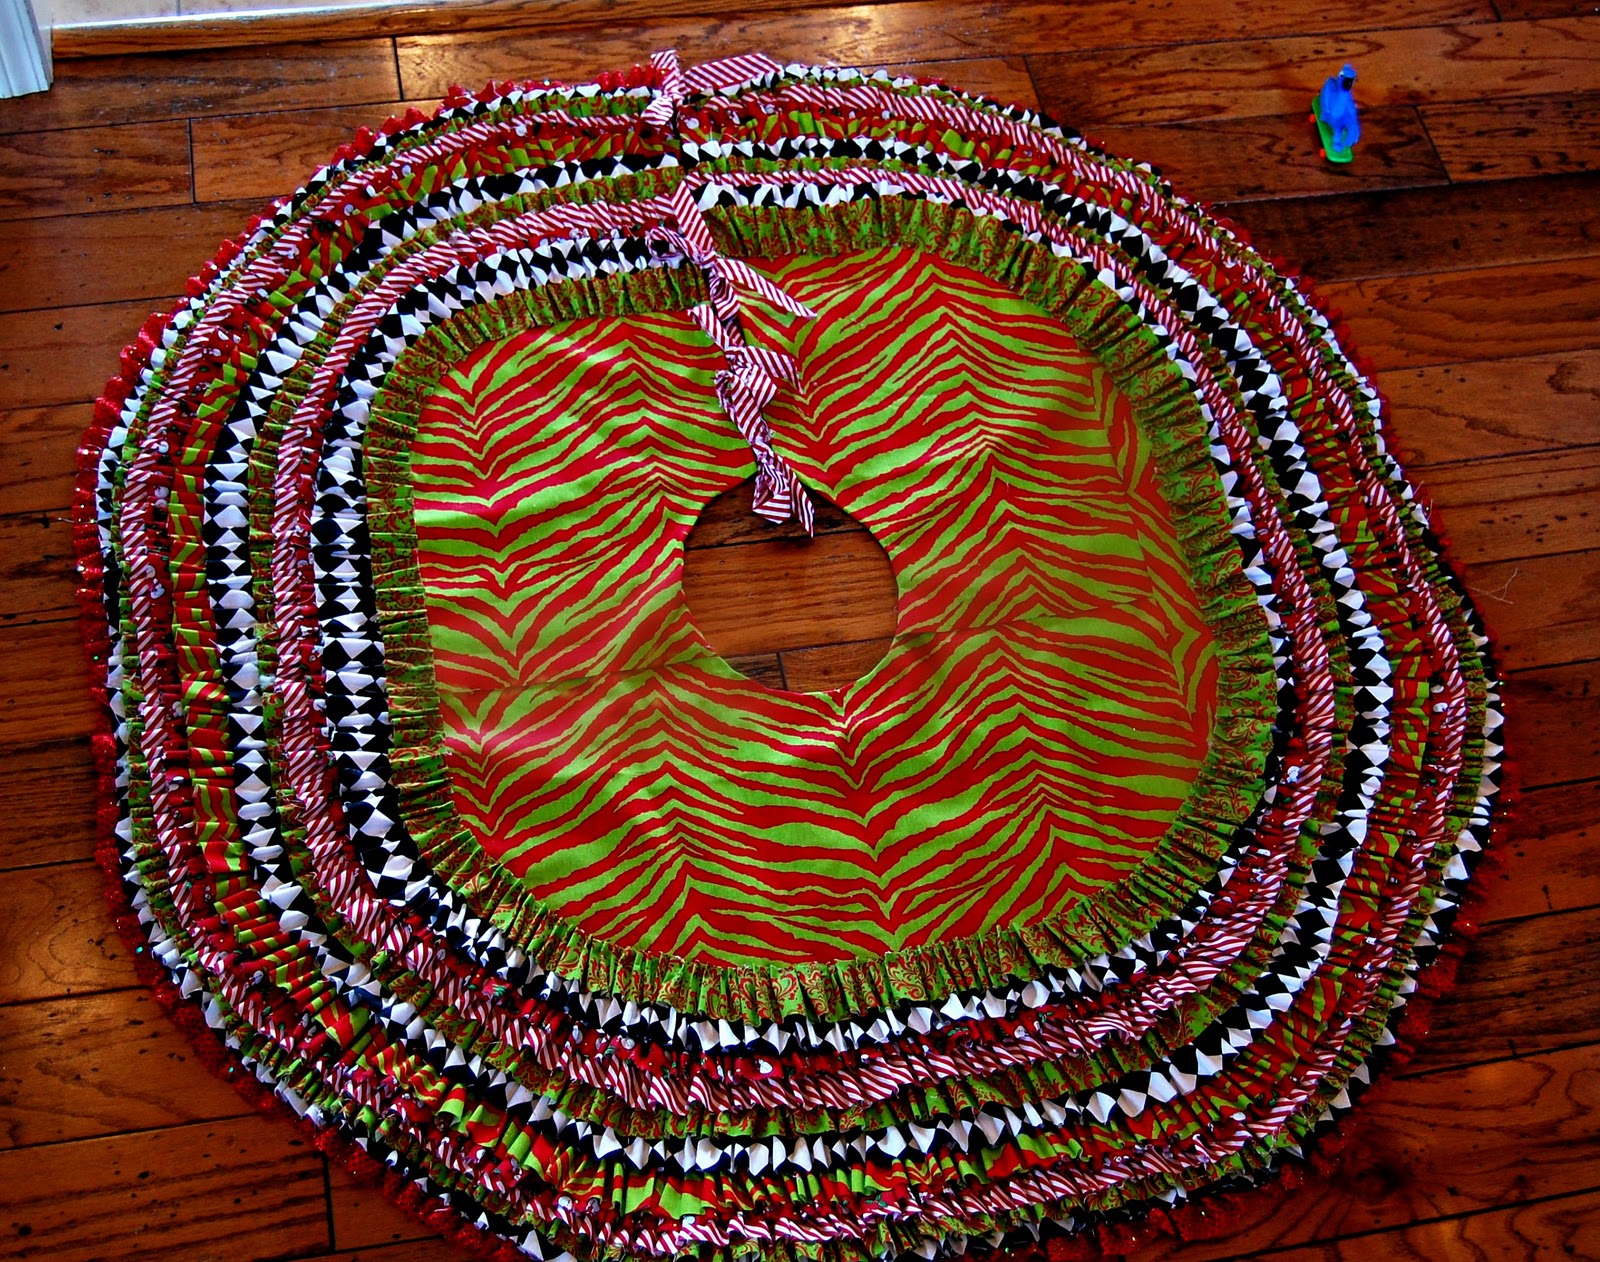
So without anything further, I give you my
NO SEW TREE SKIRT!!!! My inspiration was on HGTV!

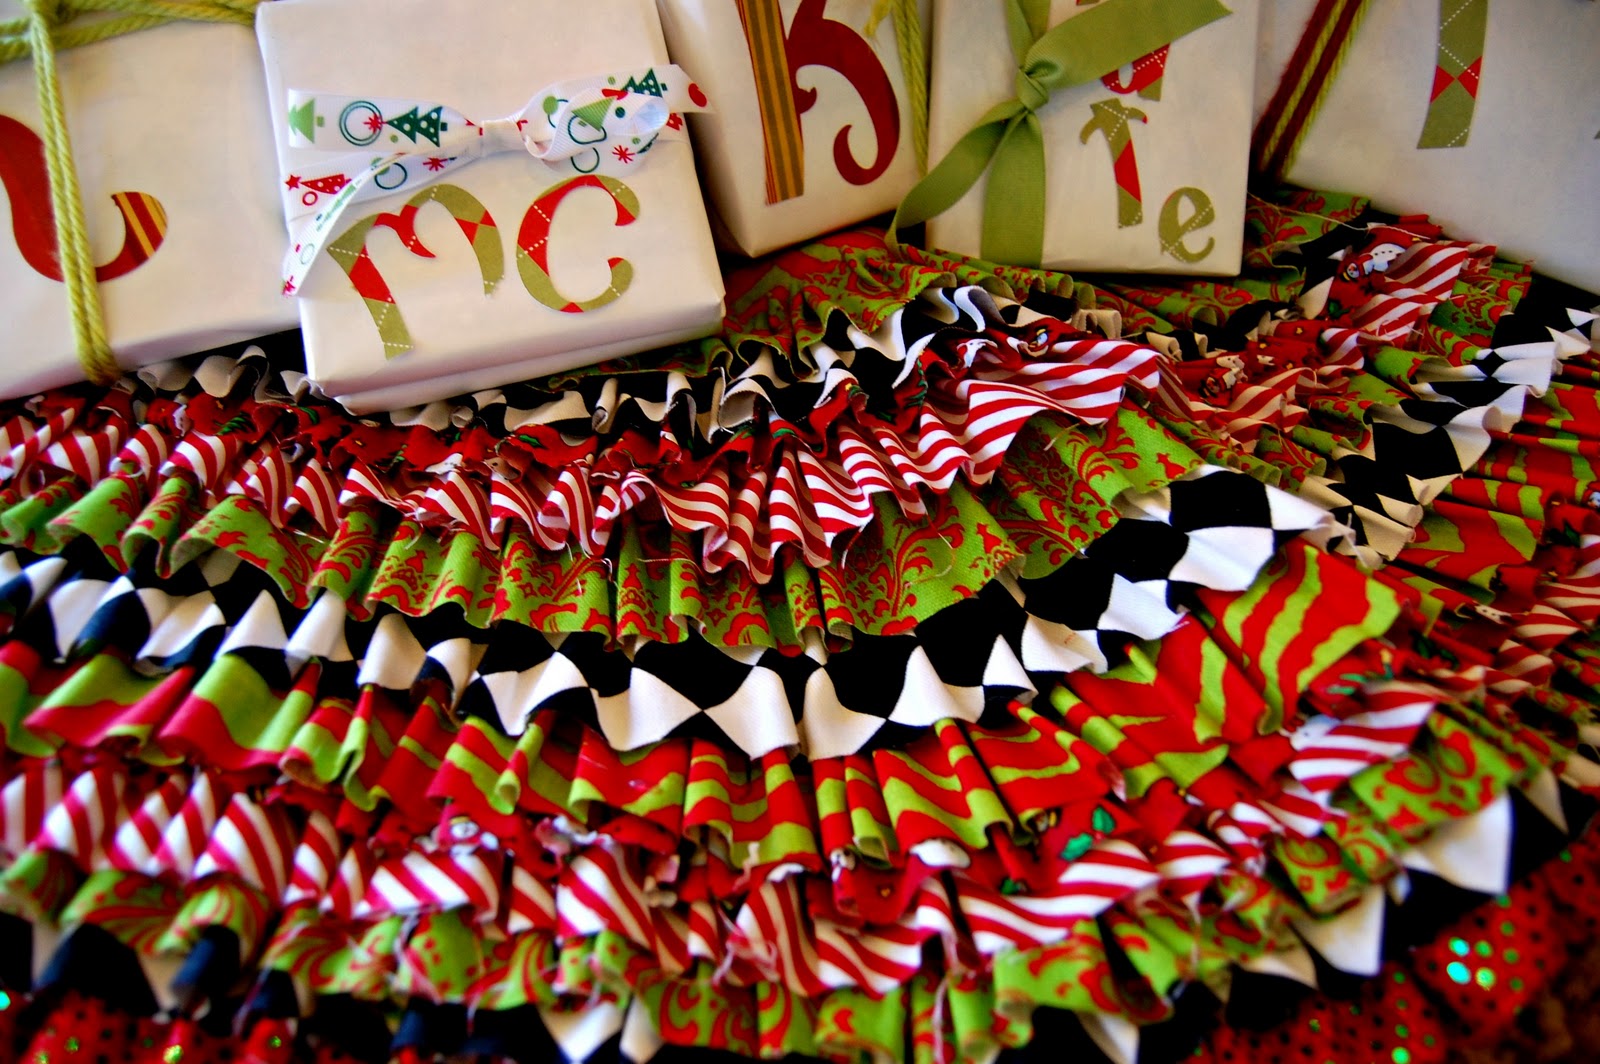
AWESOME, HUH?????
Ok…tutorial!!!
Materials Needed
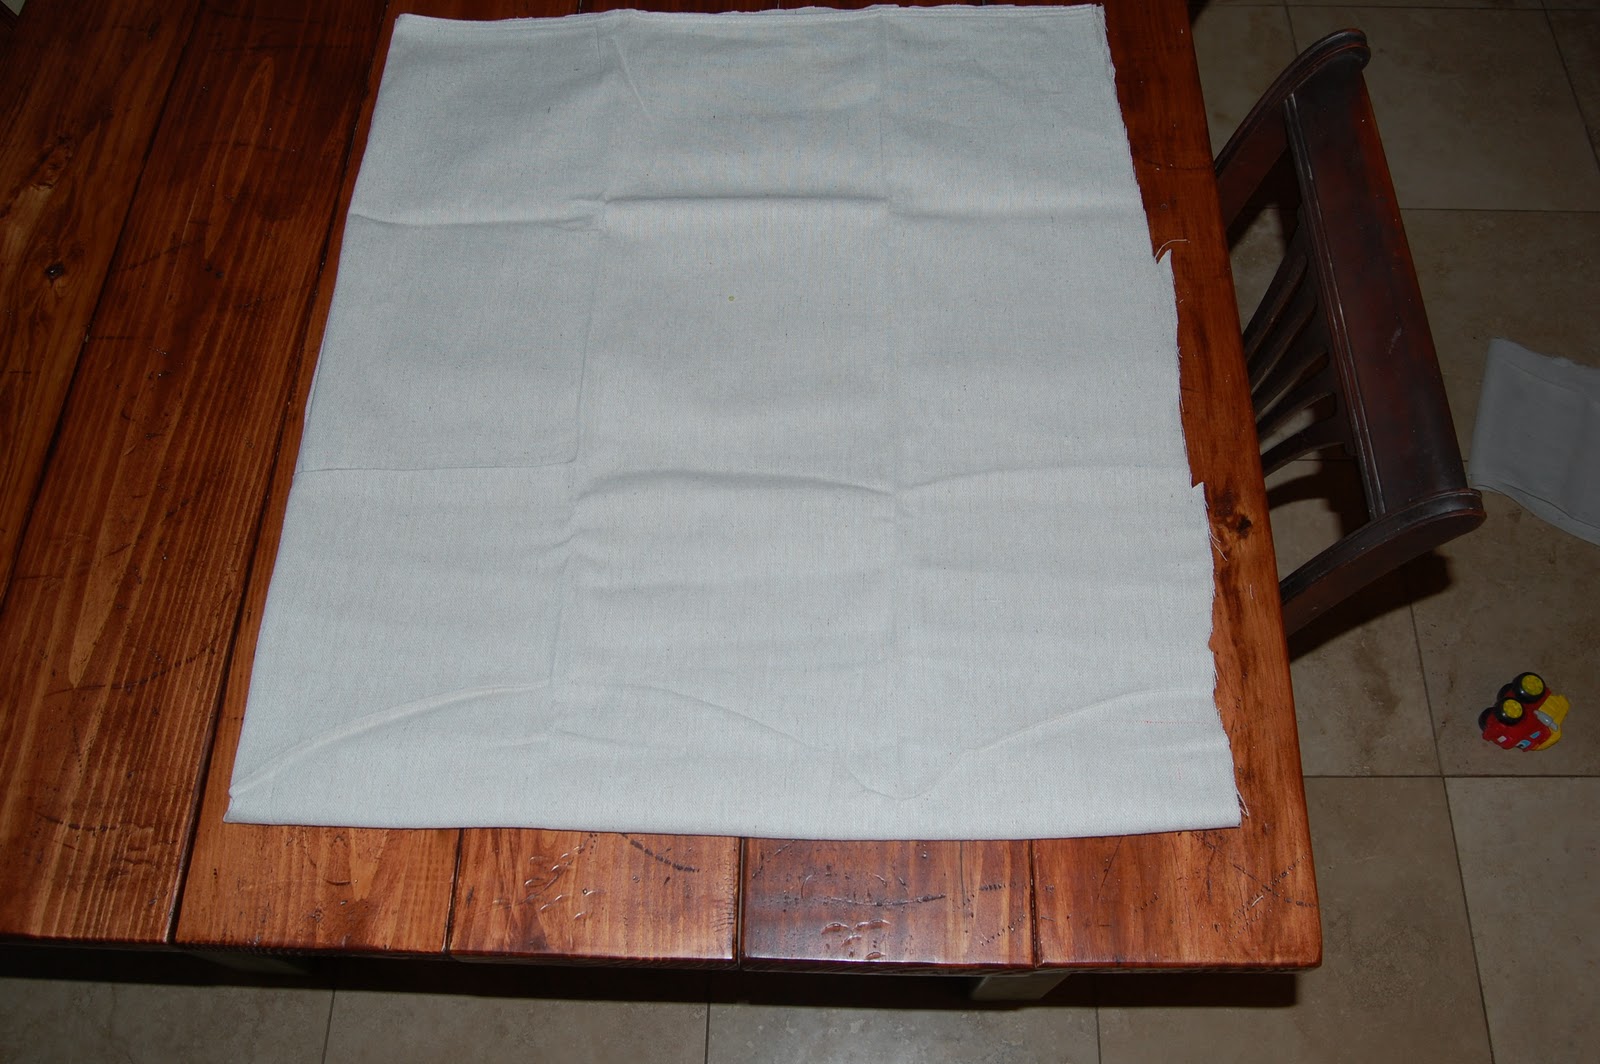
4-1/2′ x 4-1/2′ piece of canvas
measuring tape
5 yards of fabric (I bought 1 yard of each design)
scissors
fray-blocking glue
grosgrain ribbon
hot glue gun and hot glue sticks
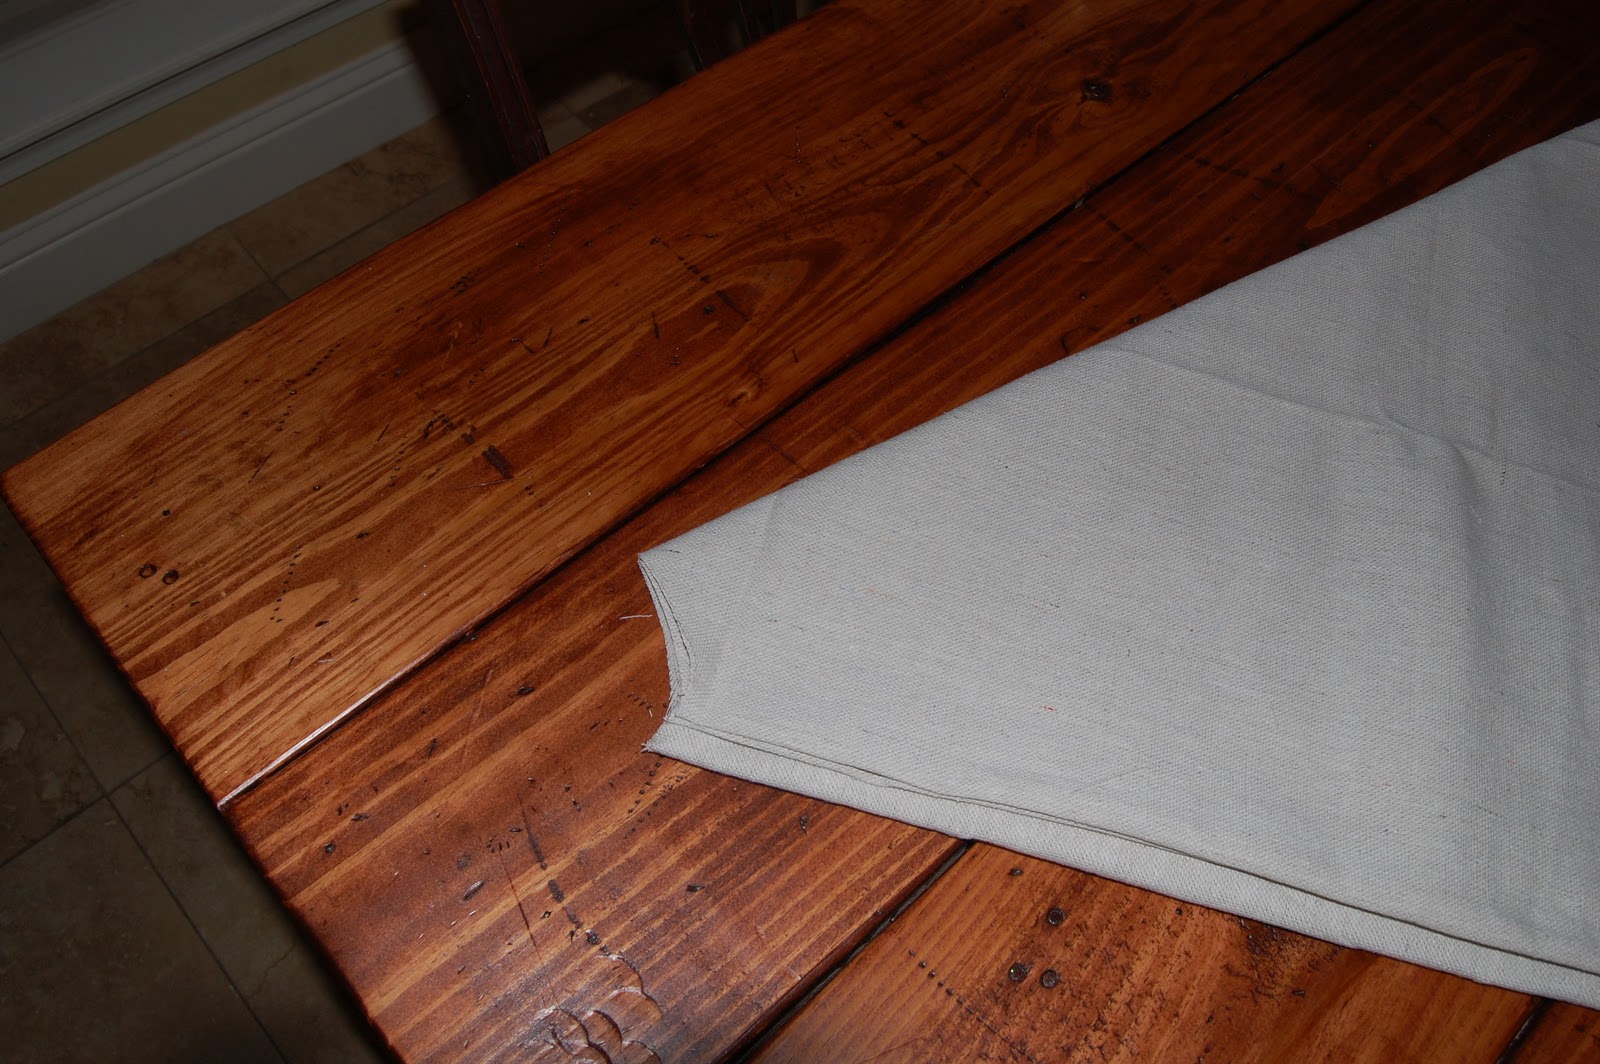
Using a tape measure, mark and cut a square of canvas that is approximately 4-1/2′ x 4-1/2′
(Image 1).
(Image 1).
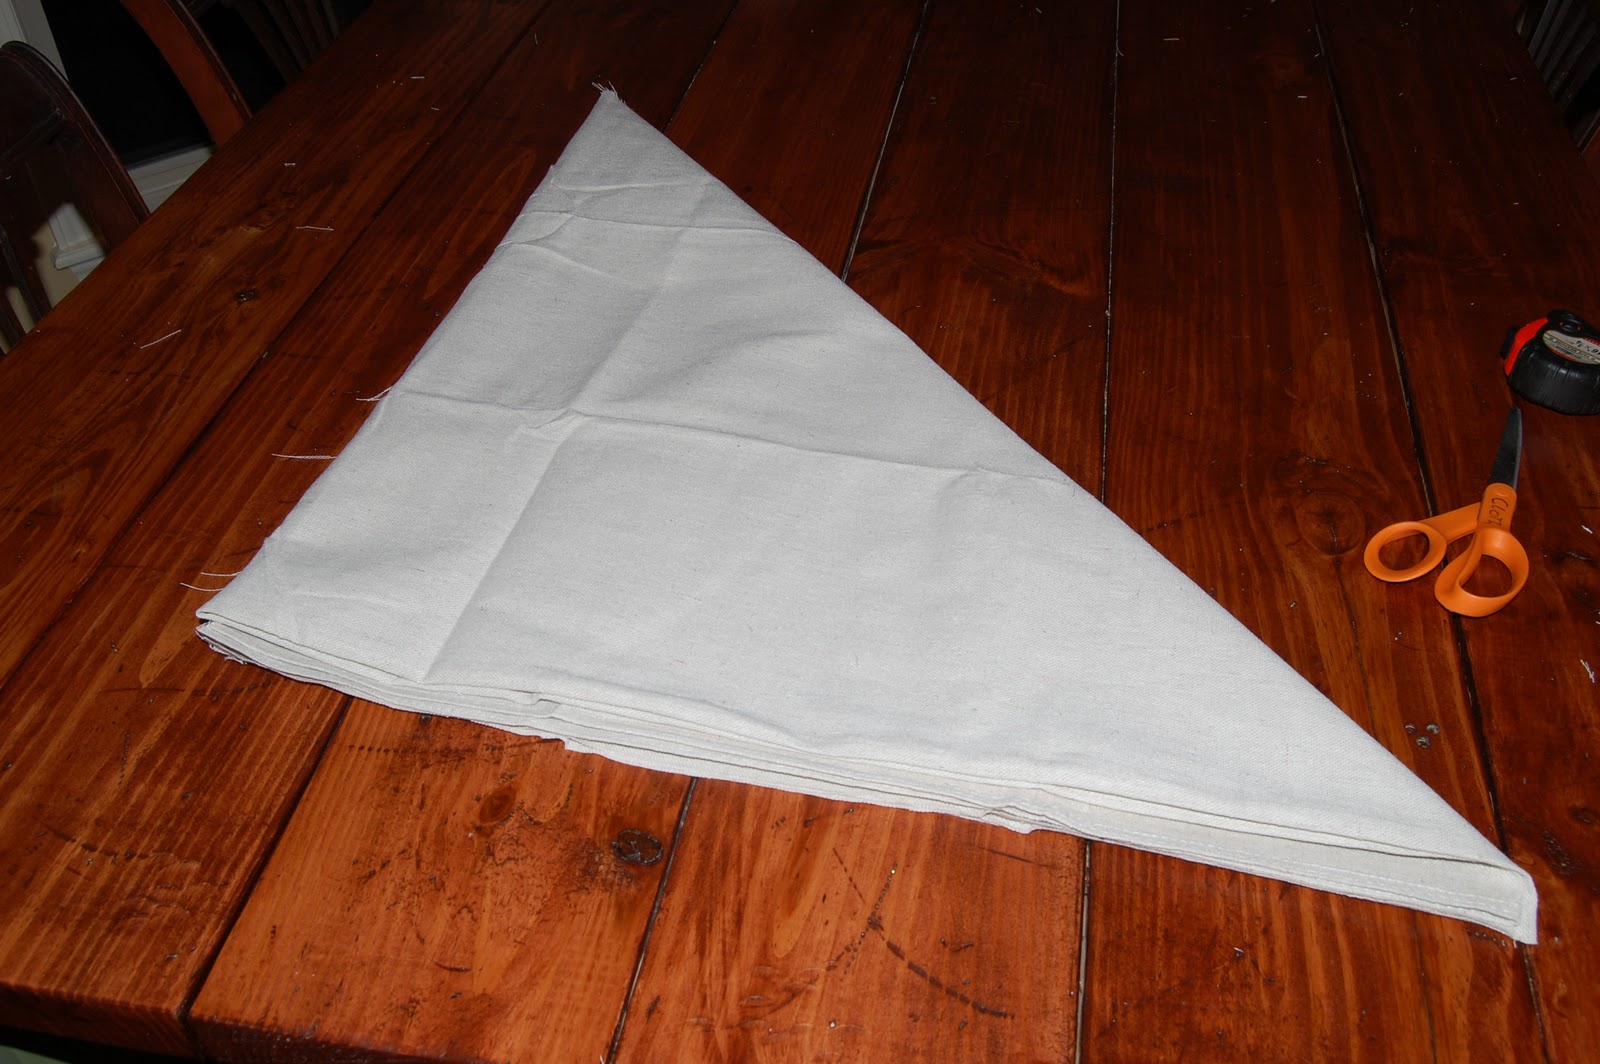
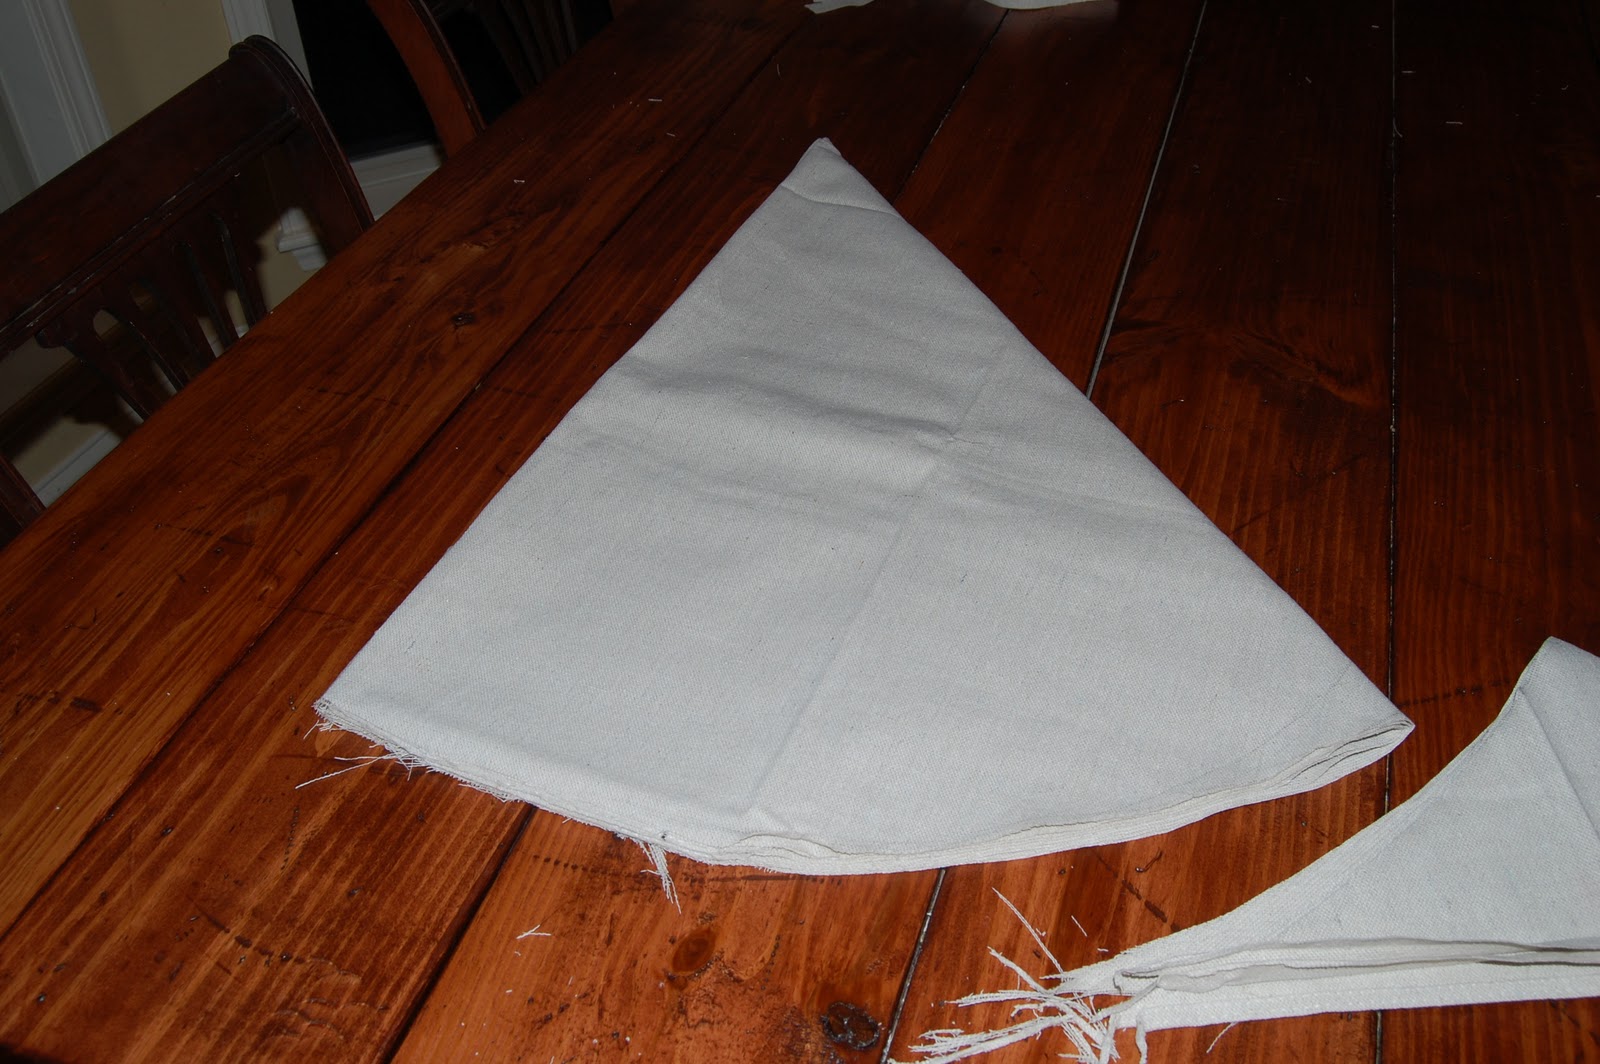
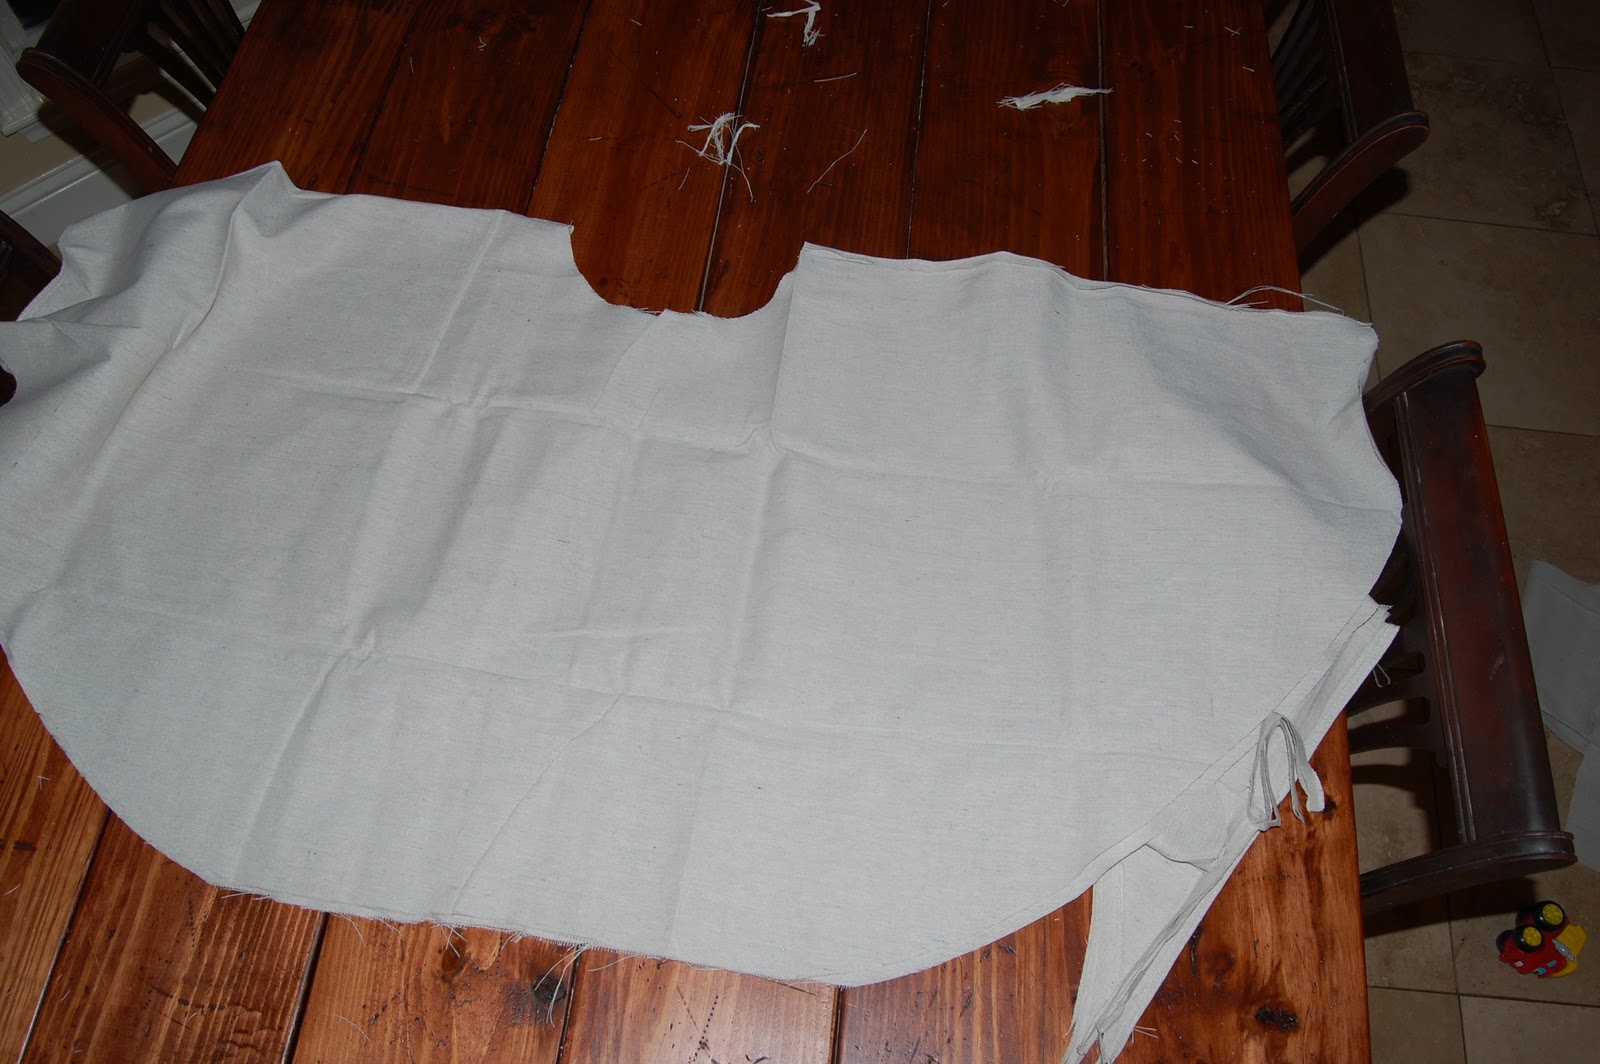
Fold the square into quarters, then over itself to form a triangle with the folded center at point. Cut base in a quarter circle (Image 2 and 3)
Cut a small quarter circle out of the point (Image 4)Open the skirt until it’s folded in half and cut along the radius on one side of the center hole only (Image 5) This will provide a hole for the tree trunk and a slit in the fabric so the skirt can be placed under the tree.
Tip: I used a canvas painter’s drop cloth!!!!!!
Apply no-fray glue along all raw edges and allow to dry!!
NEXT
Maesure and cut your fabric that you are making your ruffles out of lenghtwise into approx 2 inch strips!
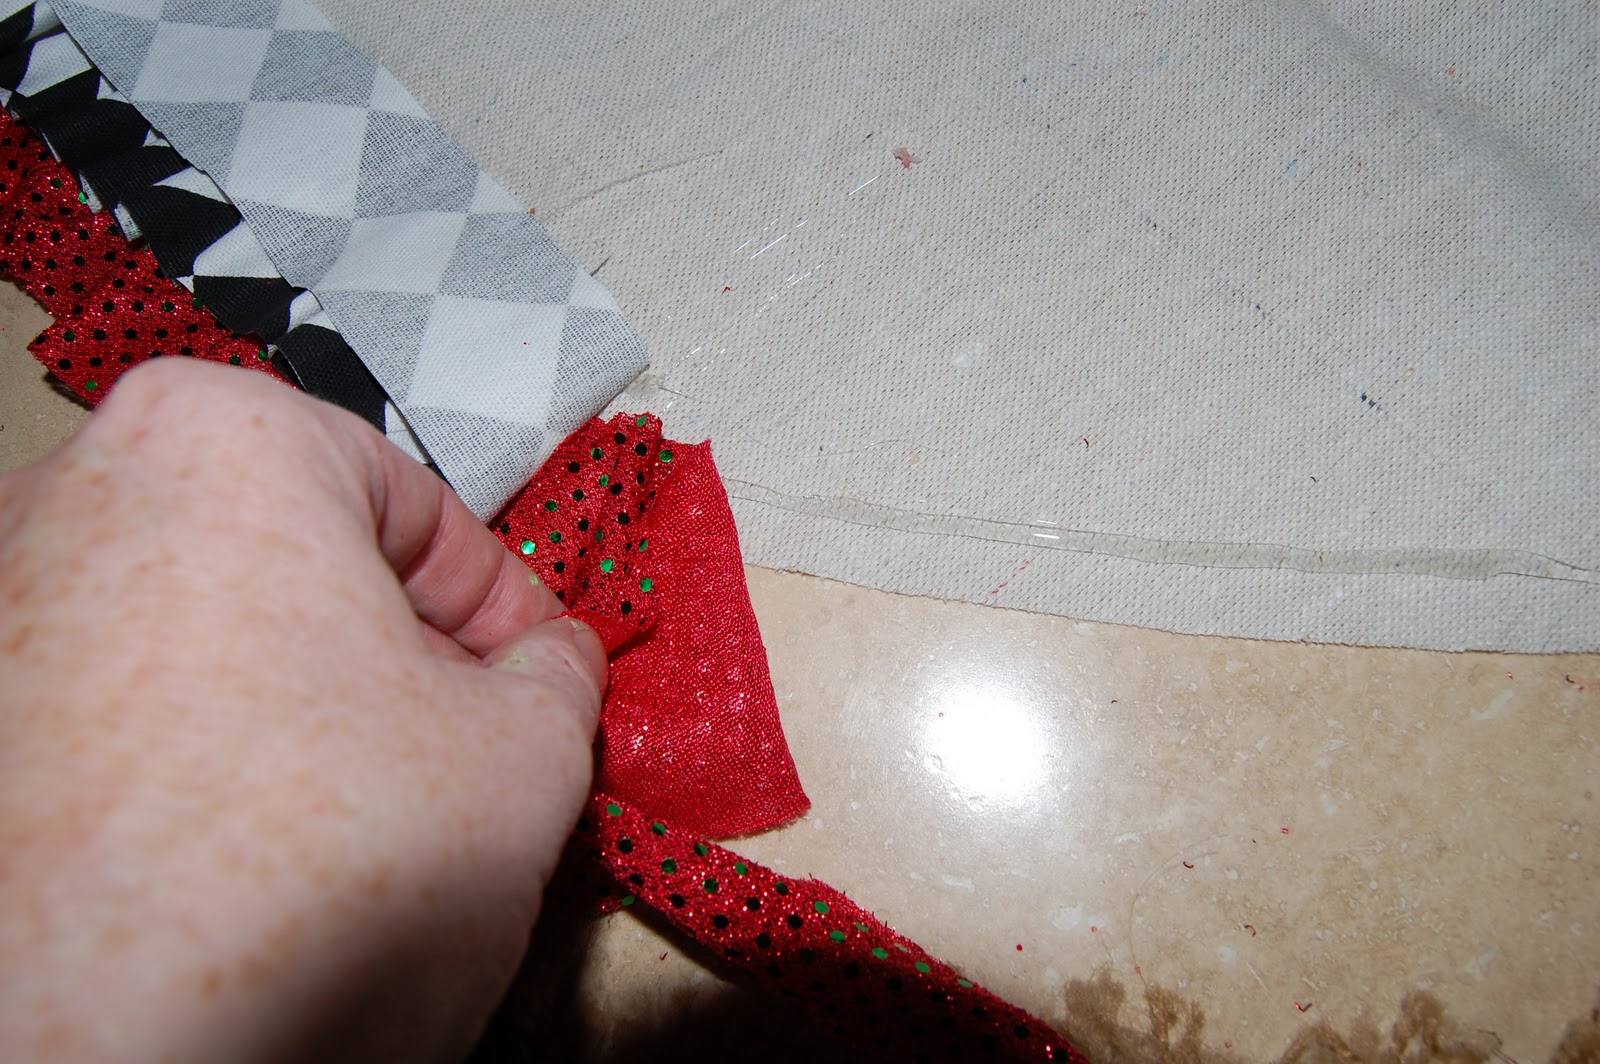
Apply a line of hot glue approximately 1 1/2 inches from outside edge of skirt. Create ruffles by pinching fabric with fingers and pushing gathers down onto hot glue! Work in small sections, I just did one good squeeze with the glue gun down the fabric! (See pic’s below) Then continue this process around the entire skirt edge! Start the next row approximately 1 1/2 inches above the previous row. Continue adding rows until you reach a point that you just don’t think you can take another row!!! 😉

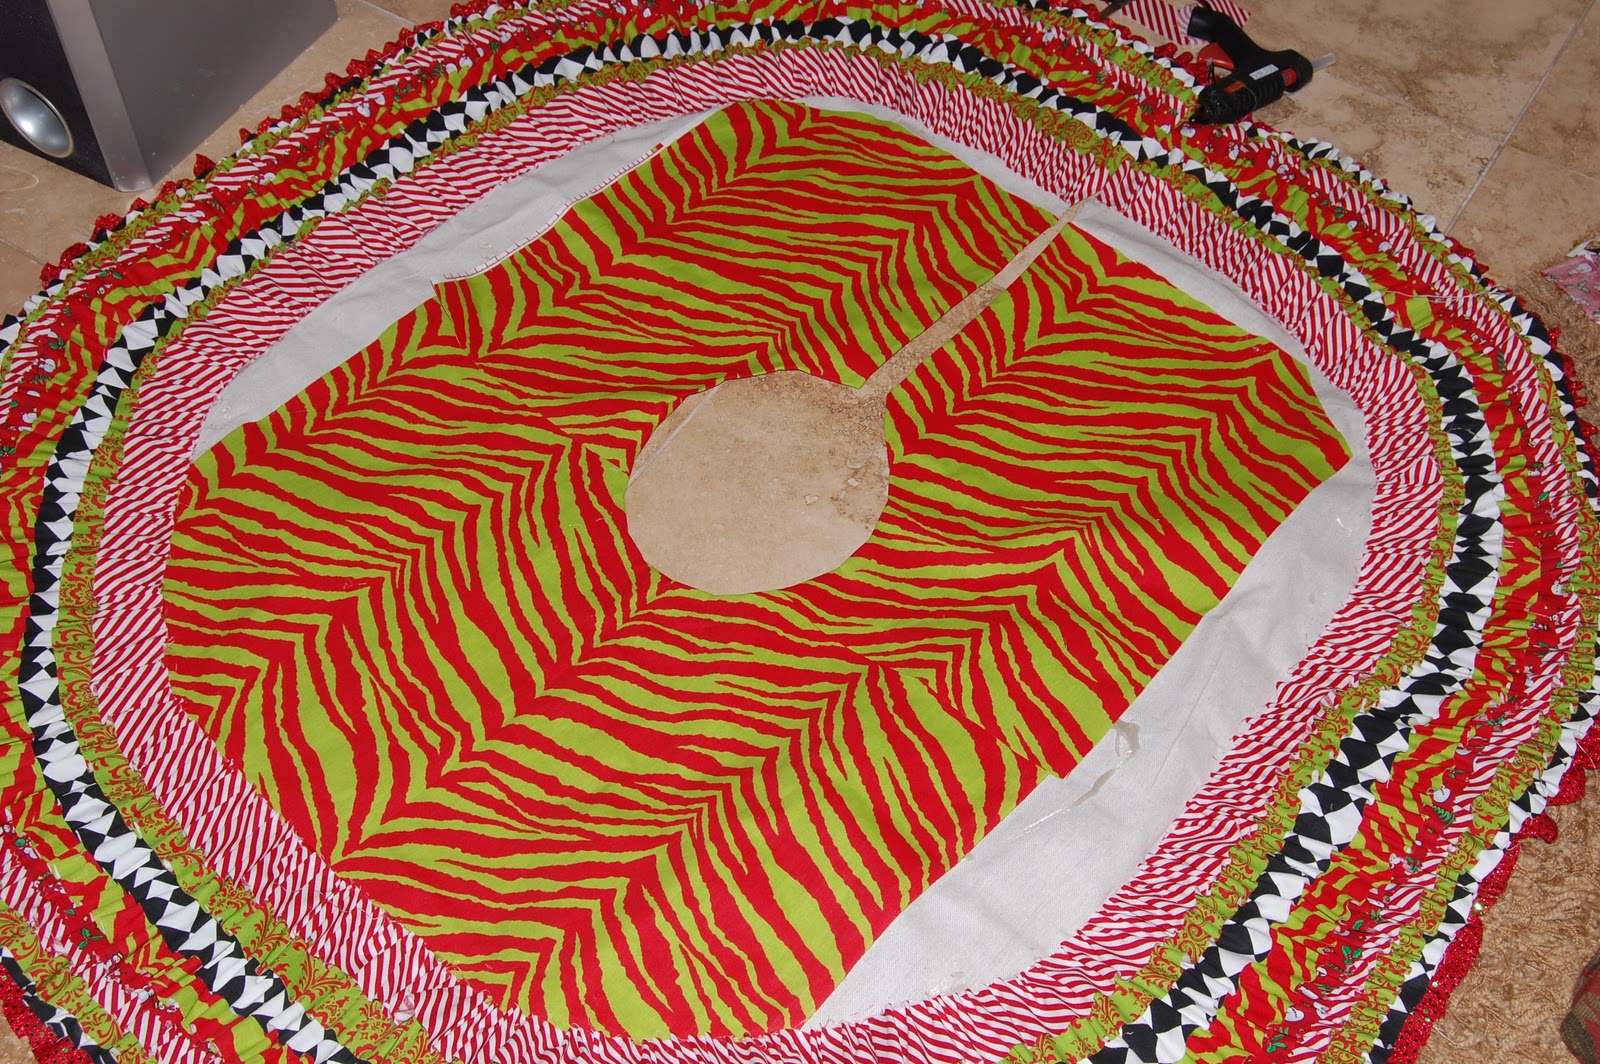
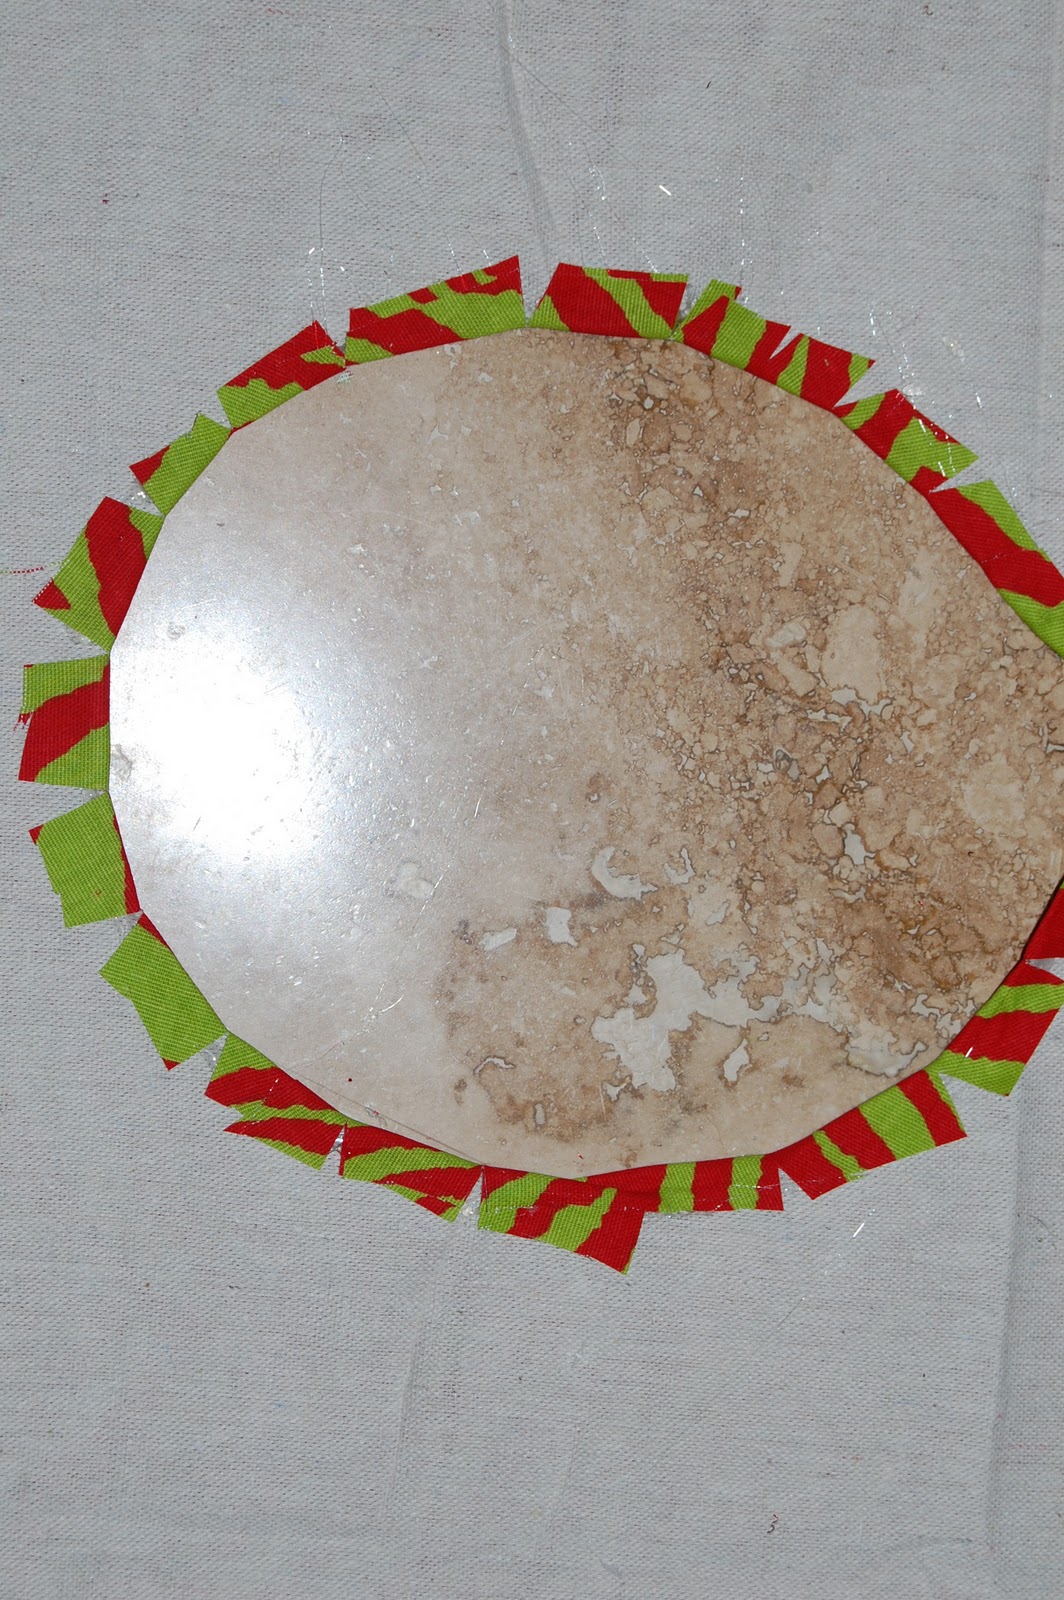
When I thought that I was going to have to start drinking, I decided to add a large piece of fabric to the middle and add a few more rows until I met up with it!!
This is what it looked like when I added the fabric and cut a hole for the center!
When you make your circle, turn the tree skirt over and cut slits into the fabric hanging over and then glue them down!!! This will give a clean finish!!
Cut 10 pieces of grosgrain ribbon into approximately 12-inch lengths. Use hot glue to attach ribbon to underside of tree skirt along slit created in canvas base. Evenly space five on one side of slit and five directly opposite. Place skirt under tree and tie ribbons together in bows!!!

I have to say that it turned out AWESOME but I will not be making another one anytime soon!!!!
WOW- isn’t it just to cute for words? I love all the colors and patterns. WELL DONE Randee. love it. WINKS, jen
THANKS for featuring me!!! 😉 I have linked up 2 new projects this week!!!
RAN
How precious! I would love to give this a shot, but that is a LOT of hot gluing and my glue gun and I have some serious kind of love/hate relationship. Ou rlast meeting resulted in a massive blister on my pointer finger…. Stupid glue gun!
That turned out SO precious! Maybe I will attempt it… You may have convinced me.
Samantha @ Little Painted Canvas
Wow, this looks amazing. I can’t imagine all of the work.
Even with this diy, I would never be able to make this. But it is sooo pretty!!!
Thanks for sharing. I need a new tree skirt and this one is beautiful!