Guest Post- Rustic Crate with Paint Sticks
Hi, Everyone!….I am, Nicole, from Thrifty Decorating and I am just thrilled to be a guest here at CraftOManiac!
I just love Jen’s blog….Actually, it’s my husband who loves that I found Jen’s blog……prior to stumbling on Jen’s blog, I never decorated for any of the “minor” holidays. Jen’s ideas have inspired Valentine’s Day, Spring, and Fall crafts at this house. So as my husband walks around oohing and aahing over “my” decorating, I just smile and quietly whisper…..”Thanks, Jen!!”
I first saw this idea HERE at Today’s Fabulous Finds and thought….I can do that!

Do you see the “old” crate?? Would you believe it’s really this……
It’s made from 5 gallon paint sticks and wood scraps!!!! Gloriously FREE!!!
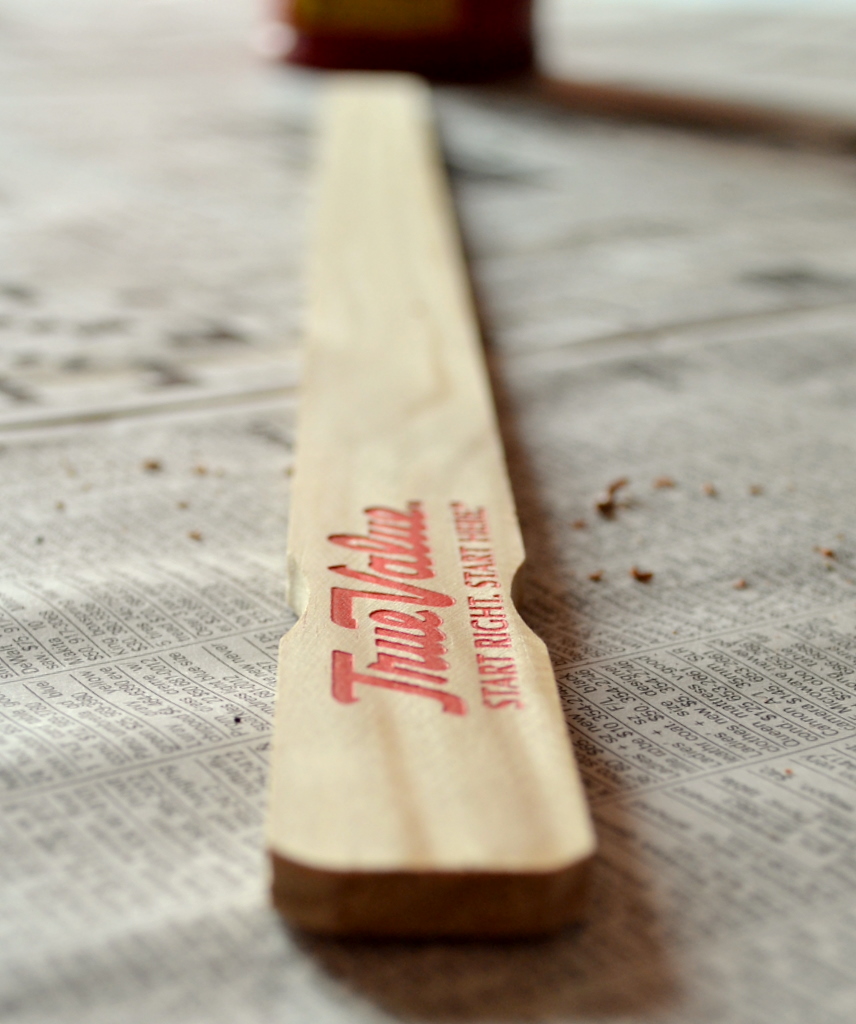
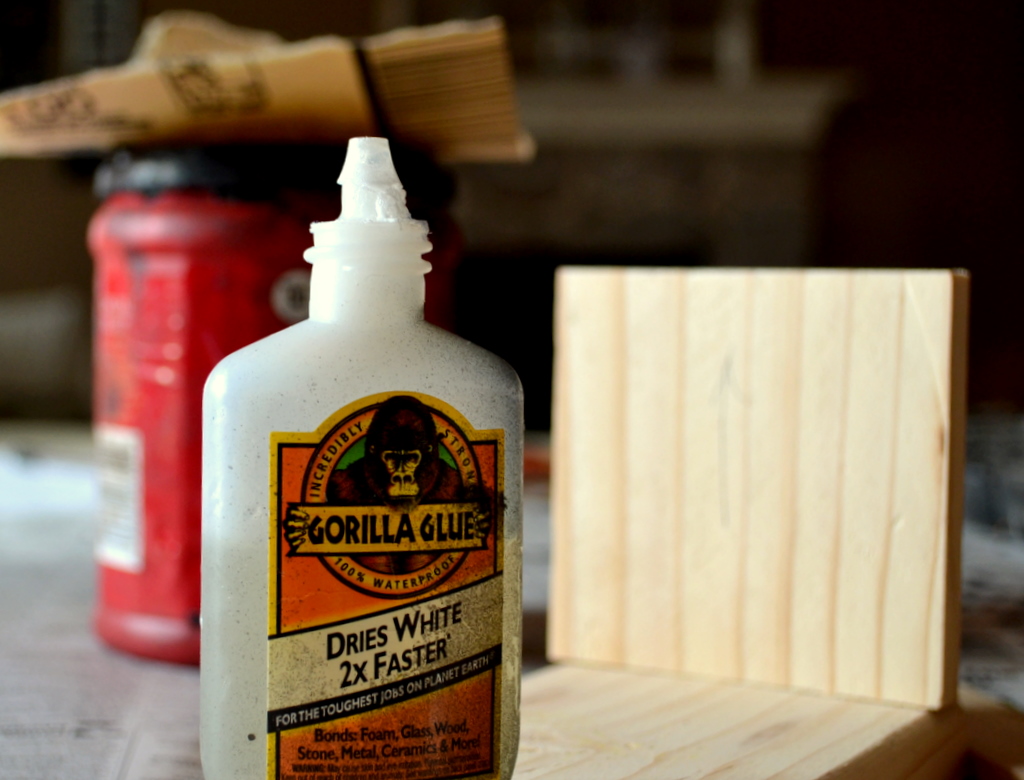
So how do you do it??? You will need a scrap piece of wood whatever width you prefer, four 5-gallon paint sticks, and some Gorilla Glue

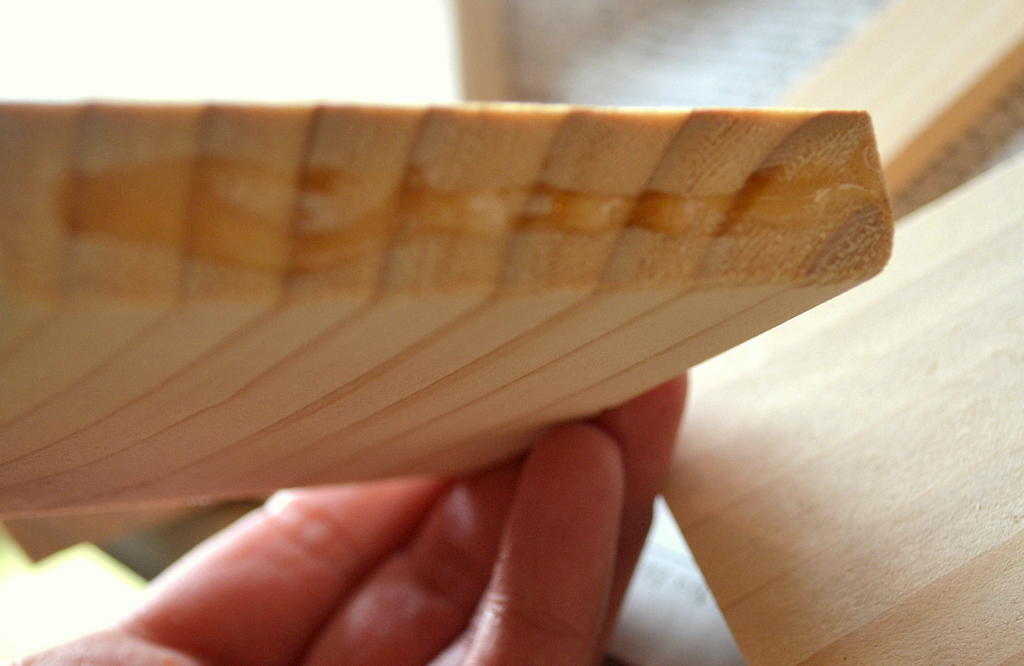
I used Gorilla Glue because I didn’t have big enough staples to staple it…..so in some pictures you can see a little (ALOT!) glue that oozed out between the joints……just please ignore that!
From a 4 inch piece of wood, I cut the length and the sides…..I glued the sides to the base.
Allow all of that to dry before you add your paint sticks. Trim your paint sticks to fit…..honestly, I measured nothing….eye-balling it all….I figure that it adds to the “rustic-ness” of it…..

Now for the fun part…….aging it! Sorry….somehow I forgot to take a picture of the first step….grr!! The first step was to grab an old rag and rub stain over the wood. I just used a brown colored stain. I put it on pretty heavy……I was actually panicking because it looked terrible at this point……that’s probably why I didn’t take any pictures!

Because it was looking so horrid……I developed “plan B”. I decided to dry brush some white paint on it. I took my paint brush and painted the paper before I painted my crate so that it was streaky on the wood.
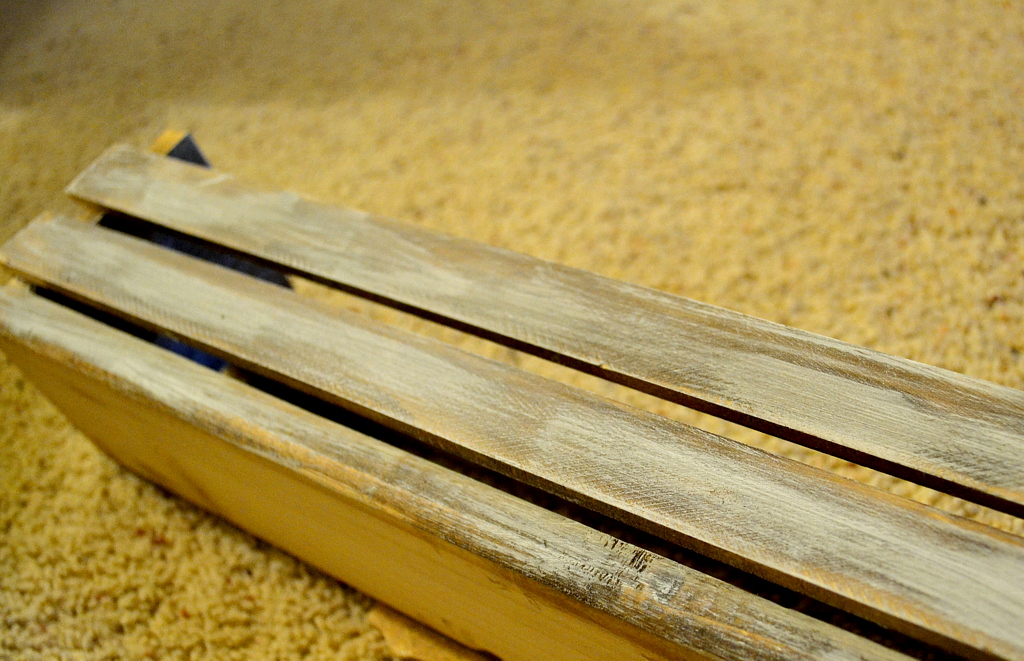
You can see that I put on enough white to cover the darker stain, but not so much that it completely covered the stain.


Then….I grabbed heavy grit sandpaper and started going over all the places that I painted.

(Ignore the oozing glue……I should have used less….I know…..)

You can see how the sanding just blends it all together……and the finished product….
I LOVE it!! It works as a great “old” crate to hold my Dollar Tree plant!
I’d love for you to stop by Thrifty Decorating…..I never have a lot of money to spend or a whole lot of time to craft, so my crafts, decorating ideas, and DIY home remodels are all “thrifty” and quick!
Jen…thanks again for allowing me to post, but THANK YOU for helping me to make my home a festive “holiday-decorated” place to be!

You are so WELCOME Nicole and I am so flattered I have inspired you so much, that is exactly what I am here for. Thank you. Your craft is adorable and I am glad to of shared it today. winks- jen
This is too funny, I just saw this on Jen’s facebook page got a little creeped out! I totally just had a dream last night that I made a crate from paint sticks.
I know, right?! So I’m thinking that either you’re a few steps ahead of my brain or that somehow you’ve managed to feed your blog directly into my dreams, lol.
Totally feel you on the Gorilla Glue, I KNOW it expands but every.single.time. I use too much. Great post, it looks better here than it did in my dream! 😉
So cute! I never would have guessed what it was made out of either! Thanks for sharing 🙂
Thanks so much, Jen! 🙂
Oh WOW how cool is that ! Great job!
I will check her out !
I have a giveaway on my blog ! Don’t want you to miss it !
http://lechateaudesfleurs.blogspot.com/2011/04/french-obsession-partay-13-and-giveaway.html
LOVE LOVE LOVE!!!! That would fit perfectly with my new shabby chic bedroom motif… off to the paint store for some sticks, then to my scrap pile of wood. It will make a perfect place to store my lotions, etc on my bureau!
I would have never guessed!
That is genius! I LOVE this idea!
How cute! I need to make one of those – love that it’s made out of free paint sticks!
-Mariesa
Love this, I must put this on my long list of projects to do! Great job!
I really like this idea…I would have thought this was a true antique find!
I really like this idea…I would have thought this was a true antique find!