Guest Post- Beautiful Black Beaded Necklace
Hey there! I’m Rebecca from My Girlish Whims

I’m a twenty year old college girly-girl who would rather be crafting than sitting in class any day… I started my blog to share my passion for beading, crafting, and general life as a girl!

I’m so pumped to be here today at CraftOManiac! Thanks so much to Jen for having me 🙂
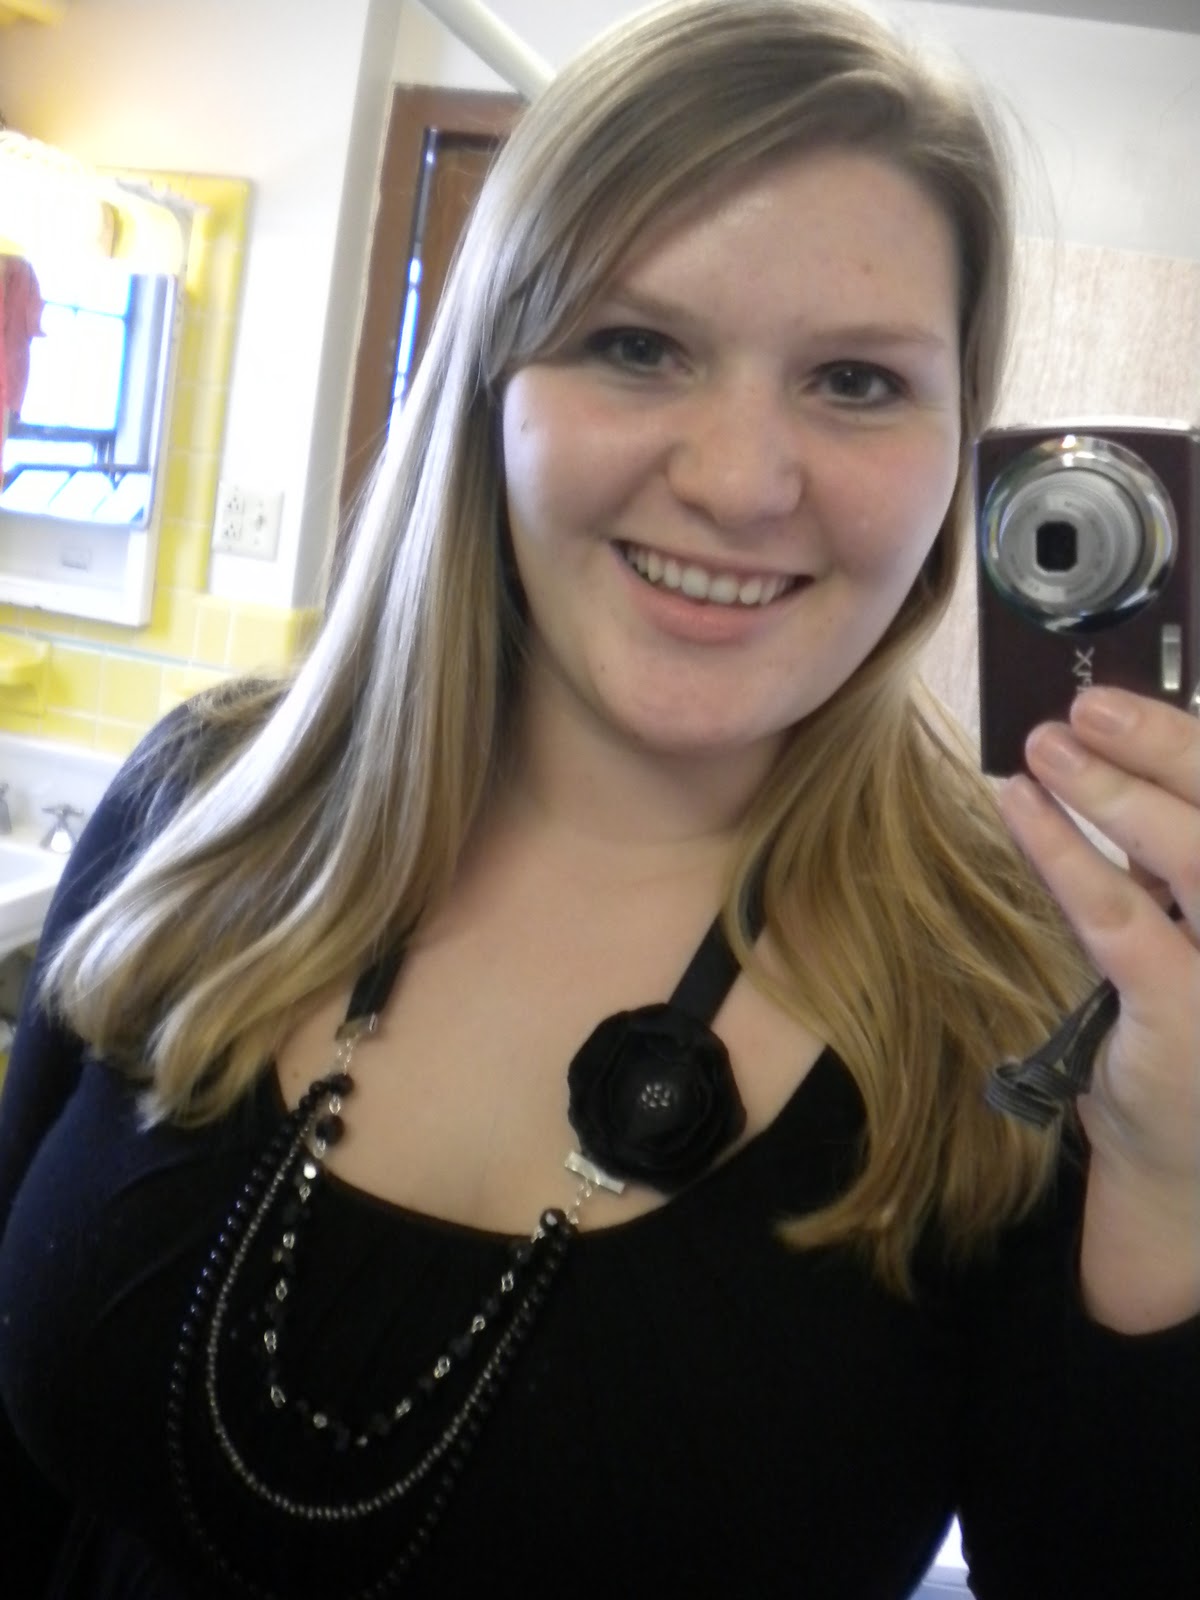
Today I’m going to be showing you how to make this gorgggg necklace:
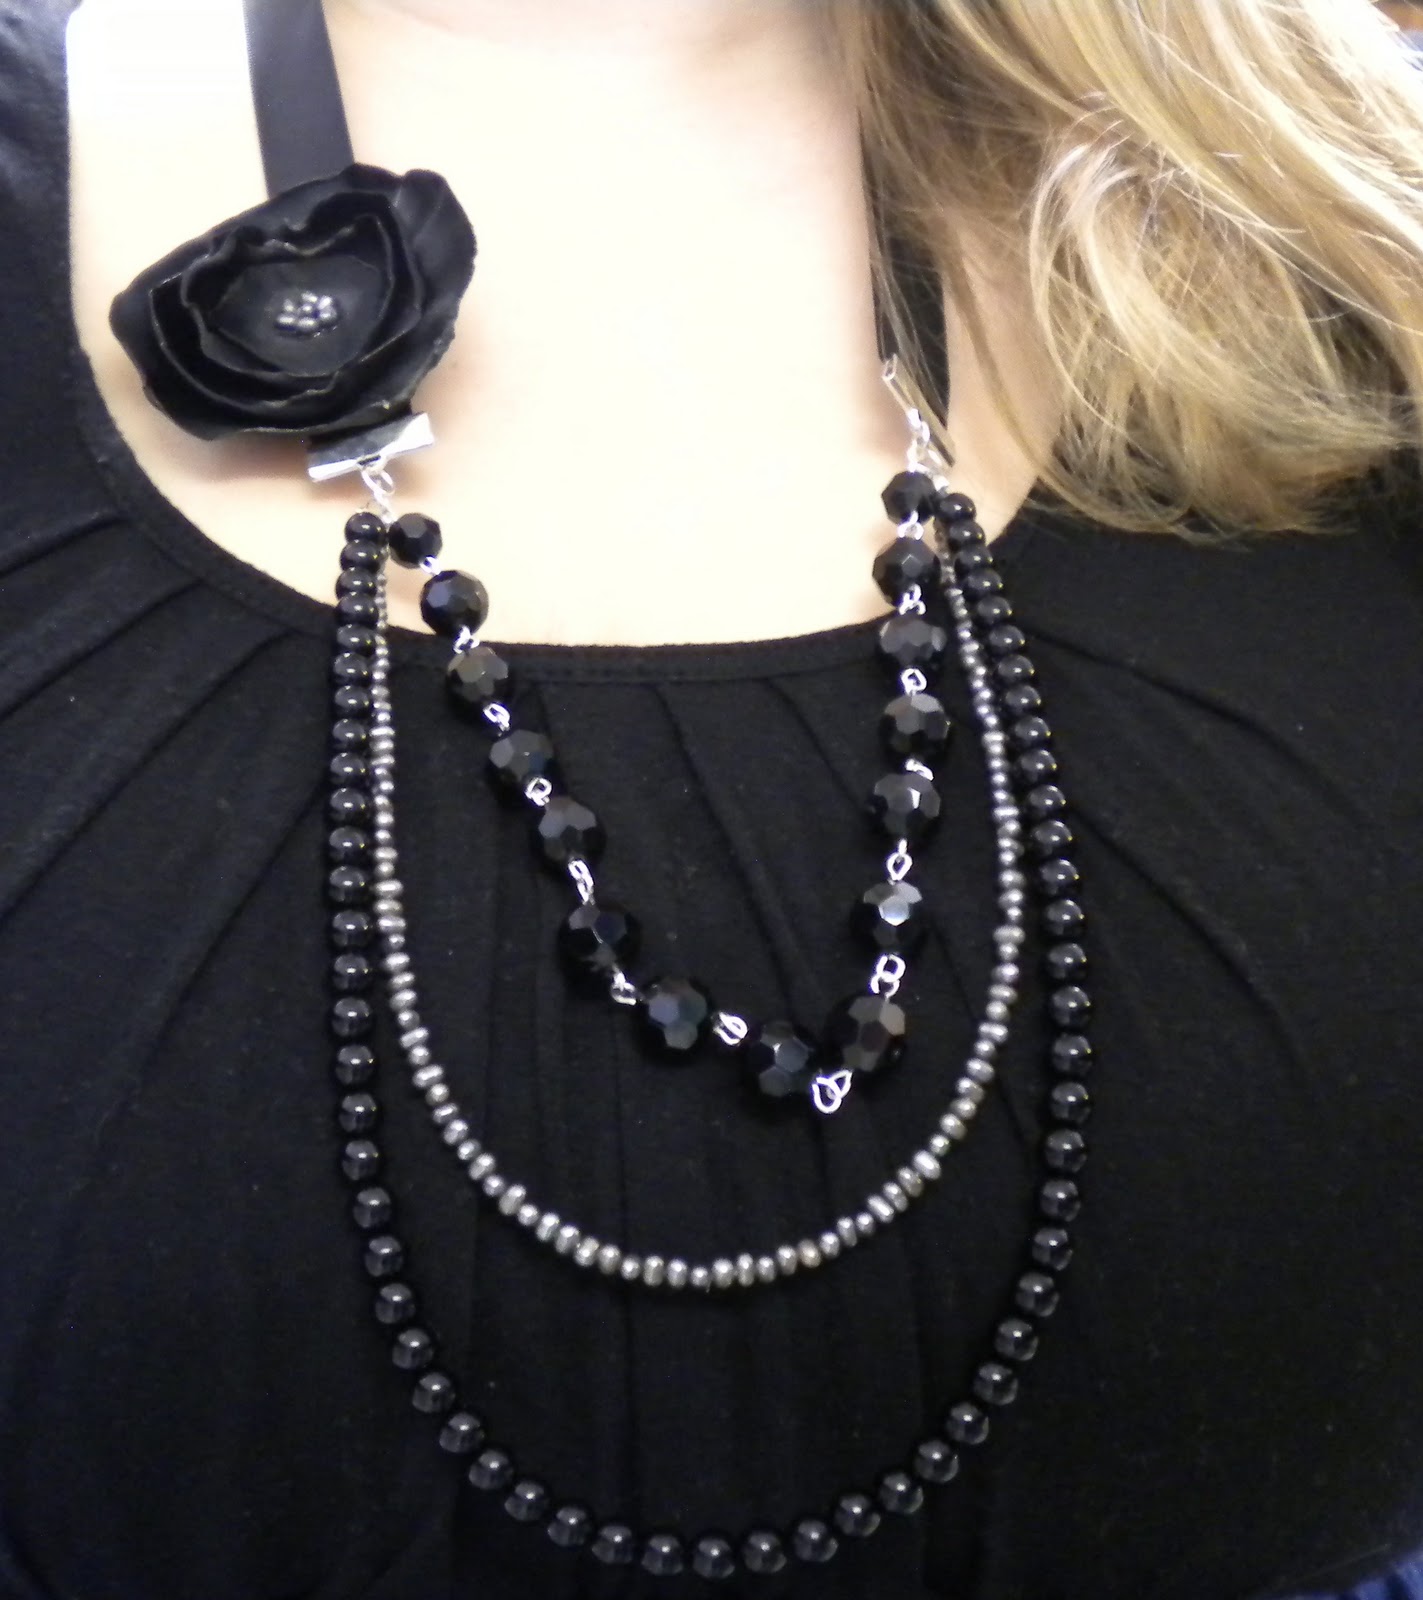
Ohhh pretty 🙂
Here are the basics on how to make it:
Supplies:
-6mm black beads
-10 mm faceted black beads
-some itty bitty freshwater pearls
-eyepins
-beading wire
-crimp beads
-needle nose pliers
-jump rings
-ribbon
-satin-ish fabric
-scissors
-flame source
-super glue
-hot glue
-felt
-ribbon clasps
Steps:
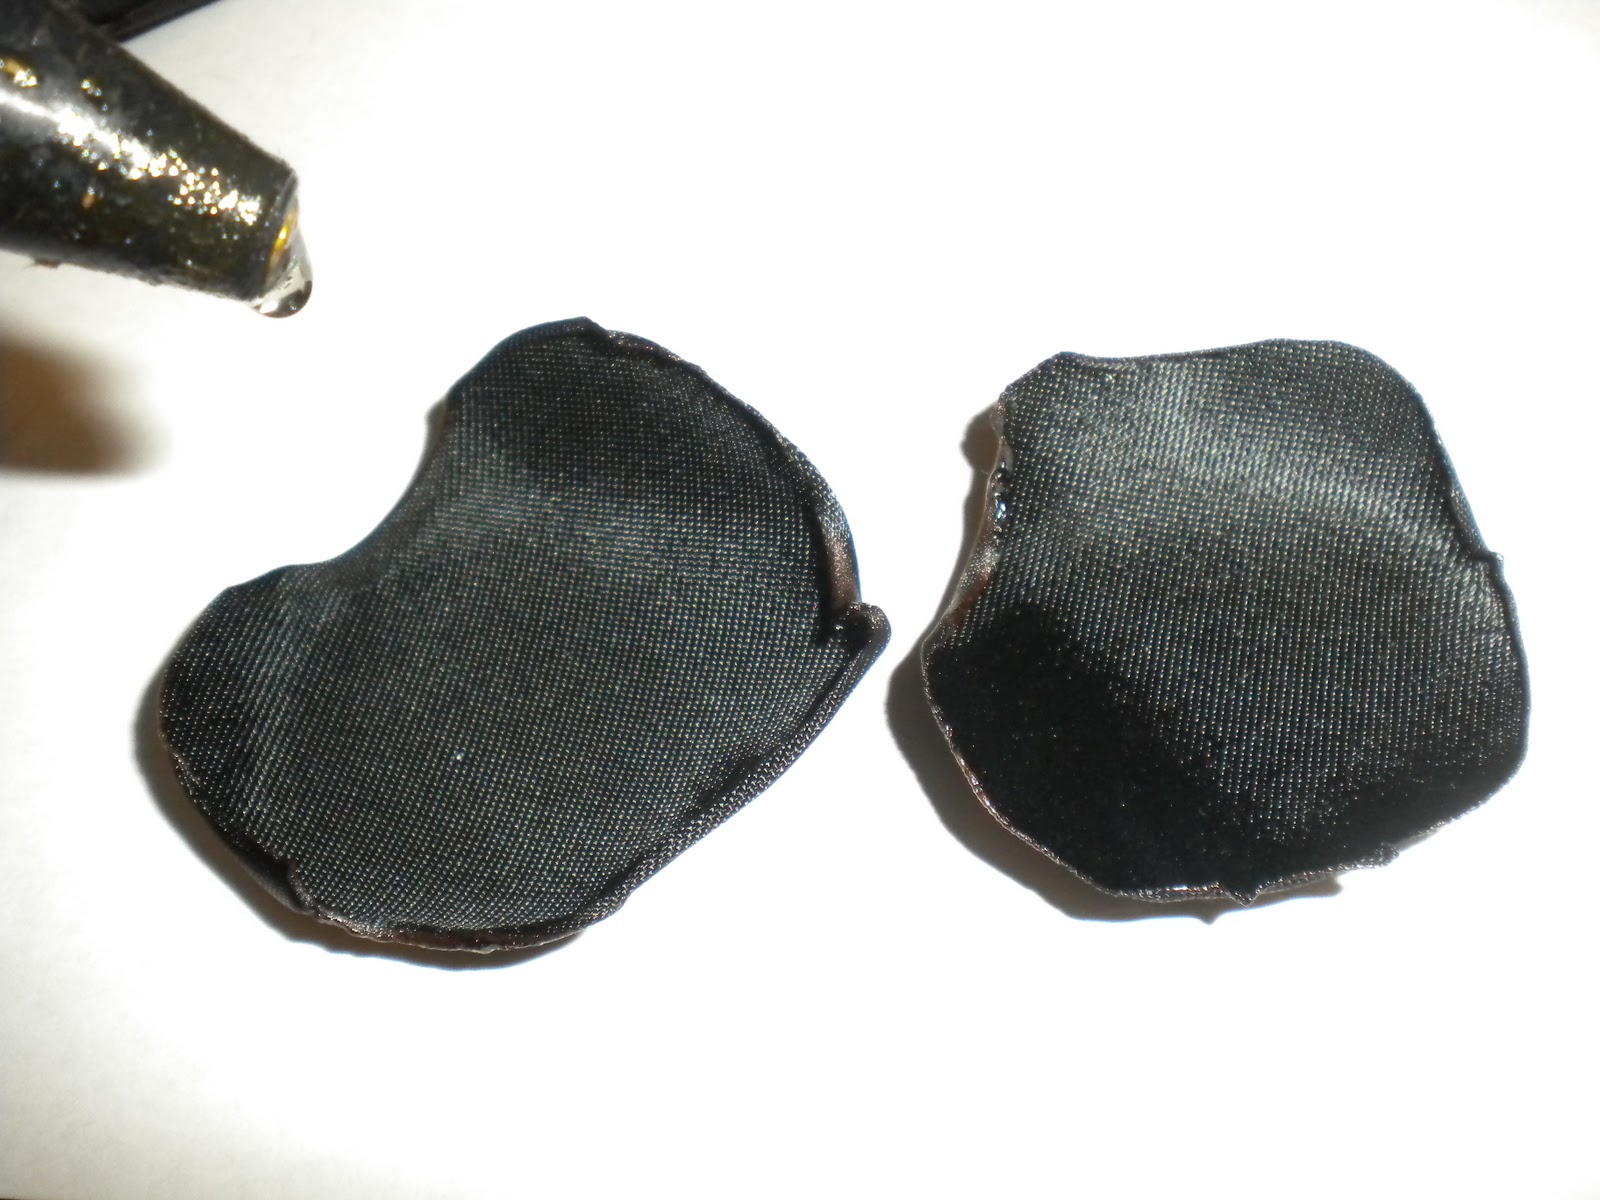
Step 1: Prepare to make your flower. Cut out a bunch of different size circles out of a black satin like fabric. Burn the edges (I used a hand-held candle lighter) so the ends curl upwards. Note: I made enough circles in these pics for one big and two small flowers, because I wasn’t sure how many I wanted to put on the necklace. In my final version I only used the one big one.


Step 2: Plan your flower(s) by stacking the petals in size order. After you have an order you like use hot glue on the back of each circle to attach it to the petal it will sit on.
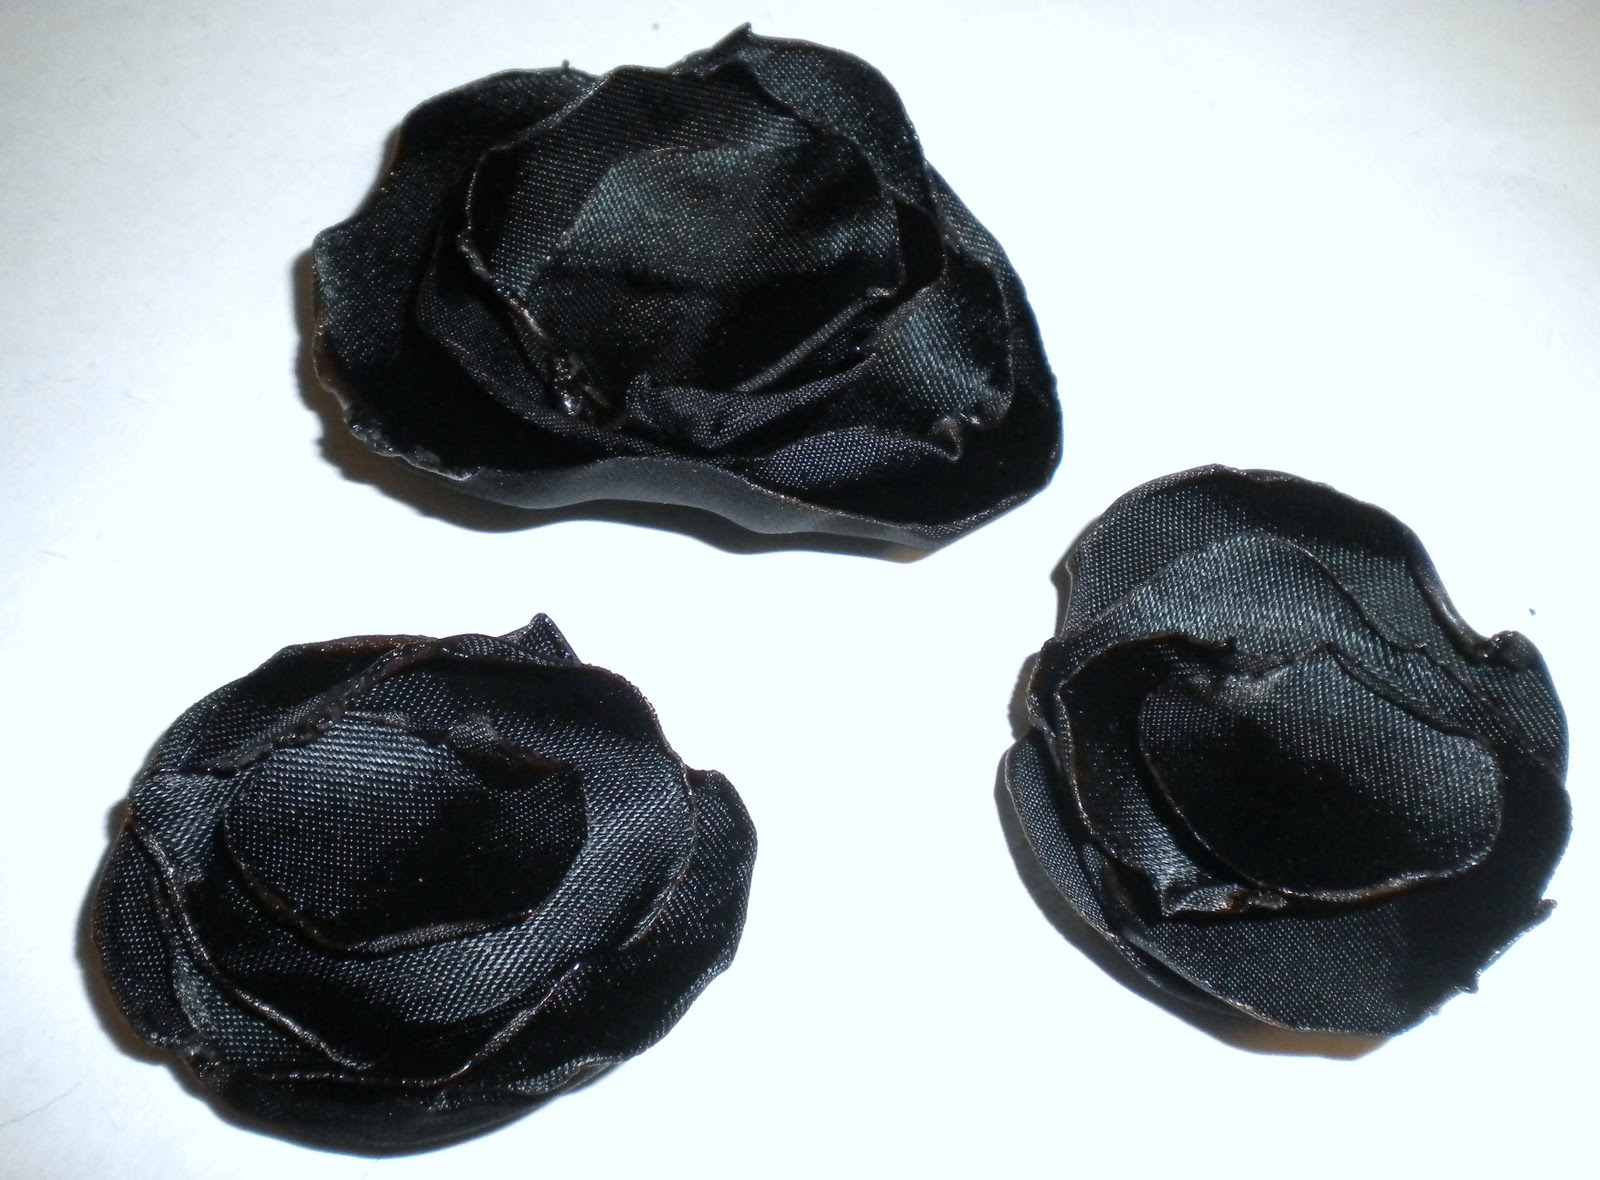
Step 3: After you have hot glued all the petals in place, super glue some itty bitty freshwater pearls into the center of the flower.

Step 4: Form the shortest strand of the necklace by making a chain of the 10mm faceted black beads using eyepins.
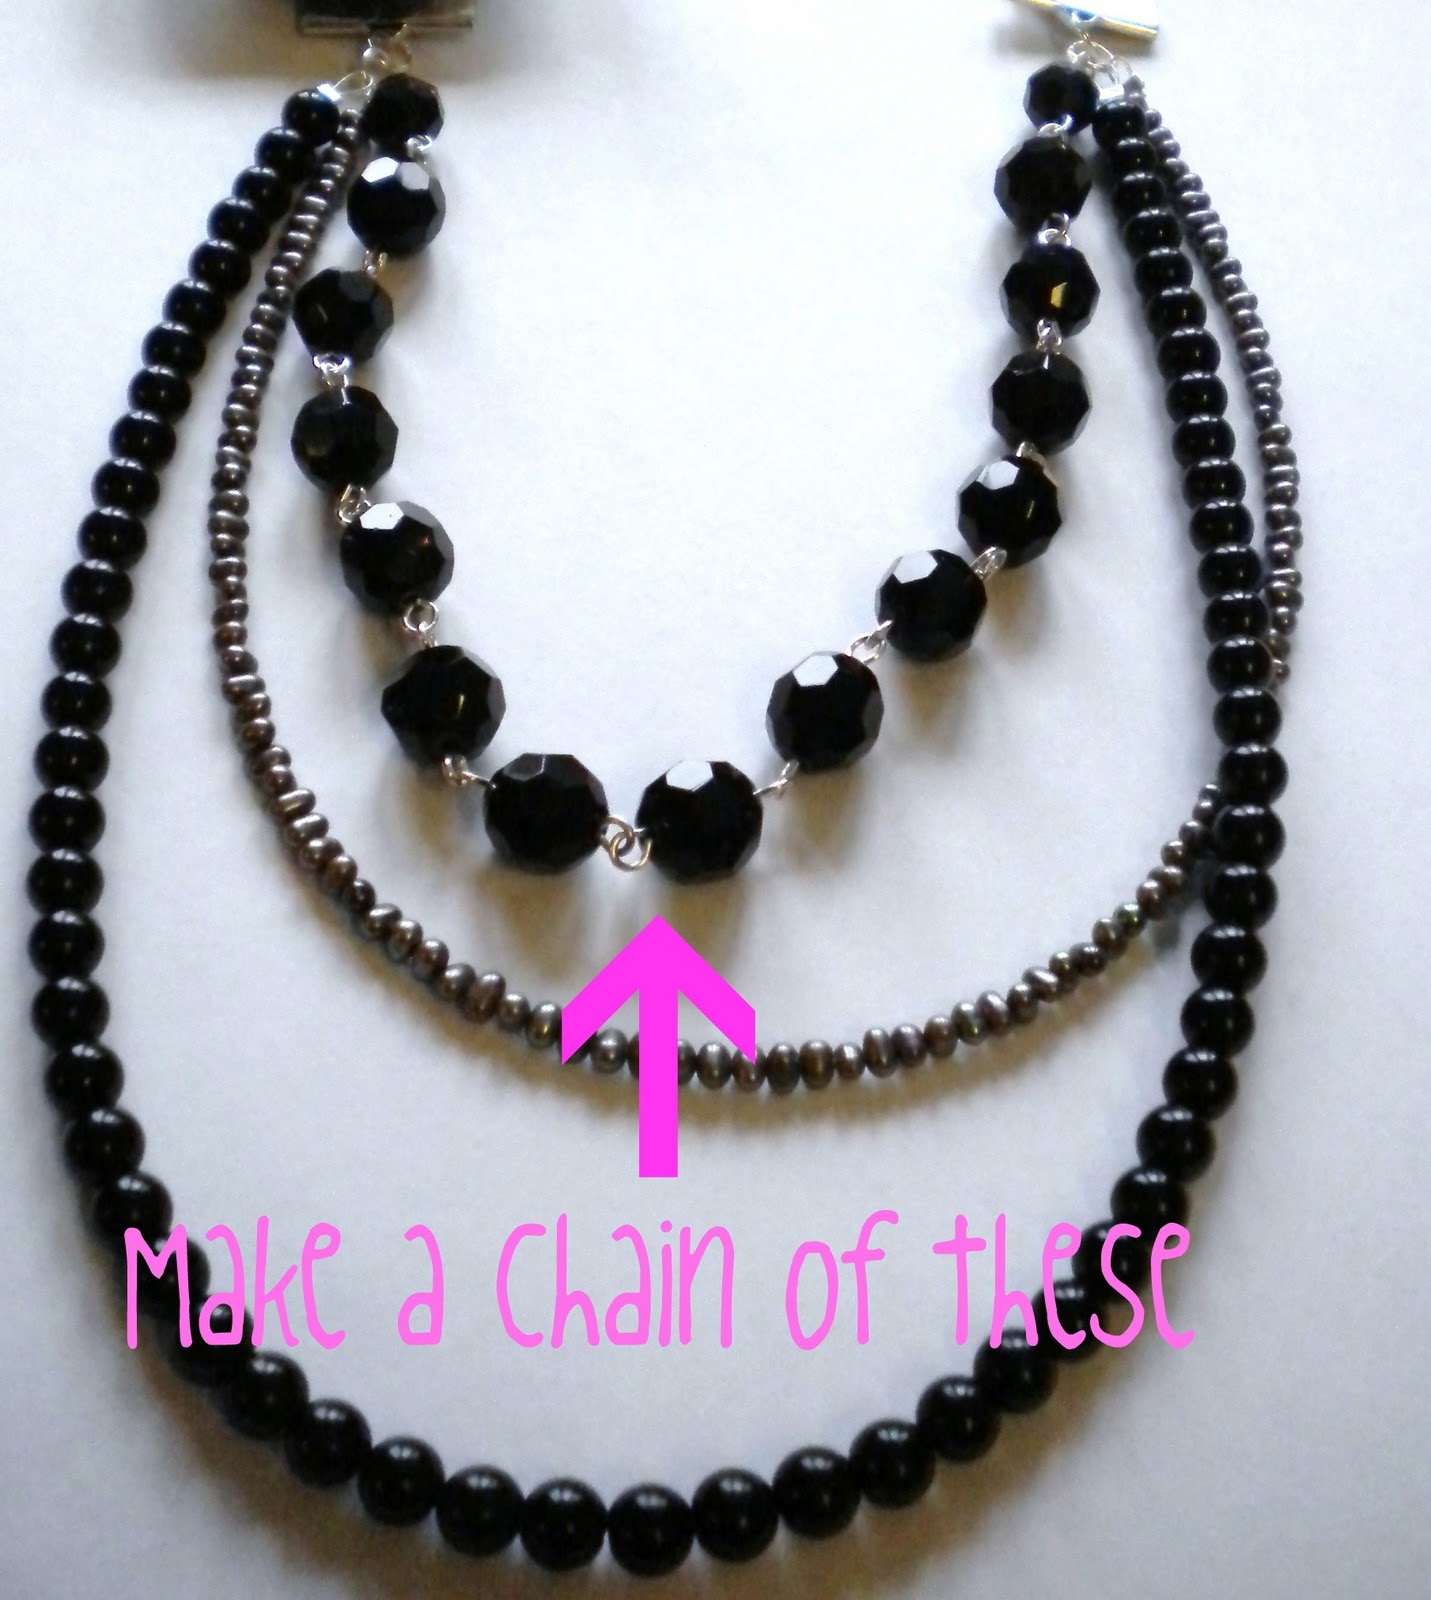

I used 15 beads.
Step 5: Then string a strand of freshwater pearls on beading wire (I normally use either Tiger Tail from Michaels or Beadalon) slightly longer than your chain of big black beads. String another strand of 6mm black beads longer than your freshwater pearl strand.

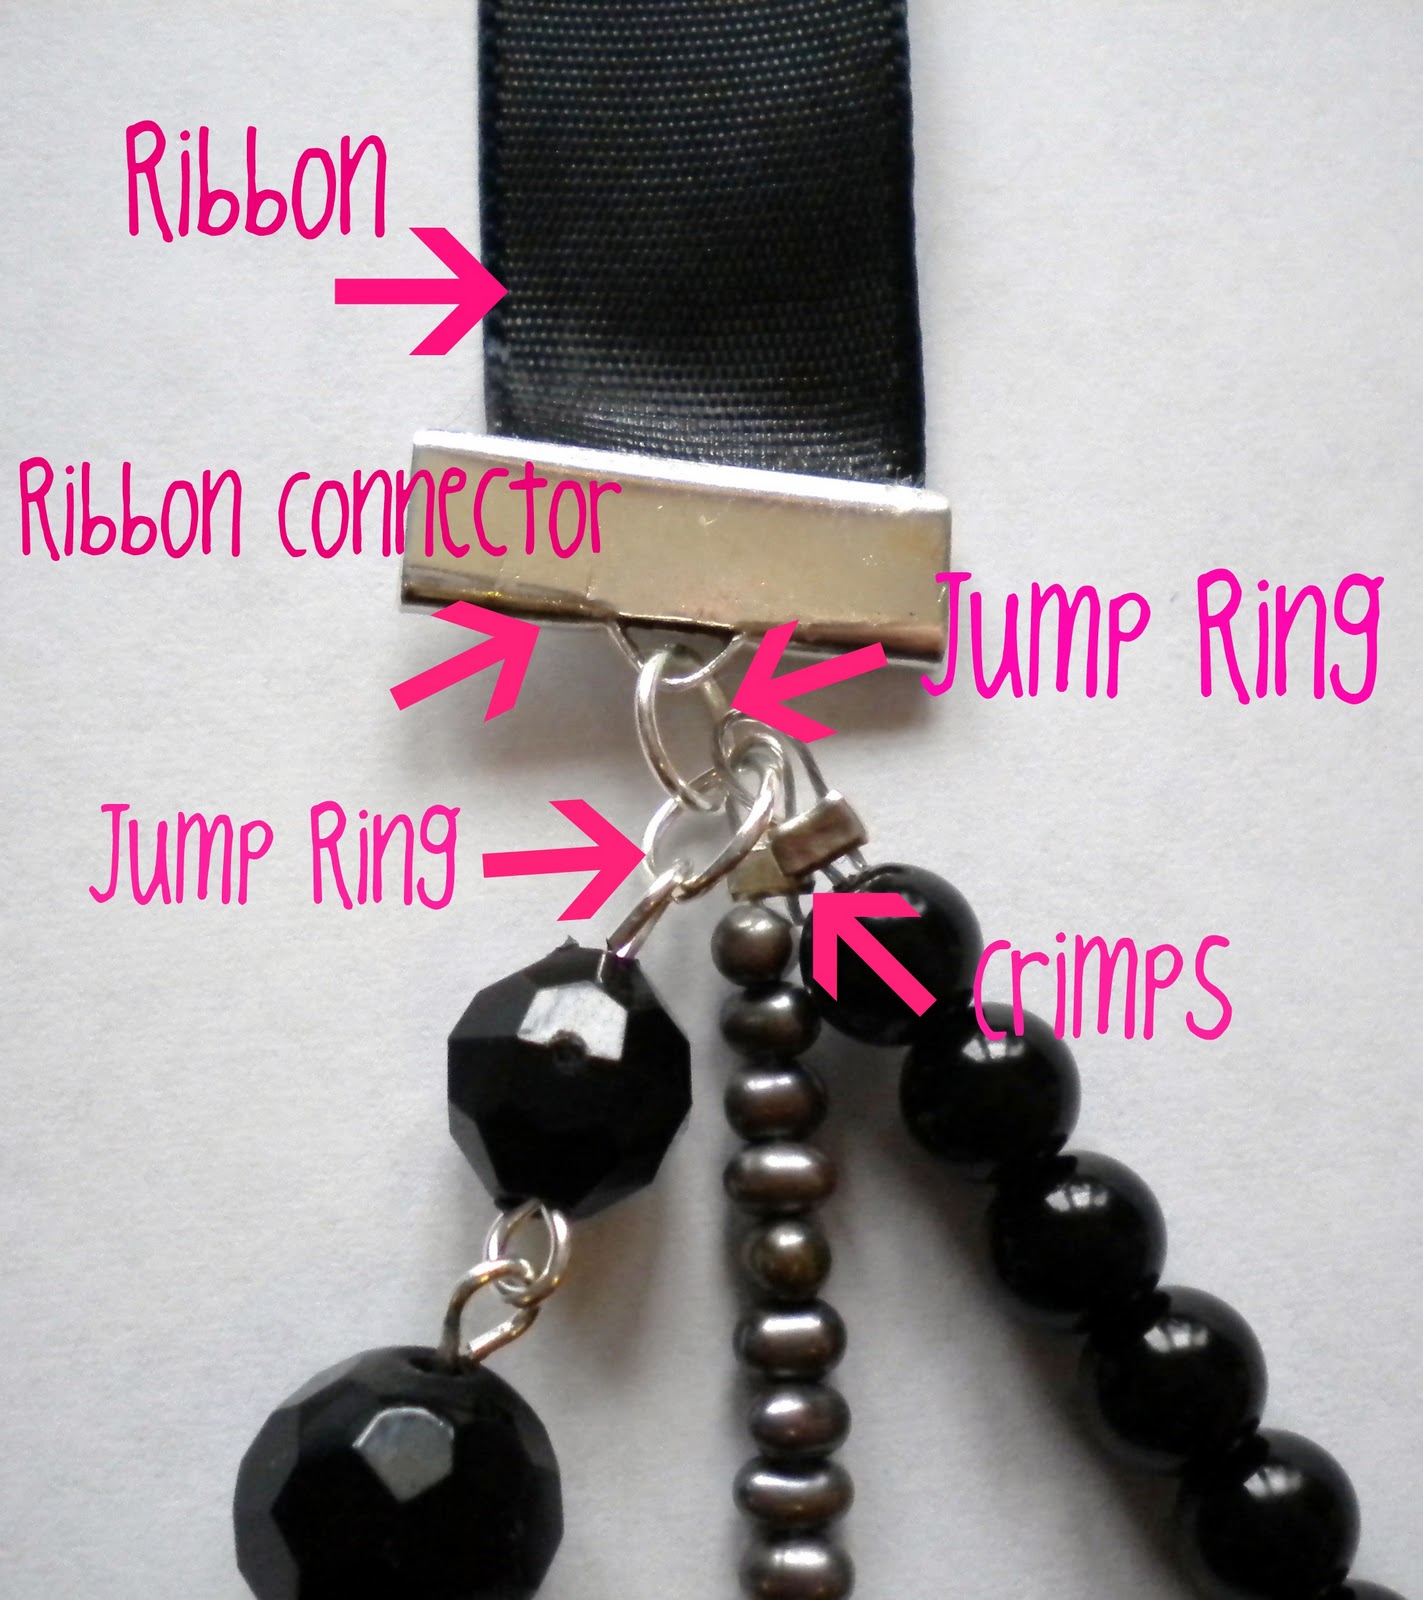
Step 6: Connect one side of all of your strands onto a jump ring. Open up the last loop of you chain of 10mm beads and connect it to the jump ring, and use a crimp bead to connect your two strung strands. Then attach that jump ring to another jump ring connected to your ribbon connector. I forgot to get a pic of that part. Whoops! But all you do is put the ribbon inside the ribbon connector, and squeeze it shut with needle nose pliers. Then repeat for the other side. Whew! Did you get all that?

Here’s everything labeled:
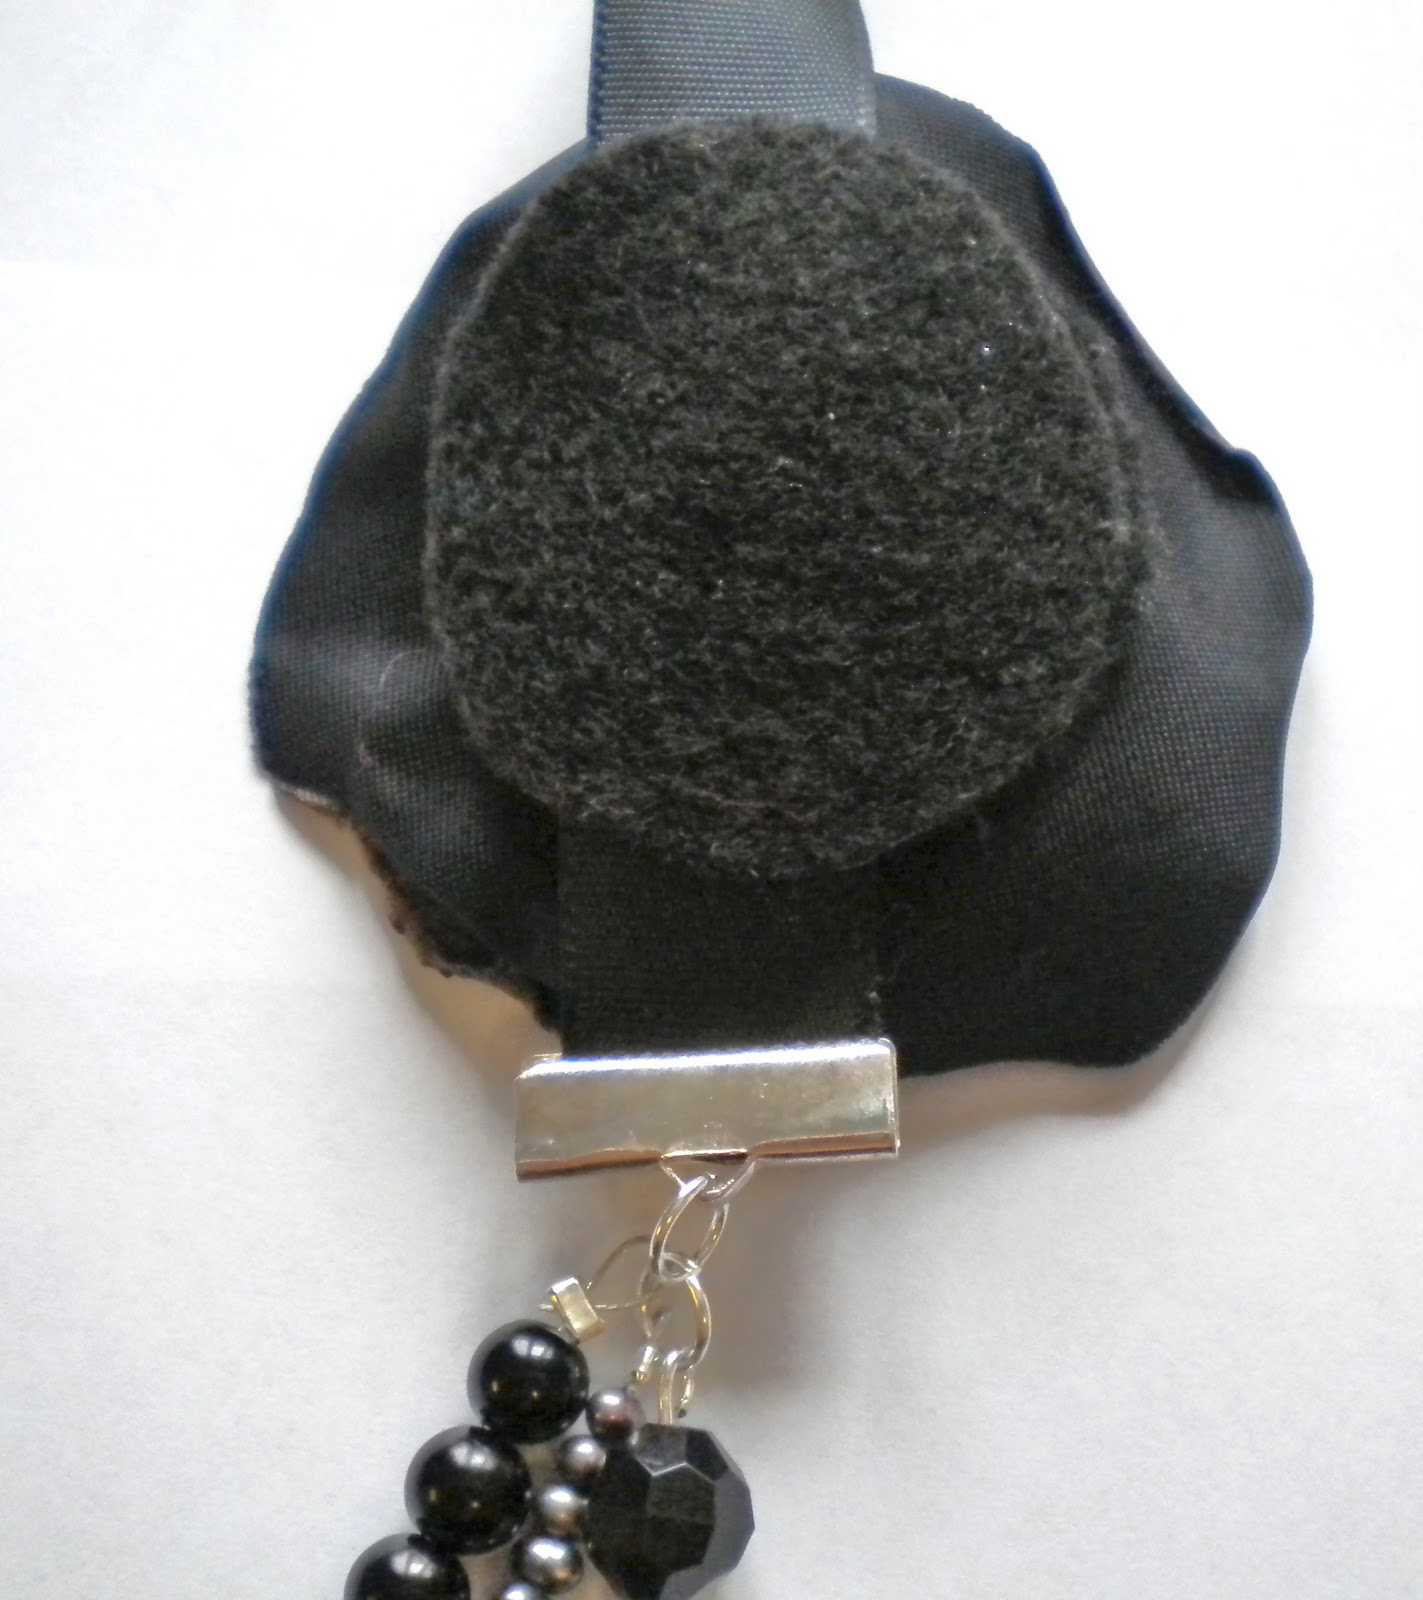
Step 7: Attach your flower to one side of the ribbon. To do this, cut out two circles of felt. Hot glue one of the felt circles to the back of your flower. Hot glue the ribbon on top of this circle, and then hot glue the other felt circle on top of the ribbon.

This is what is should look like when done from the back:
And that’s all there is to it! I didn’t add a clasp to the necklace, I just tie the ribbon into a bow on my neck.


Enjoy necklace making!!! For more tutorials, come check out my blog. Thanks again Jen!
Thanks so much Rebecca, I adore this necklace. Jen
Oh how cute! I just saw these at Old Navy last night! I like the step by step on how to make one yourself!!!