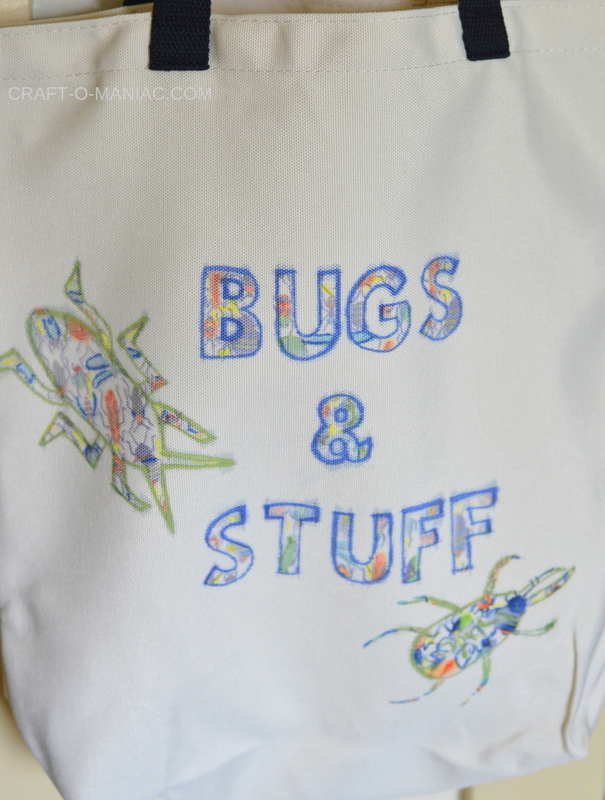
DIY Bug Bag With Cricut Infusible Ink
This is a sponsored conversation written by me on behalf of Cricut. The opinions and text are all mine.
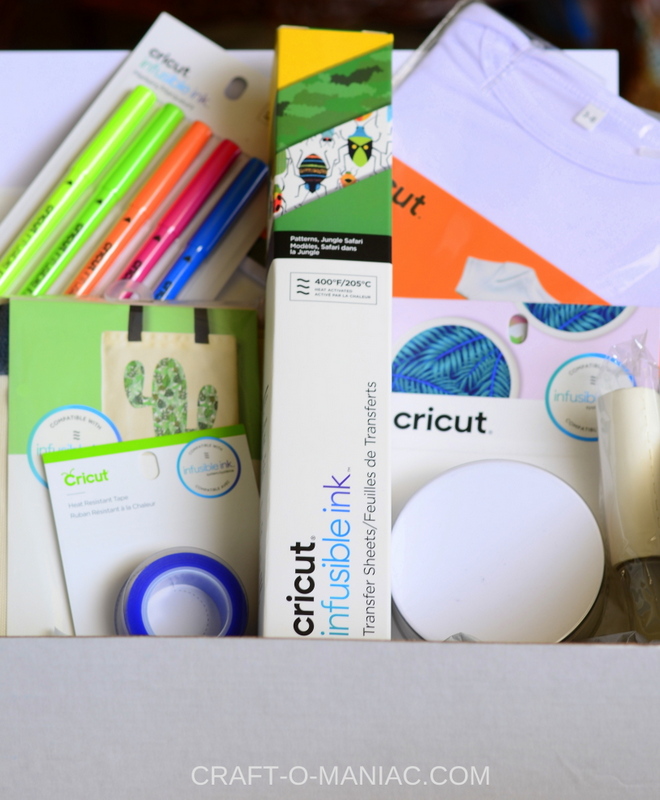
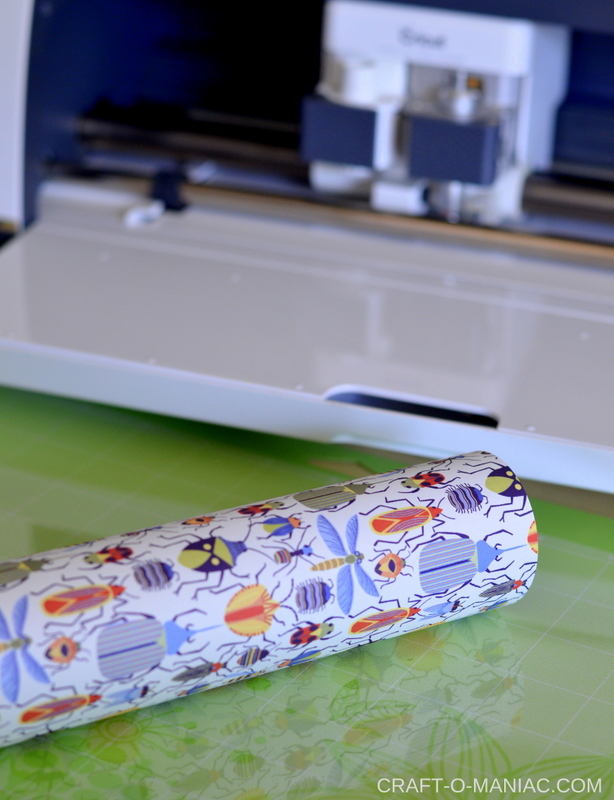
Hello friends, I am super excited to share something new to the wonderful world of Cricut and Cricut Design Space. Eeeee! what is it? their new “Infusible Ink” it is ink that has been infused onto thick card stock paper. WHAT? Yep!
What You Do:
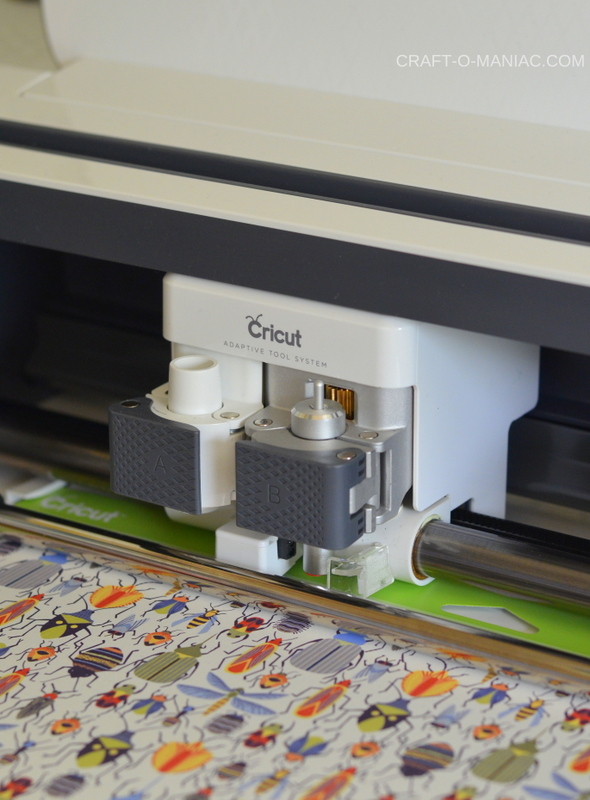
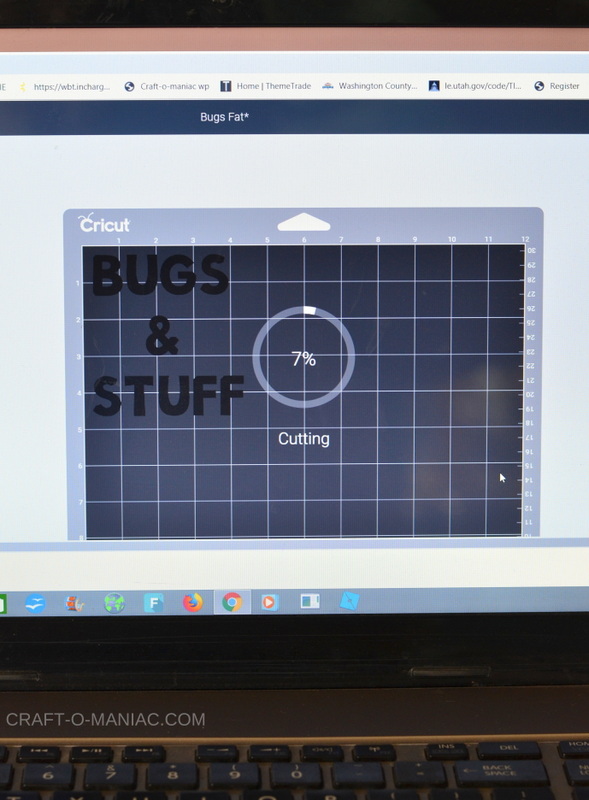
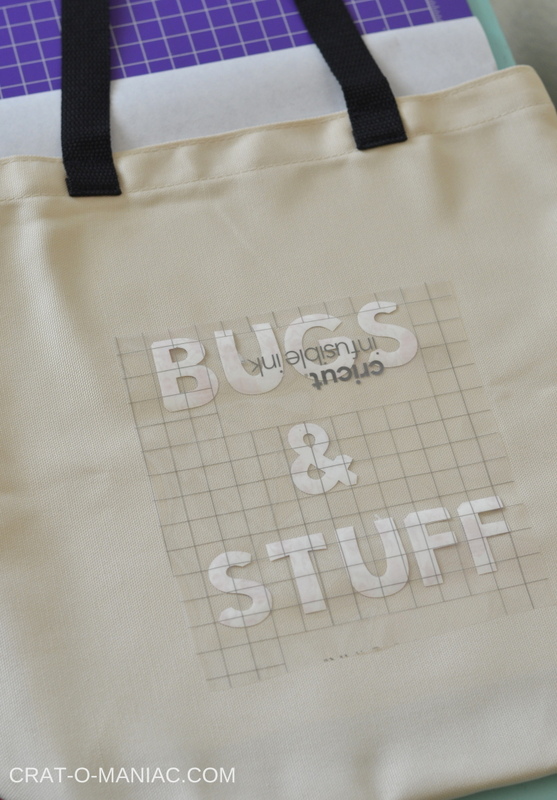
You get on Cricut Design space, create/design what you want and using your Cricut Maker, as well as the fine point cutting knife. You mirror your words and when you are all set you “Make It”/ cut it out.
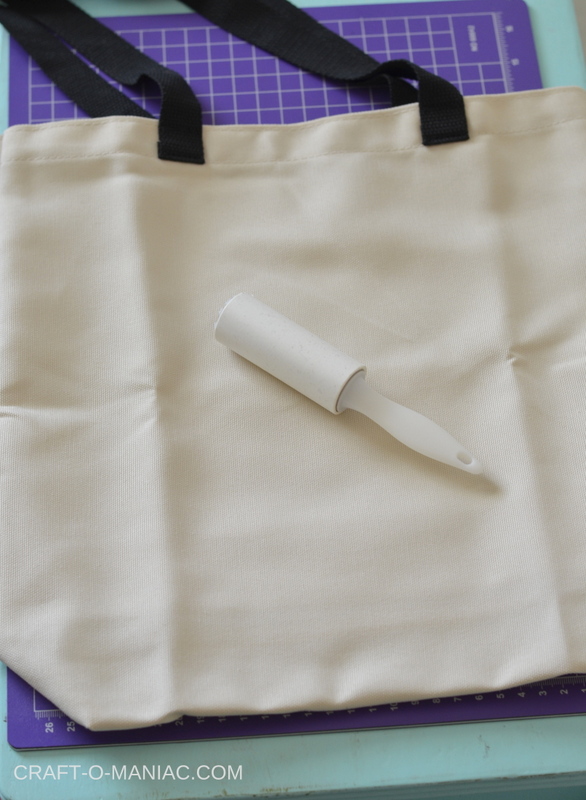
Next you peel off the excess infusible ink paper that is not the design, use some transfer paper under the bag, garment, etc. Use a lint roller to pick up and excess fuzz, dust, lint. Heat up your garment/bag first and then once everything is prepped to go.
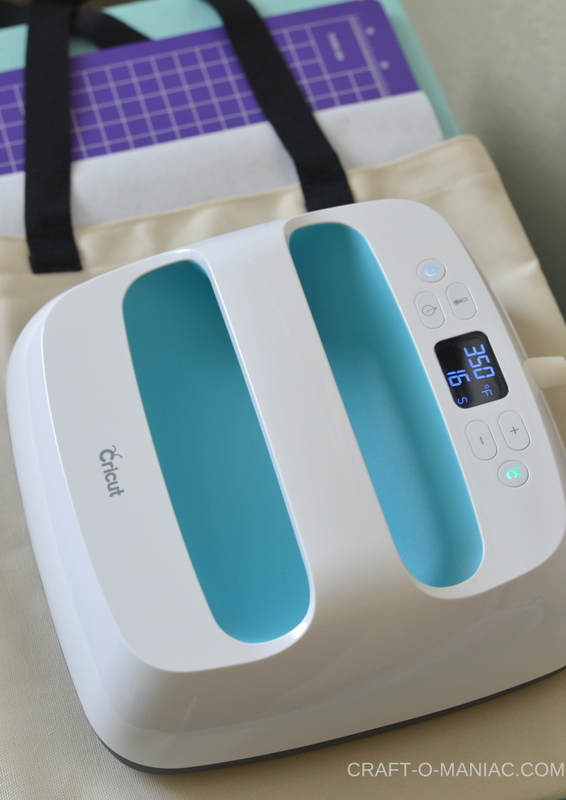
You use the Cricut easy press heating mat (I don’t have one so I used a thick cutting mat) and your Easy Press set to the proper temp. Then you will flip over the image or saying and you heat press the infusible ink design onto the garment or in my case a tote bag.
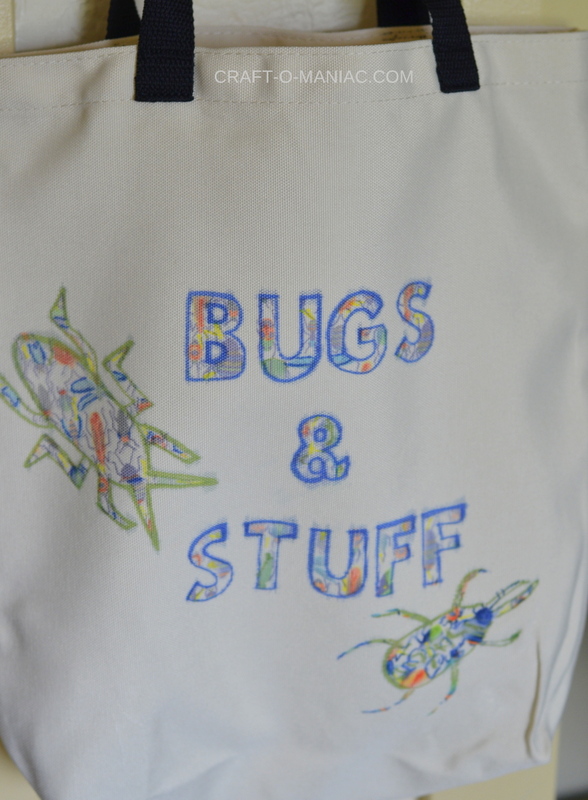
Once its been heating the bag/garment for the right amount of time, you lift your easy press and VIOLA! You have just infused some ink onto your bag. Its so amazing…I was like HUH’? WOW! no mess, just easy and done. I also outlined the words and bugs with some of Cricuts Infusible Ink pens.
Below you can see my images in a step by step tutorial.
Now your son or daughter has a cute bug tote, fill it with a a net, a jar, or bug container, and let them go explore… gather twigs, leaves, rocks and above all catch bugs.
You all this is the best thing ever, and they have all kinds of infusible ink options to choose from, so go get yourself some infusible ink and have some fun.
This is a sponsored conversation written by me on behalf of Cricut. The opinions and text are all mine.
Comments submitted may be displayed on other websites owned by the sponsoring brand.
