Cricut Wisteria EasyPress Bundle Plus DIY Apron Project
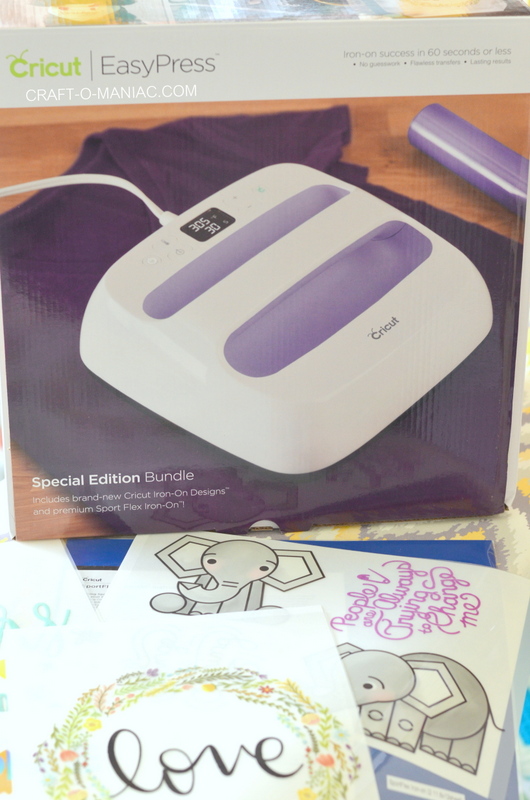
Hi friends today I am sharing the new custom “Color Of The Year” Ultra Violet EasyPress machine, and the great bundle of goodies that comes with the Cricut Wisteria EasyPress bundle, which happens to be exclusive to JOANN Fabric and Crafts right now. Friends, I am telling ya, if you are wanting to get something special for your mama, sister, grandmother, or your best friend this Mothers Day, this bundle or the Wisteria Cricut Air2 Bundle would be a dream. The color alone, is so beautiful and so feminine, I love it in my craft room/office and all its metallic shimmer goodness.
Alright, I have to tell you all that the first time I was shown the EasyPress I about died, it is literally one of those amaze-ball craft items that the second you see it, you are like “Um’ Mama needs to have and this in her craft room like right now, Mmmkay like stat! I was in love the second I saw it, and then… and THEN! I got to try it out and DONE! I was hooked.
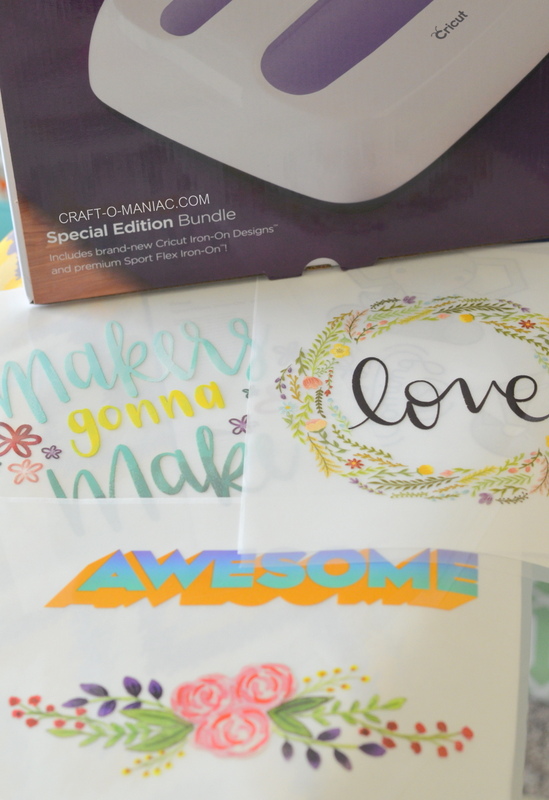
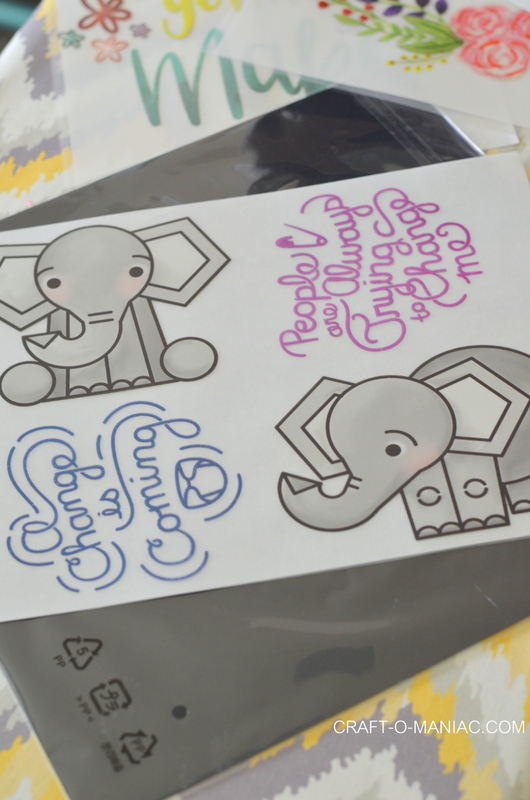
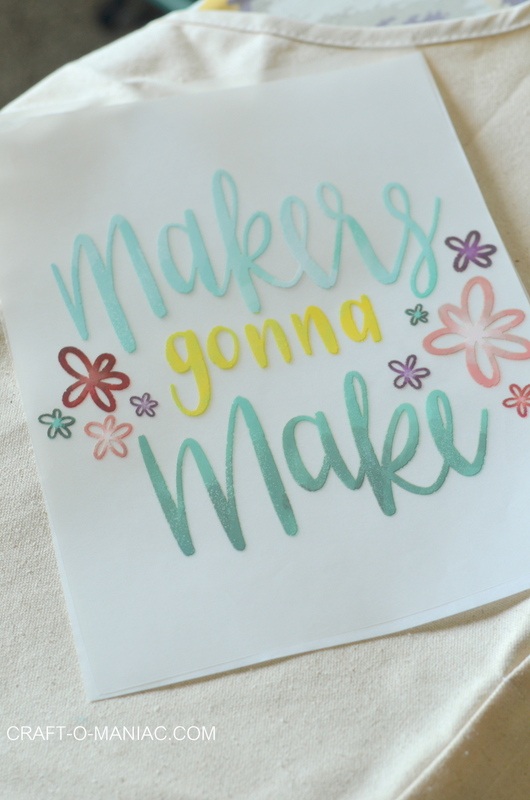
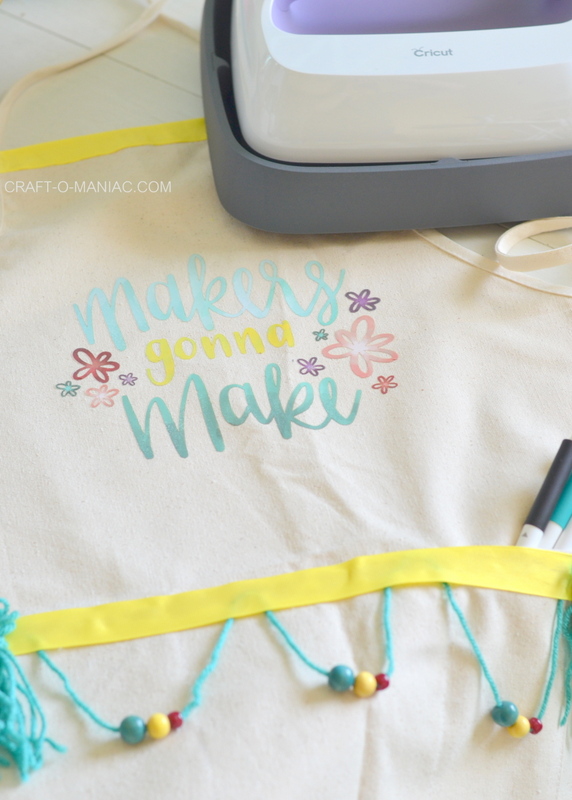
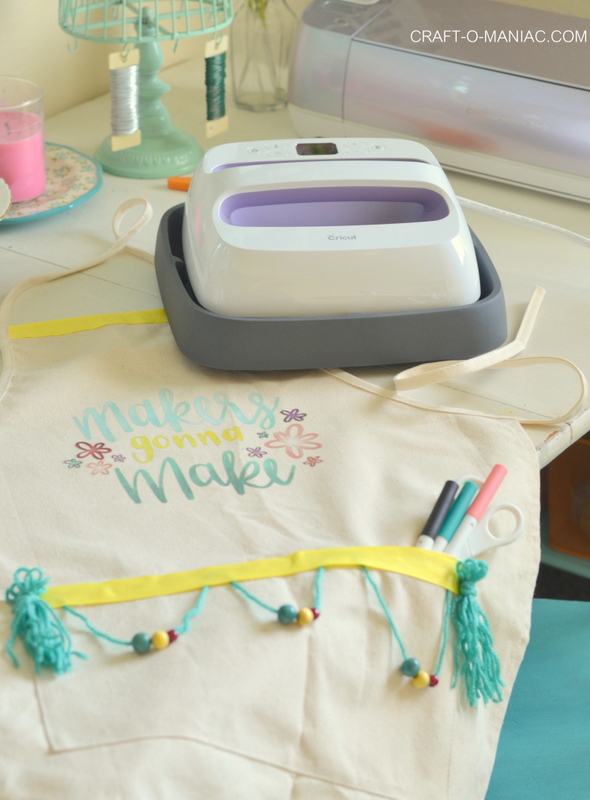
Today I am sharing a cute project I made with one of the Cricut Wisteria EasyPress bundle “pre-made iron on’s.” In the bundle you get; two sheets of sport flex iron on’s, one black and one blue. You get four darling pre-made/design iron on sheets, some sheets have more then one design on them as you will see in the images below. Finally you get the most amazing EasyPress in the gorgeous ultra violet color.
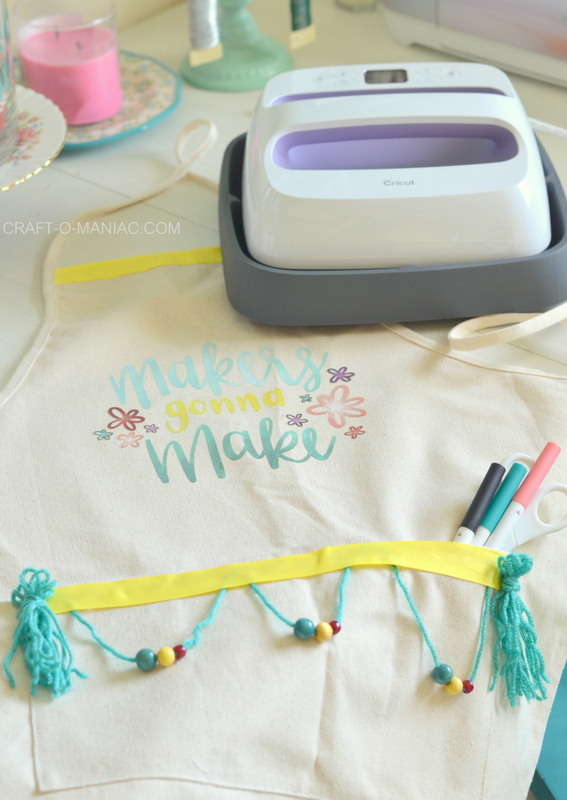
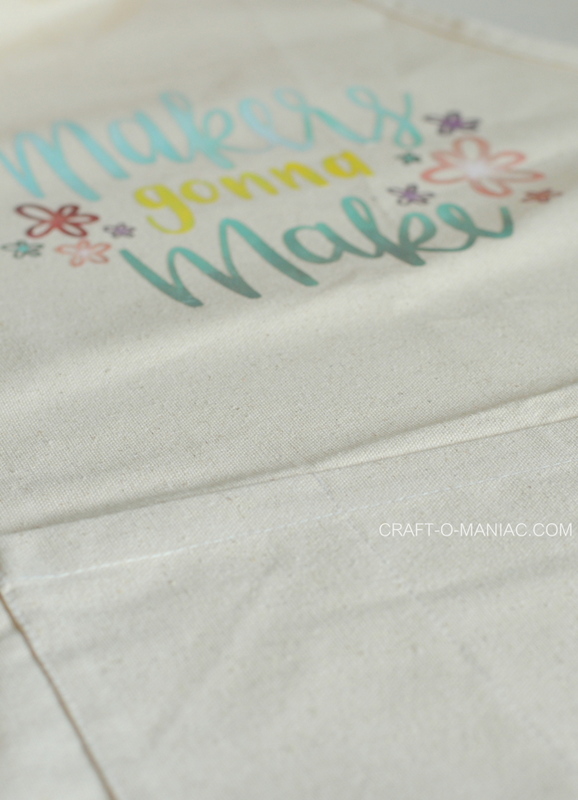
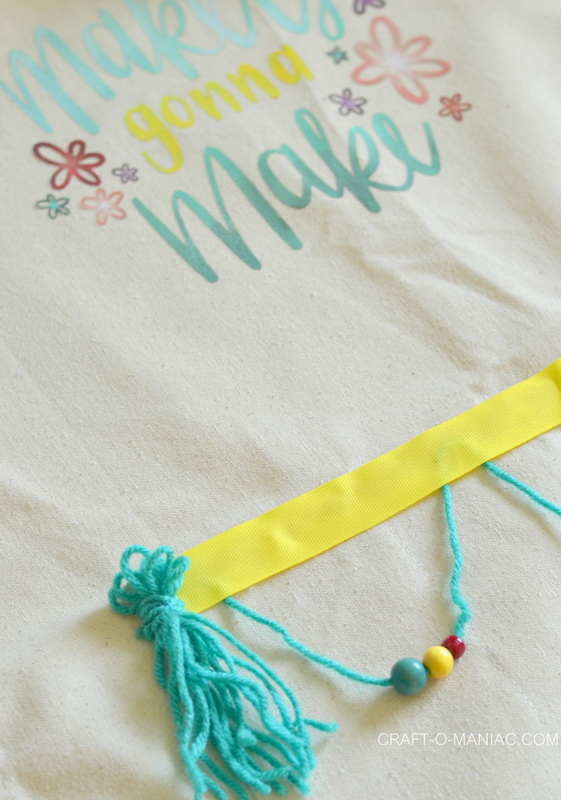
I decided to use the cute floral print iron on that says “Makers Gonna Make”
What you will need along with the iron on transfer is:
- One canvas or cotton apron of your liking
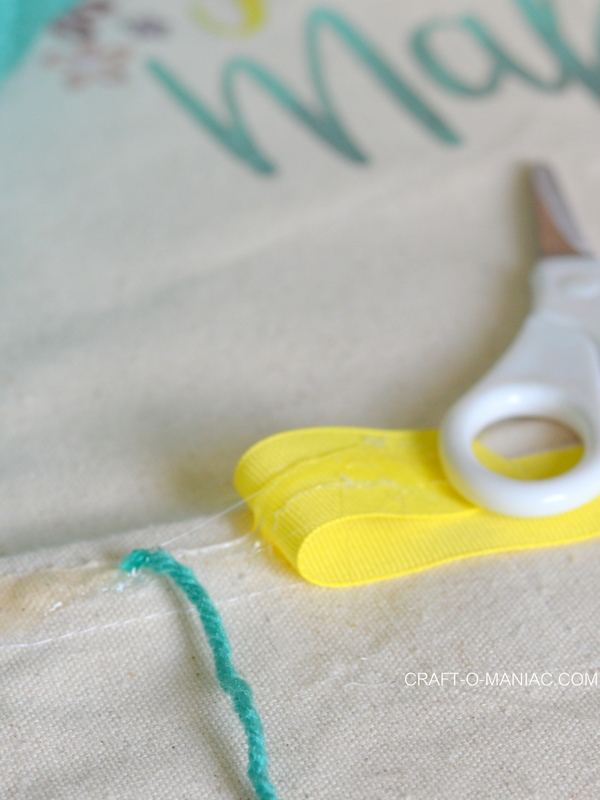
- Grosgrain ribbon
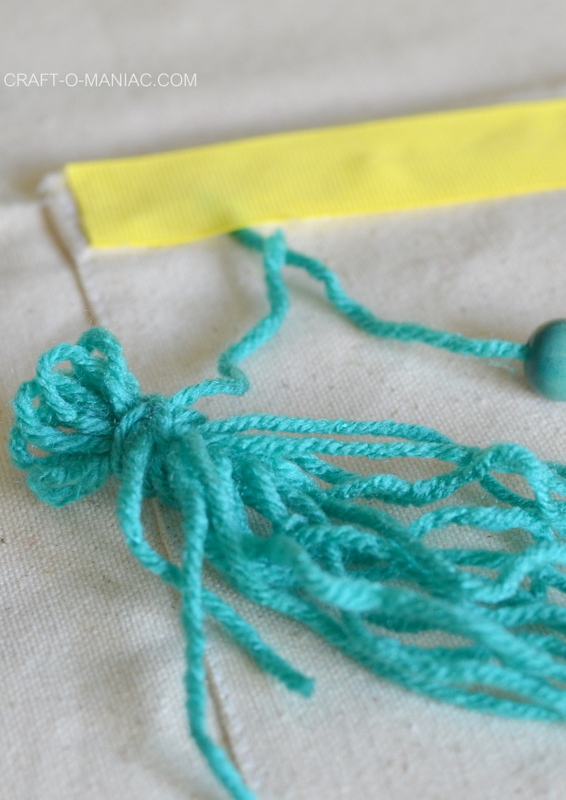
- Yarn
- Some wood, or plastic beads, and beads that yarn can fit throug.
- A glue gun
- Scissors.
How To:
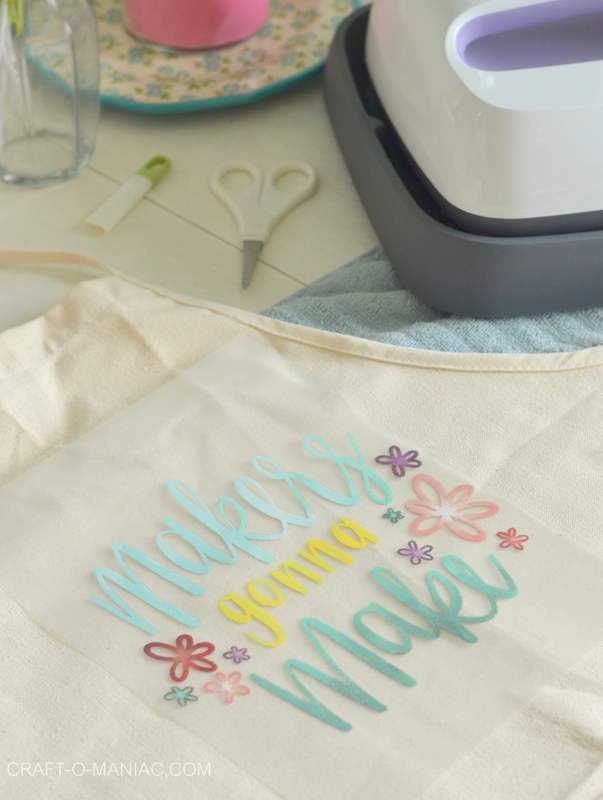
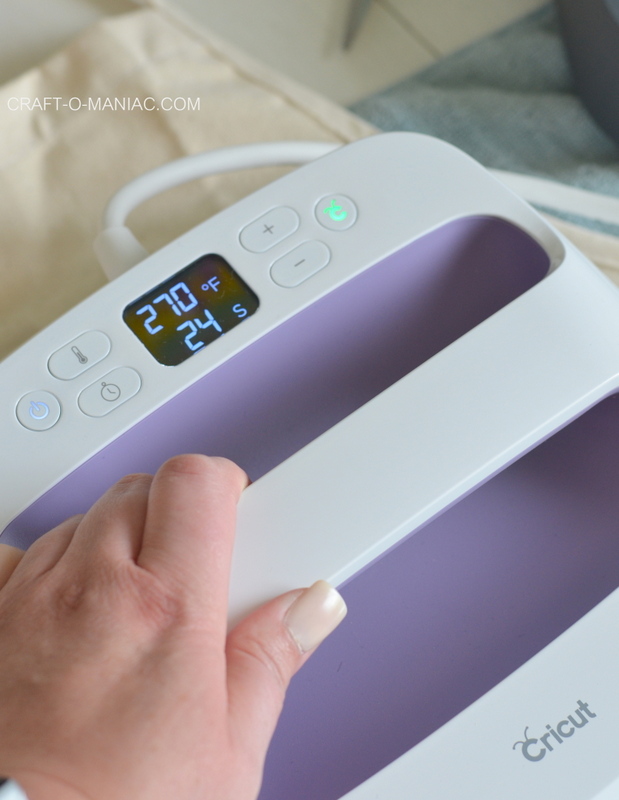
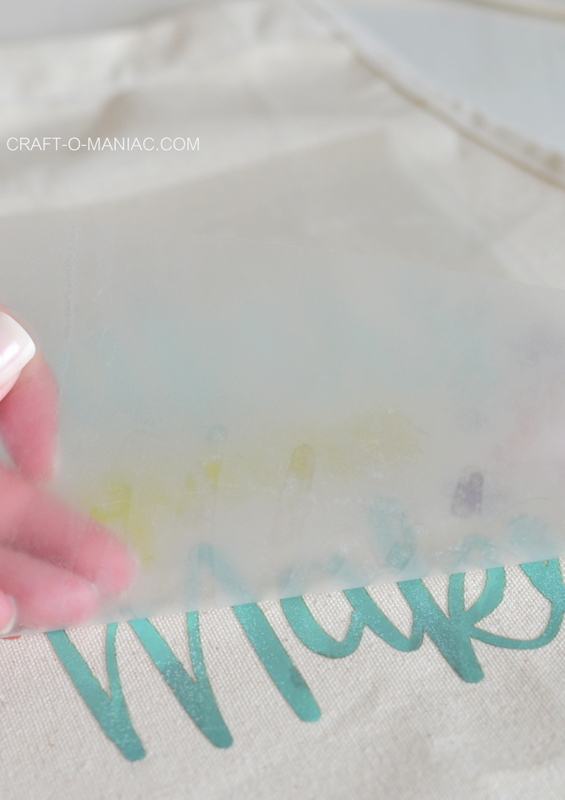
I started by applying my iron on, and as the directions indicate when working with your EasyPress you want to warm up your material first and so I did that for about 10-15 sec. Then I placed my iron on transfer down and following the “Quick Reference Chart” that’s included with your EasyPress I selected a temp and time for the canvas apron. I then used my EasyPress and applied the iron on.
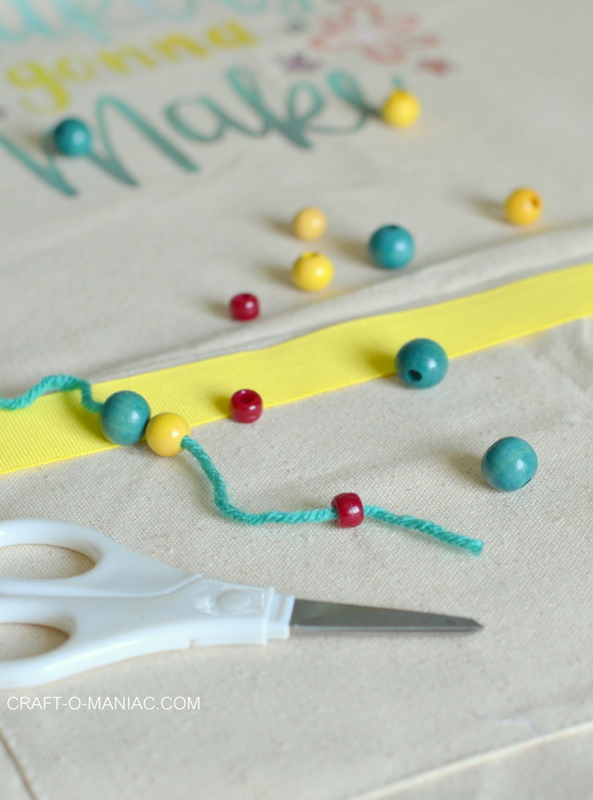
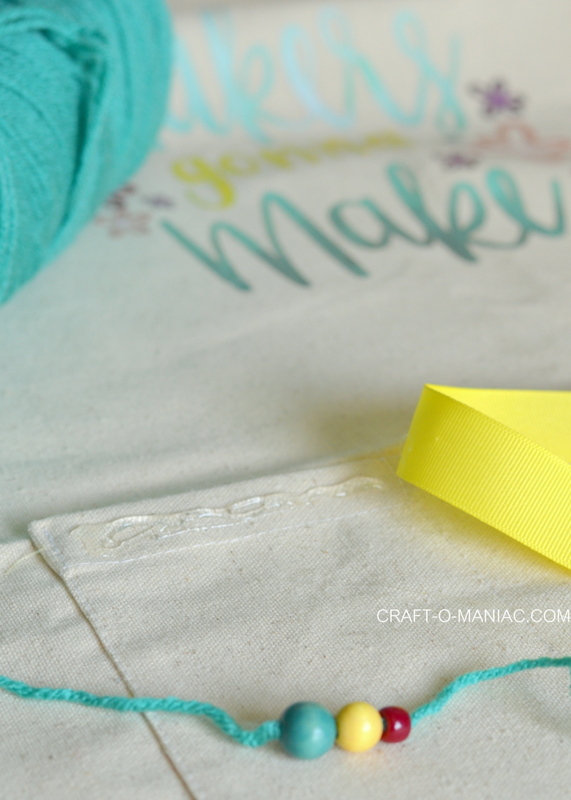
I then moved onto threading my beads onto the yarn. Using my hot glue gun (new sew Woop!) I hot glued down a bent like piece of the yarn to create a drop like loop, as well as glued down the grosgrain ribbon across the top of the pockets. Once that was done, I took my yarn and created “8” loops pinching it at the top about a 1/2 and inch down. Once I was done creating the loops, I clipped of the dangling piece and then took another piece of yarn and wrapped it around the top again at the 1/2 inch mark down from the top. I tied off a knot and then clipped off the knot strings and finally hot glued both yarn tassel pieces to each end of the embellished pocket holes. The last thing I did to dress up the apron was to hot glue down one more piece of ribbon to the neck area of the apron. The apron is now done.
The apron was already so cute with the darling pre-made Cricut iron on, but again I decided to embellish it more, and you can find all the extra supplies at JOANN Fabric and Crafts.

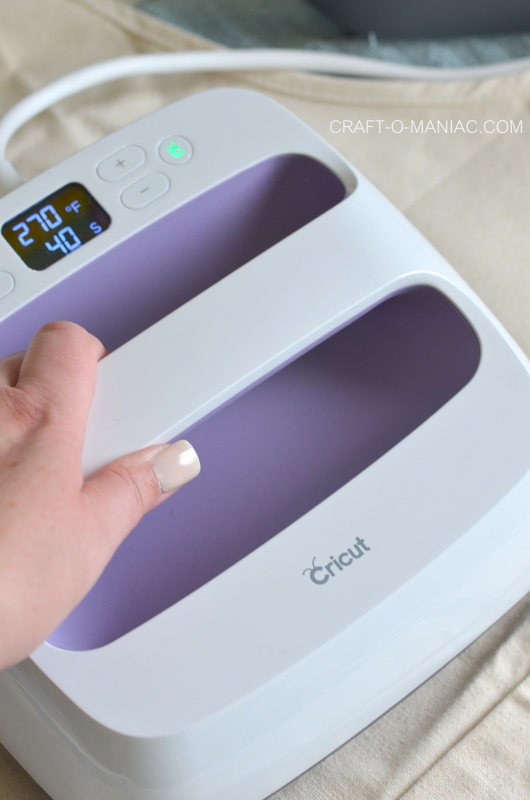
Completely obsessed that again using the “Quick Reference Guide” that you can pick your temp and timer options depending on what fabric. Here the EasyPress is already counting down from what was 40 seconds. LOVE.
Ohhhhhh’ YEAH!
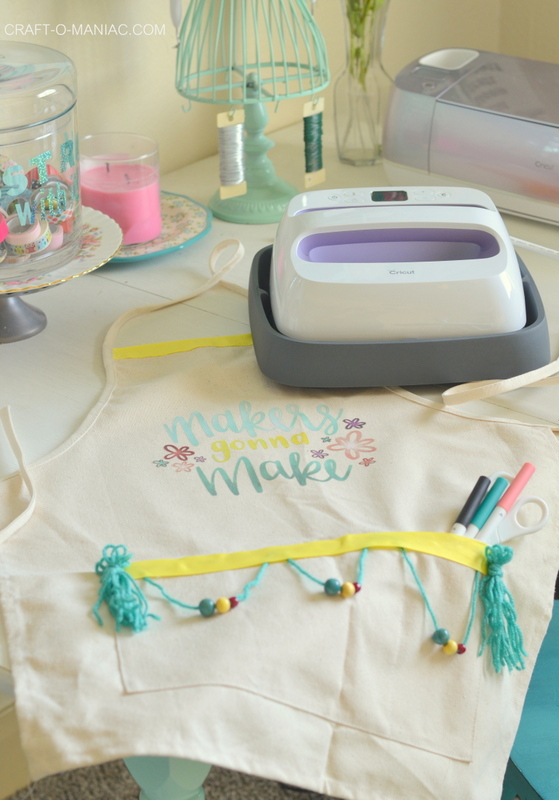
I love how it turned out, what do you all think. It kind of has a cute boho thing going on, but I love that its fresh and spring like too.
This is a sponsored conversation written by me on behalf of Cricut. The opinions and text are all mine.