Home Design~ DIY Plastic Plate Wall
Hi, I’m Jocie (pronounced Jah-see) from OPC’s The Better Half. I live in Baltimore with my hubby, Ethan and two young daughters. Ethan runs One Project Closer (OPC), a site dedicated to providing free guides to help you DIY like the pros, in addition to giving you the most up-to-date coupons for Home Depot so you can keep on doing the projects you love. OPC’s The Better Half (since I am Ethan’s better half), is all about thrifty and fabulous DIY decor and crafts!

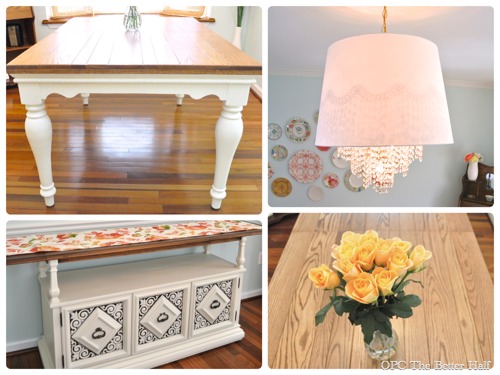
I started revamping my dining room a few months ago and have made a good amount of progress considering I often get distracted by bright and shiny new projects. So far, I have revamped a chandelier for $30, built a Pottery Barn Farmhouse table knock-off with a ton of help from the hubs, and updated an ugly 1970’s buffet.
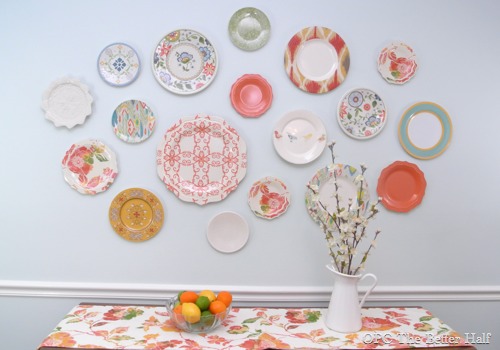
But, my favorite (and easiest) project in the dining room was my plastic plate wall! I was shopping at Target one day…shocker, I know….and came across these absolutely fabulous plastic plates. I could not believe they were plastic because they look so real. The best part was that they were also on sale for only a couple of dollars per plate. I had wanted to make a plastic plate wall for a long time, but with two crazy kids, I was worried was plates getting knocked off the wall and broken. So when I came across these plates, I knew it was meant to be! After getting home from Target, I played around with the layout, with the “help” of my girls.

Now, I’m also a bit lazy and the hubs is very adverse to putting nail holes in the wall, so I decided to use 3M Command Strips. These may be the best invention known to man (or more likely, woman)!
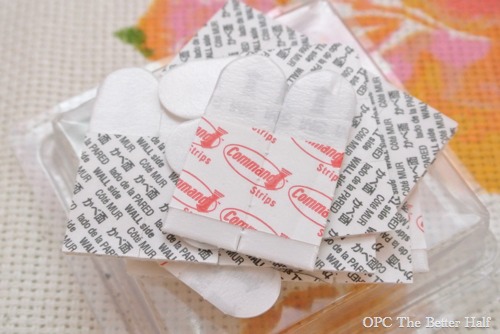
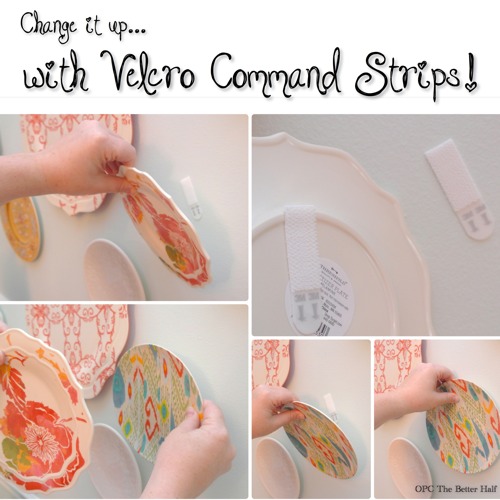
The Velcro Command strips worked the best – I velcroed the two sides together, stuck one side the plate, then stuck the whole thing to the wall. Super easy! Of course, even after I planned my layout, I was not completely happy with it. But with the velcro Command strips, it was super easy to switch the plates around!
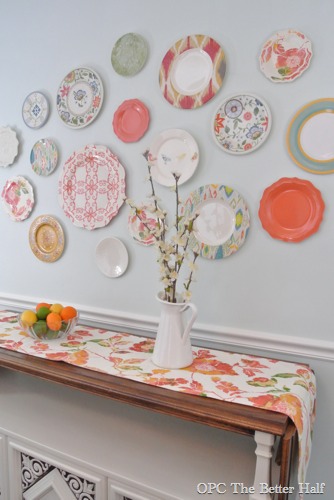
My plate wall has been a big hit, and even Ethan likes it even though its pretty girly! I will let you in on a little secret – I couldn’t find enough plastic plates, so I had to use two glass plates (I used 3 Command strips on those). Can you guess which two are glass?
For more fun projects and crafts, visit me at The Better Half! You can also connect with me on Facebook and Pinterest. Hope to see you soon!
Isn’t her plate wall the cutest? I love the colors and patterns. Thank you so much Jocie. Jen-COM

I so LOVE Jocie’s Plate Wall! And the fact that they are plastic and hung with command strips is SO AWESOME!!!
Thanks SO MUCH for having Jen!! 🙂
wow those plates are adorable! And I have been wanting to try those command strips for so long, just havent yet. They seem so handy
Britt @ Creating Space for Five.
Love this. It looks so easy and I love that there are no worries if one were to fall. I love the cheery, bright colors!
madre mia, cuanta imaginación!!
♥♥♥
beautiful!!
I think I tap on those plastic plates at Target every time I’m there because I can’t believe they are plastic. Nice project, and using the command strips is genius!
This is a great idea and so much easier than nailing a bunch of holes in the wall!
Wow! This is really fantastic! Thank you for sharing this creative art. Awesome and perfect for the kids. We also did a DIY Bird Feeder also out of recyclable plates. You should check this out!
EarlyLearning.Momtrusted.com DIY Bird Feeder