BOOttun Frame
Hello There today I am thrilled to show you how I made my latest craft my-
{{BOOttun Frame!}}

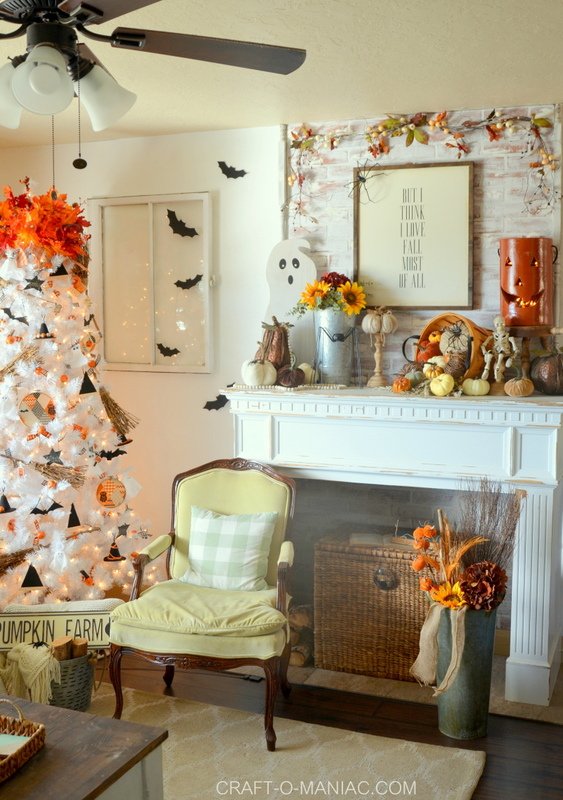
These two pictures are the final product!

HERE IS THE HOW TO: First cut your burlap out and add some mode podge to the frame backing. Next lay the burlap over the mode podge smoothing it out. Then map out your buttons on the burlap before you start hot gluing. You want to make sure you have the right size as well as the room. Just be careful when gluing and also not to bump the other buttons that aren’t glued.

Then I cut pieces of scrap paper to size for the border. I made sure it fit the frame as well as around the button saying.

Then with a glue stick I glued each strip down.

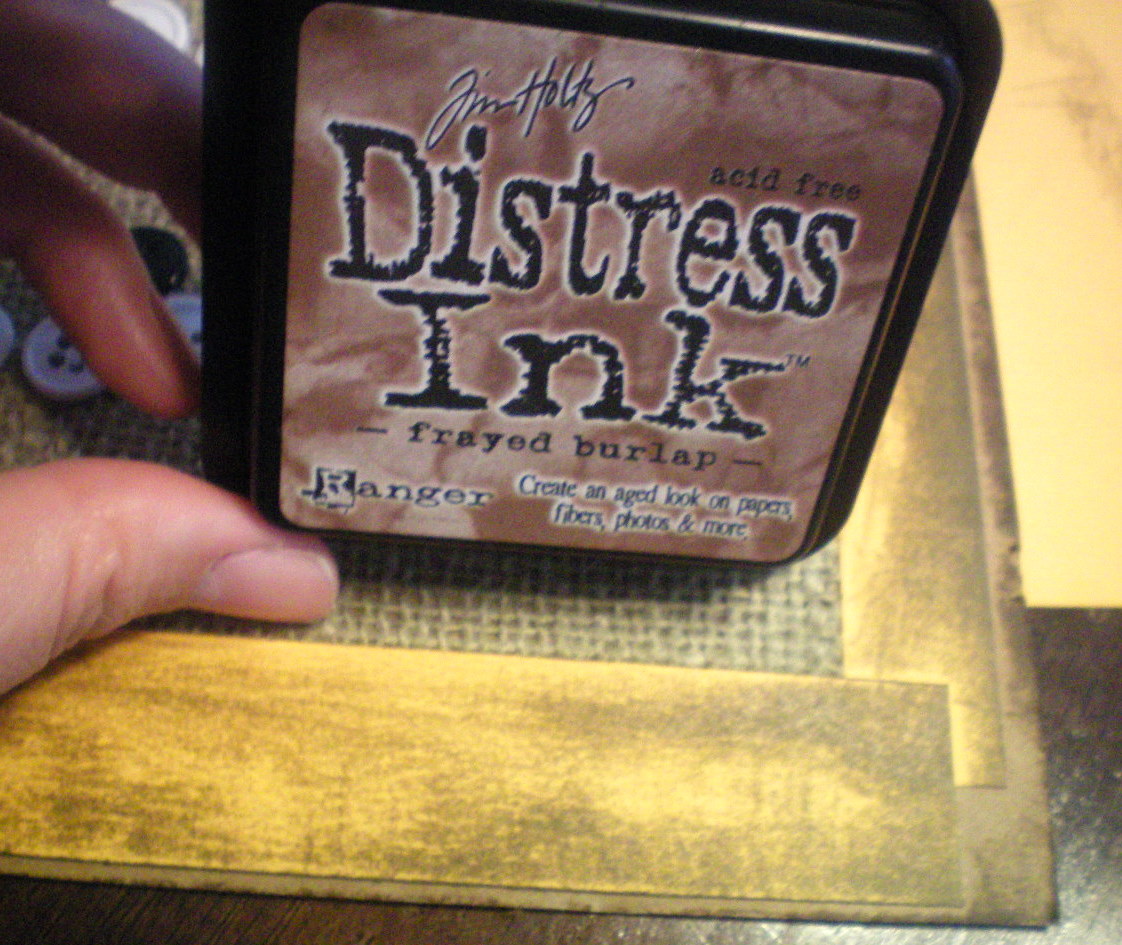
next I used my Distress Ink and Distressed the orange scrap paper.
For another layer I did the same with black scrapbook paper. Cut to size and glued down over the orange paper.

So that it will look like this.

LASTLY put your frame with glass (optional) back together. My frame was an oak finish and I did a white acrylic paint {glaze} on it, where you stroke the glaze on and wipe off with a rag.

Thanks Guys for stopping by!
I am linking up with Fireflies and Jellybeans for Show off your Stuff Party HERE.
So cute!
It looks great ~ you may even say, Bootiful! La
so cute 🙂
So cute! But I wouldnt expect any less from you! You’re fabulous!
Too cute! I love that the o’s are eyes!
Looks great! Especially with your topiary!
Adorable! lOVE THE buttons!
Oh my! This is the answer to the question of what do I do with all the buttons I’ve been cutting off my husband’s discarded shirts. Brilliant! Thank you.
I really like this one. This is even cuter than the candy corn! I’ve never heard of distress ink…but, other than that, I think I could do this!
Cute!
Your “Boo” turned out so cute. What a great idea. I’m enjoying following your blog. Have a lovely week.