Decorative framed "star" art!
I worked on making some framed art a few days ago. I will tell you the HOW TO.. keep reading. ALSO, for those who I have featured your crafts, I NOW HAVE A “I was featured button” so grab it, if you would like. ALSO~ Friday I am going to start FEATURING YOUR STUFF “FEATURE FRIDAY”… SO GET those crafty minds and fingers working!

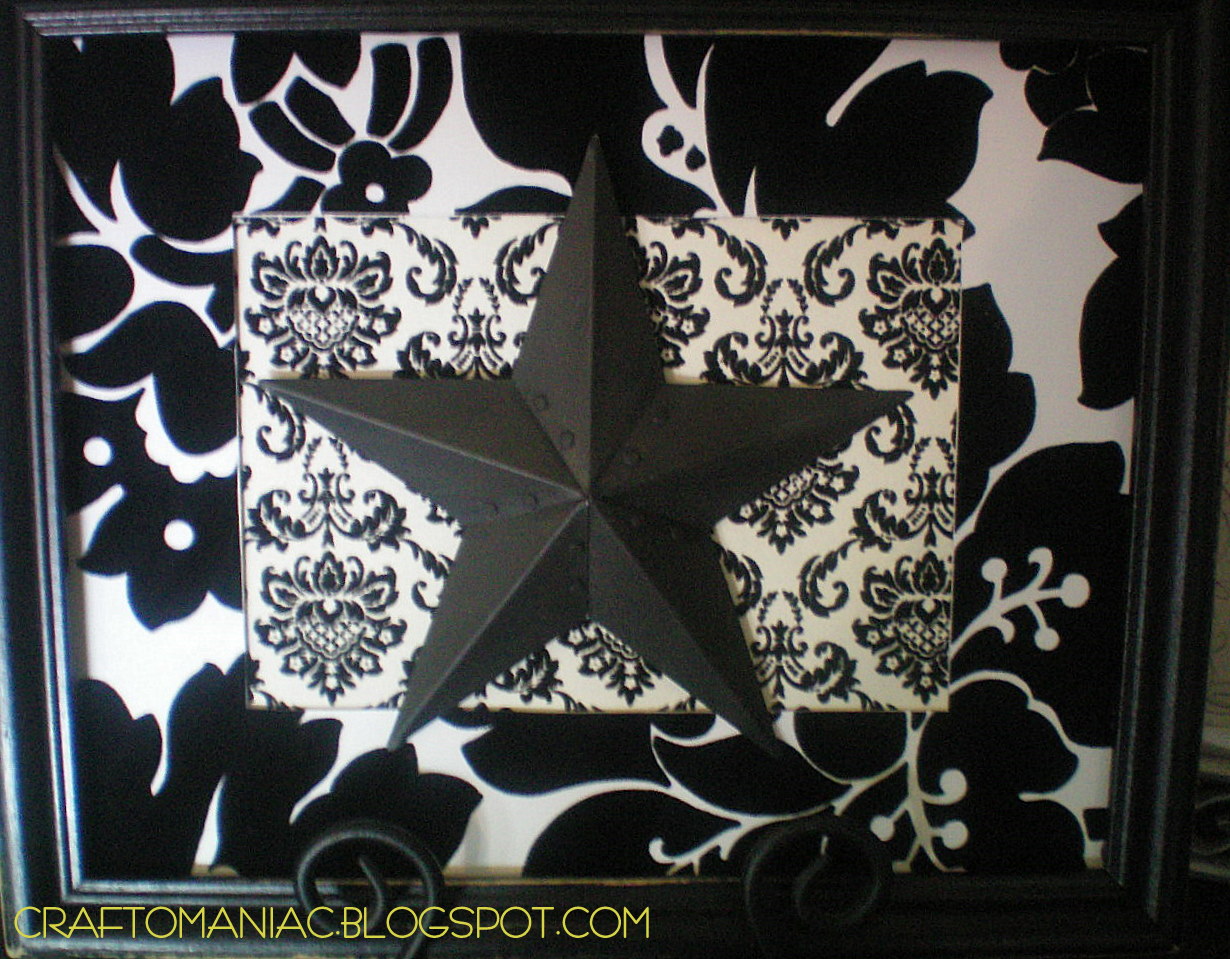
How to~ for this first one you see, I traced circles from objects I had that had clean circle edges. Then cut them out and used a glue stick to attach the circles to the mat. I used the scrappaer as a backing and taped it to the mat. I then wadded up a napkin and hot glued it to the back of the metal star, (the stars I have had for years) filling in that open semi deep space. Then added more hot glue to the top of the wadded napkin and centered it on the frame and pressed it down for a few seconds. I used my scissors (open them up) and shaved away the black paint to give it that “sanded” worn di-stressed look. SUPER EASY. You more or less can see how to make it just by looking at it.

Facing shot. I just love the velvet textured scrappaper. If your craft stores have any grab it. The matting you see is the same paper gift bag I used to turn into a picture mat. so some of you may have seen this one. Anyway gift bags work too. 😉
angle shot!

and lastly I put them on my large shelf with their mama star! 😉

I am linking up with Fireflies and Jellybeans HERE, for show off your stuff party! Somewhat Simpe for Strut your stuff party HERE! and Just a Girl for Show and Share Day HERE! thanks for the parties ladies!
love it! where did you get the star from that you put on there?
Those turned out really great! I will be grabbing that button for sure =)
So cute! You rock lady!
I am making this tonite!! It is flipping cute!!
Great job! I love the black and white! 🙂
The black and white make such an impressive display! Fabulous job, and thanks for sharing this great idea!