Shabby Glazed "L" & a HOW TO~
HELLO THERE~ I am going to give you all a tutorial on how I SHAB-I-FIED this letter “L” for Larsens! Now I am not sure if this is really called a glaze or not, seeing that to me it doesn’t have a sheen to it at all, none the less… HERE WE GO!
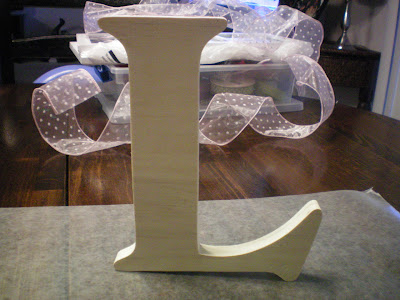
YOU WILL START WITH an un-finished piece of wood. I got my Letter “L” at Roberts Crafts, I am sure Hobby Lobby, Michaels, and JoAnn’s carries them too. You will need to paint the letter all white first!!! let it dry a bit!
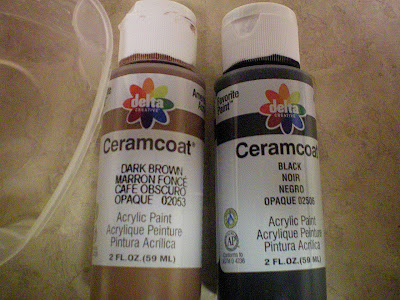
these are the acrylic paint colors i used! They should carry most of them in your craft stores! I got mine at Roberts Crafts!
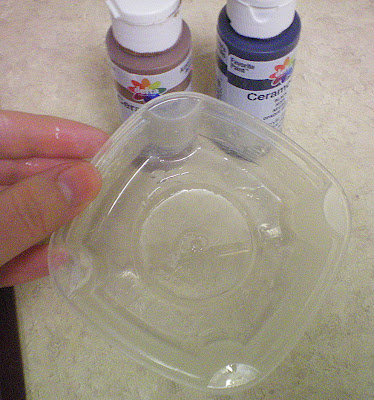
first thing you will do to make your glaze is add about a tbsp of water to a bowl, dish, container, whateves. 😉
Squirt in a small amount of the brown, and then do the same with the black!
swirl, spin, until your glaze looks close to this…. I AM NAMING THIS COLOR “MUD PUDDLE” HE! 😉
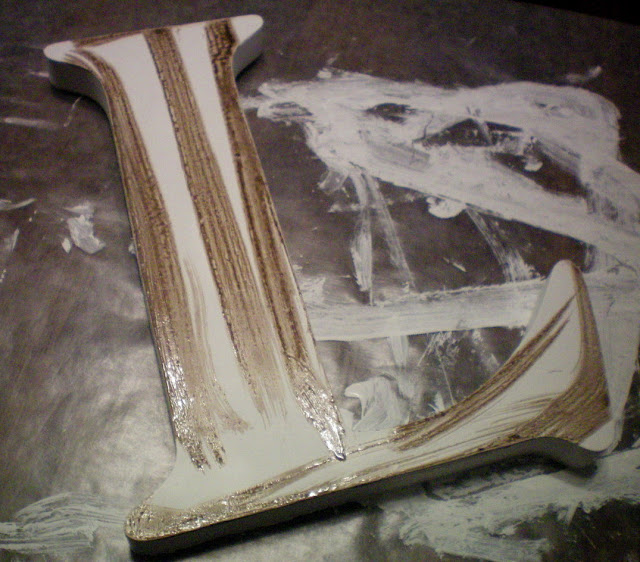
After you have PAINTED THE Letter all white thoroughly, even the bottom (i didn’t paint the back, but you can if you want) then you will just dip your brush in the glaze and add streaks where you want them. You will then wipe them off with a paper towel(s). Continue that process until you get the look you are wanting. SUPER FUN, AND EASY!
to define the sides, just dip the brush in the glaze pinch the brush over your container to lose some of the glaze, and then run your brush along side of the edges. 😉
It should look something like this when you are done. Now’ I realize none of us are going to get the exact same color, texture, or look, but NOW YOU ALL KNOW HOW TO GLAZE, OR give some wood a “SHABBY GLAZE LOOK”
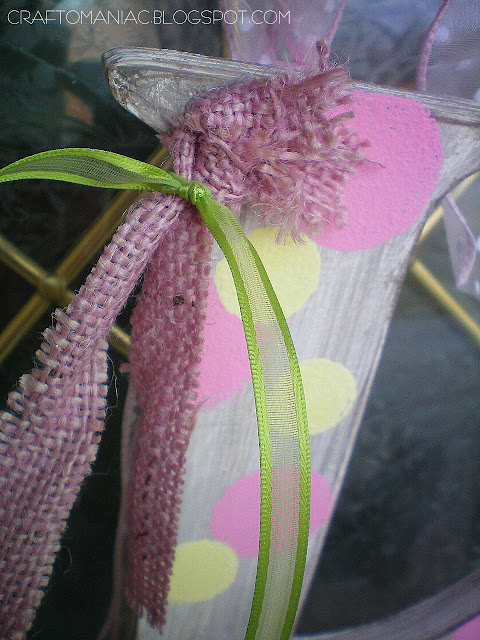
I did add some yellow and pink polka dots with a medium sized round sponge. I got mine at again, Roberts Crafts. As well as hot glued pink burlap to the letter, and tied green ribbon around the burlap. If you would like to see how I used and displayed my “Shabby Glazed L” head HERE




Too cute and you should totally claim that name “mud puddle” as your own. Love this creation.
Too cute and you should totally claim that name “mud puddle” as your own. Love this creation.
I always water down paint to make a glaze. None of that expensive stuff for me!! Love your L!!
Elise
As a future “L” I love this!
how sweet is THIS? adore the burlap ribbon too!!
thanks for sharing your technique.
I have some letters that are already painted white and are looking for something to spice them up a little. I will give this a try thanks!
super great idea! thanks! and nice to meet you via Catherine Ann
Love Love LOVE that HOP sign below. I didn’t even know they had burlap in that shade of pink. I need to go lookin’ for some now!!