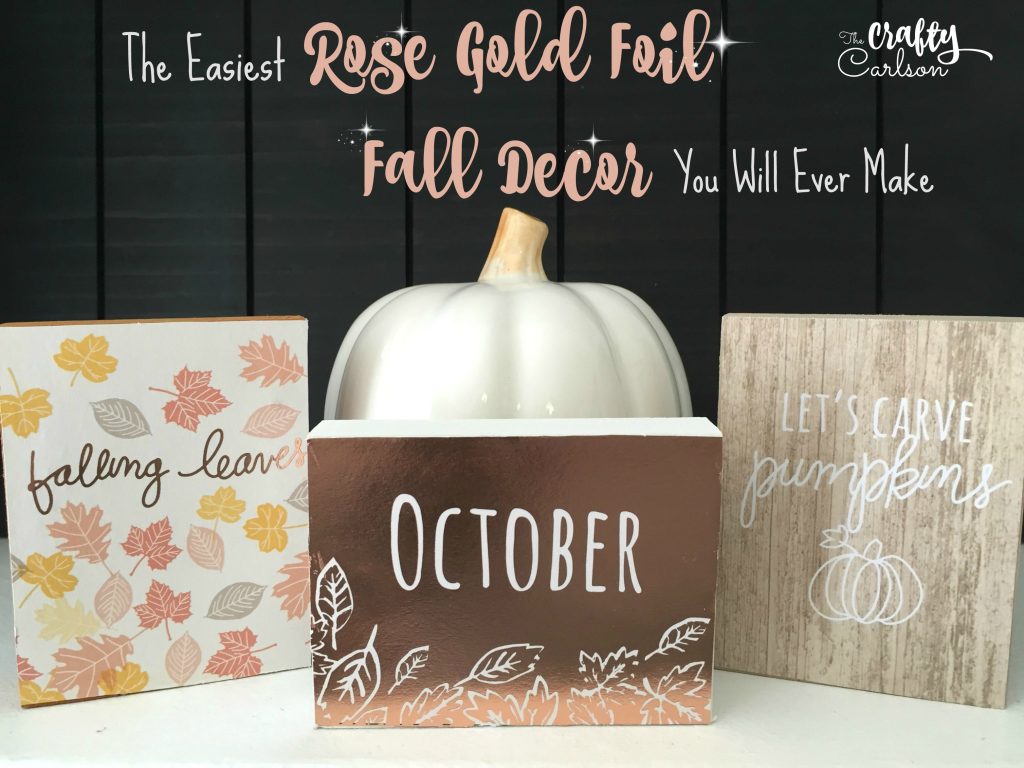
The Easiest Rose Gold foil Fall Decor


Hey Craft-O-Maniac friends! It’s Emily here again from The Crafty Carlson! I am really excited to be coming at you today with a fall related craft. I looove fall. It is by far my favorite season and I have been busy crafting away in honor of it! I kid you not when I say that this is the easiest fall home decor craft you will ever do in your life. It will take maybe 30 minutes to complete before you can display it proudly! I am all for a good craft like that every now and then. Here’s how you do it!
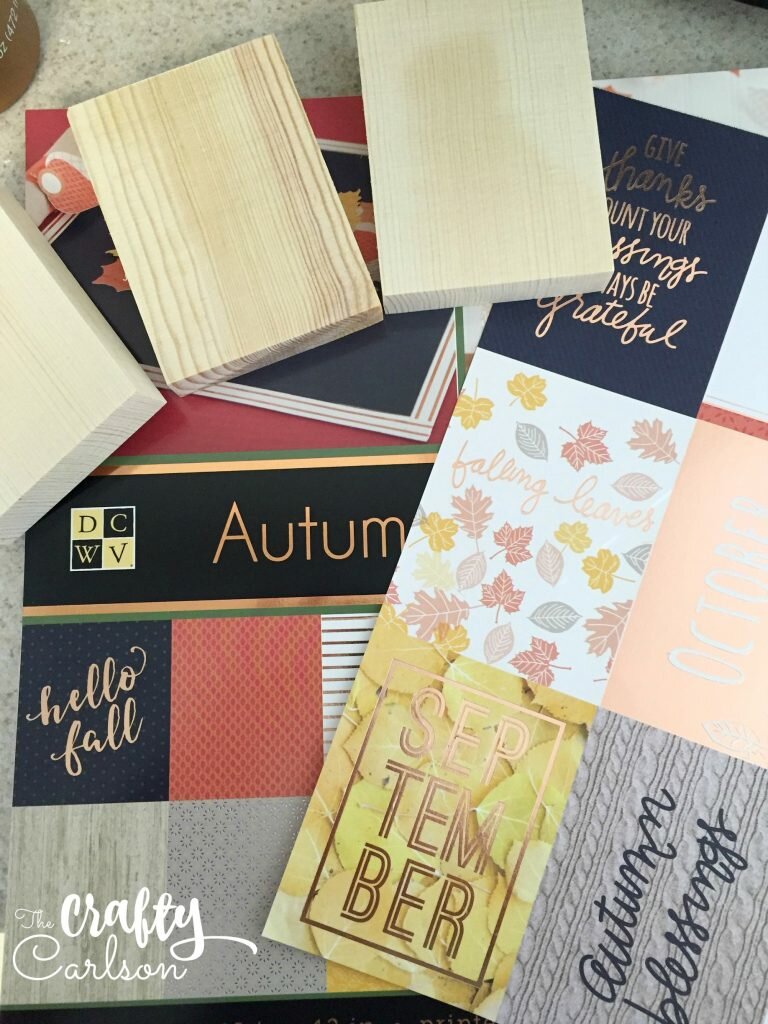
Gather up everything you will need. This DCWV Autumn Leaves paper pad I found at Joann has the cutest fall designs. A lot of them feature rose gold foil as well. Swoon…. Who doesn’t love rose gold? And it makes for some pretty classy looking fall decor! And it had the cutest page divided into little cards. You will also need some wooden blocks, paint, and tacky glue.
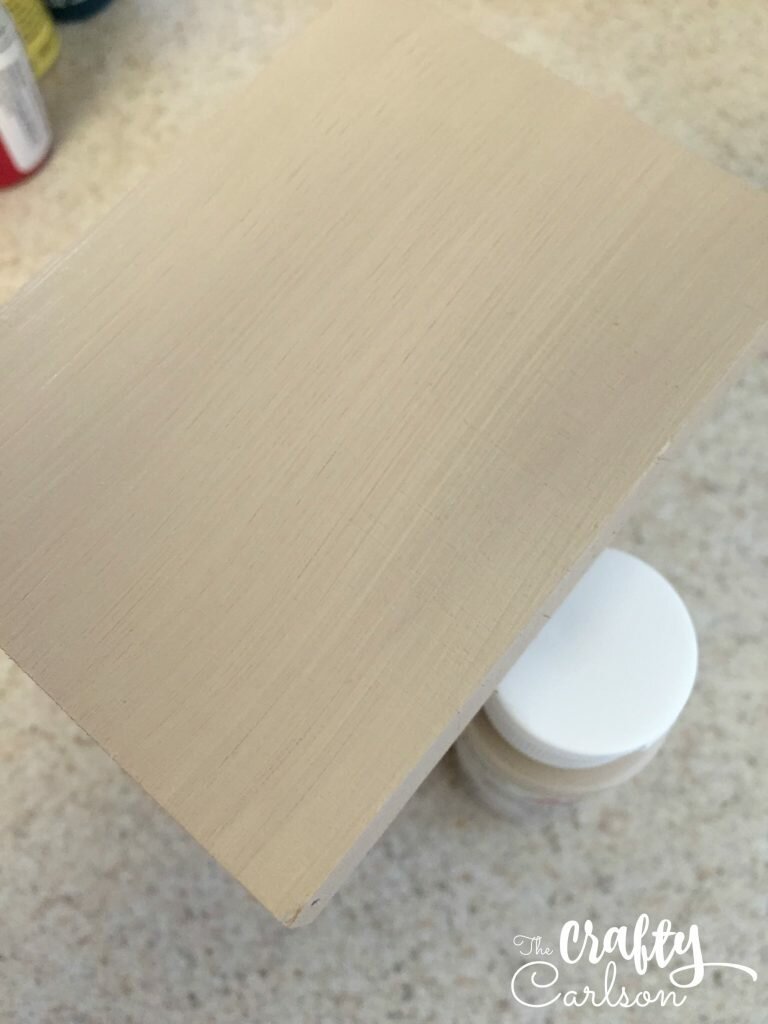
Start by painting your blocks. I used a weathered grey for one and stained the other a burnt orange color. You can do whatever you would like here! I just made sure that the paint I picked matched the paper I was using. And you can leave one side that you want to put the paper on unpainted. It will make it a little easier to glue.

While the paint is drying, cut out whatever panels from the paper pad you would like to use. I LOVE the pumpkin one! I want to use it all season long. And can you see the glimmery shimmer of the rose gold on the leaf paper? So cute!

Once the paint is dry, apply a good amount of glue to the unpainted side of your block. I just used my finger to evenly spread it all out. Make sure you go all the way down to the corners and edges!

Now apply your paper. I make sure I put it on as straight as I can and press from the middle all the way out to the edges to get a really nice and smooth finish. If you have some paper hanging off the edges, just wait for the glue to try then flip the board over paper side down. Use an x-acto knife to carefully work your way down the edges where the paper is hanging over and get a really nice sharp cut.
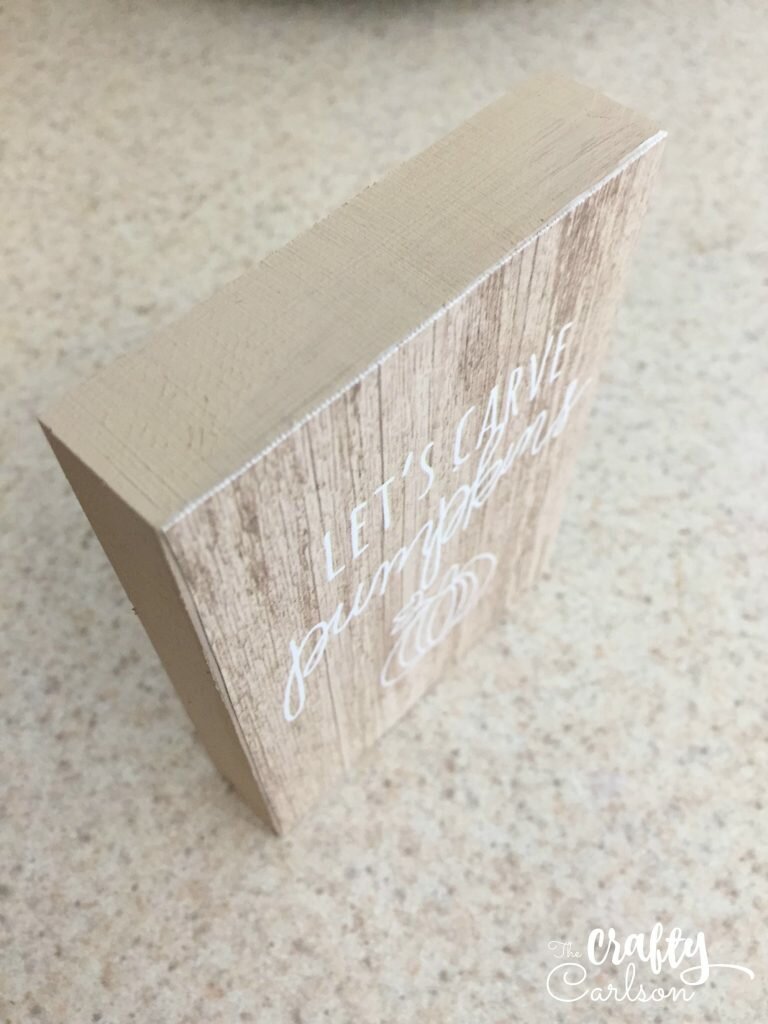

And that it! … Yep, really. It’s the easiest craft ever! You can take it a step further if you would like by sanding the edges, or even adding some distressed paint looks all around the paper. But I left mine just like this and love how they turned out.

I decided to make a third ‘October’ block. Because just look at all that foil goodness. I couldn’t resist! But don’t worry, I put it away until next month.
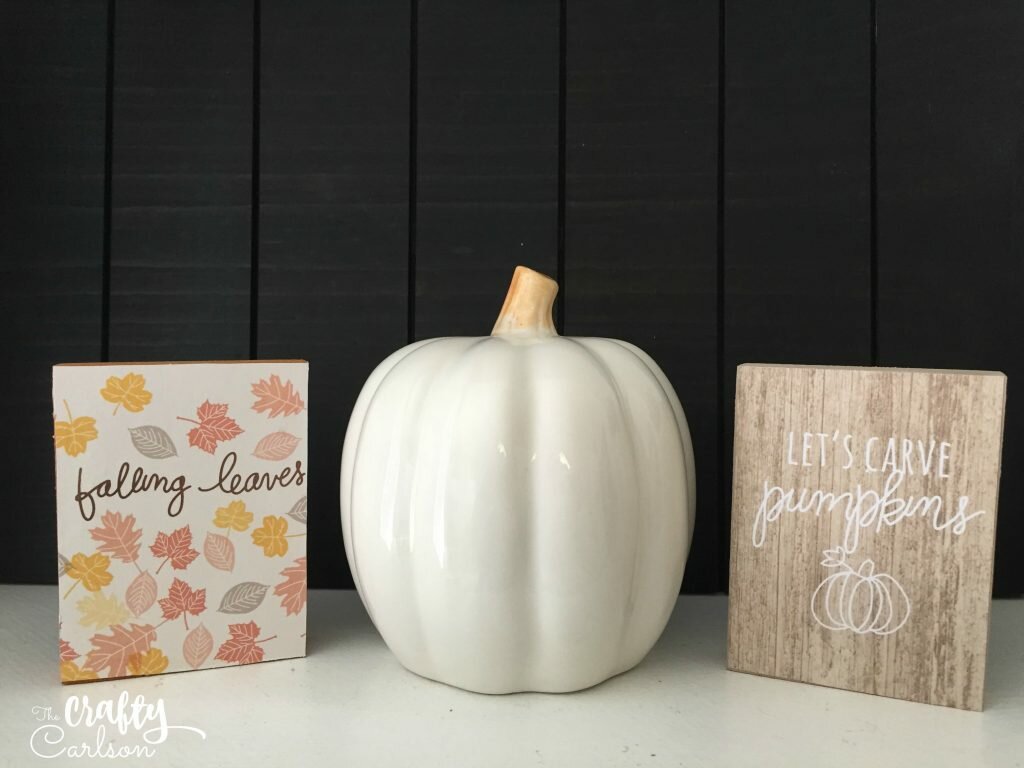
The other two blocks have a new home on a shelf in my kitchen with that cute little white ceramic pumpkin.
I hope you are inspired by this tutorial! If you would like to see more, check out my previous featured post here!
Thanks so much for reading!
Emily