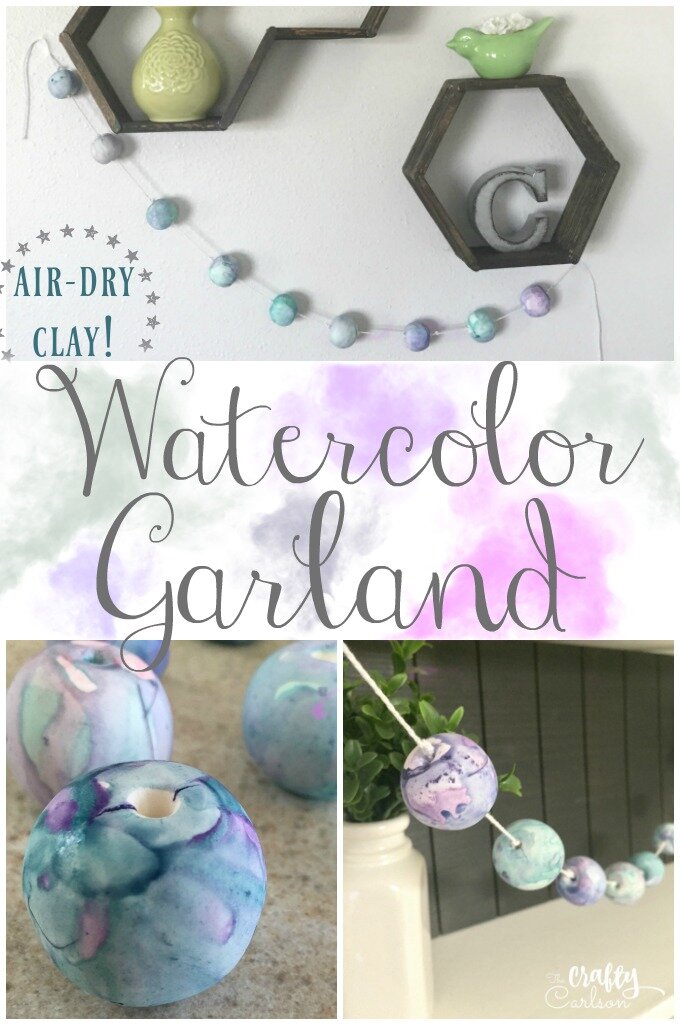
DIY Watercolor Ball Garland


Hey there Craft-O-Maniac’s! I’m Emily from The Crafty Carlson and I’m so excited to be guest blogging here today! I grew up in small town Delta Utah (Go Rabbits!!) and have always loved being crafty and learning new things. One of my favorite parts about crafting is how you can make things to your own personal style. There really is no one way to do something. And that just makes it fun and unique! I love/hate running and have done several half marathons and spent most of my life growing up playing soccer. Good times… I am a wife, mama, and fur baby mom to the three most amazing boy’s. They keep me busy and I love them with all my heart! Thank’s for being here with me today!
I have a really fun and super easy project for you today! Everything about this DIY is awesome except the fact that you have to wait for the clay beads to dry before watercoloring them (BOO!). Ain’t nobody got time for that… unless you’re making an adorable garland. In that case, you got all the time for that! So it’s worth it.
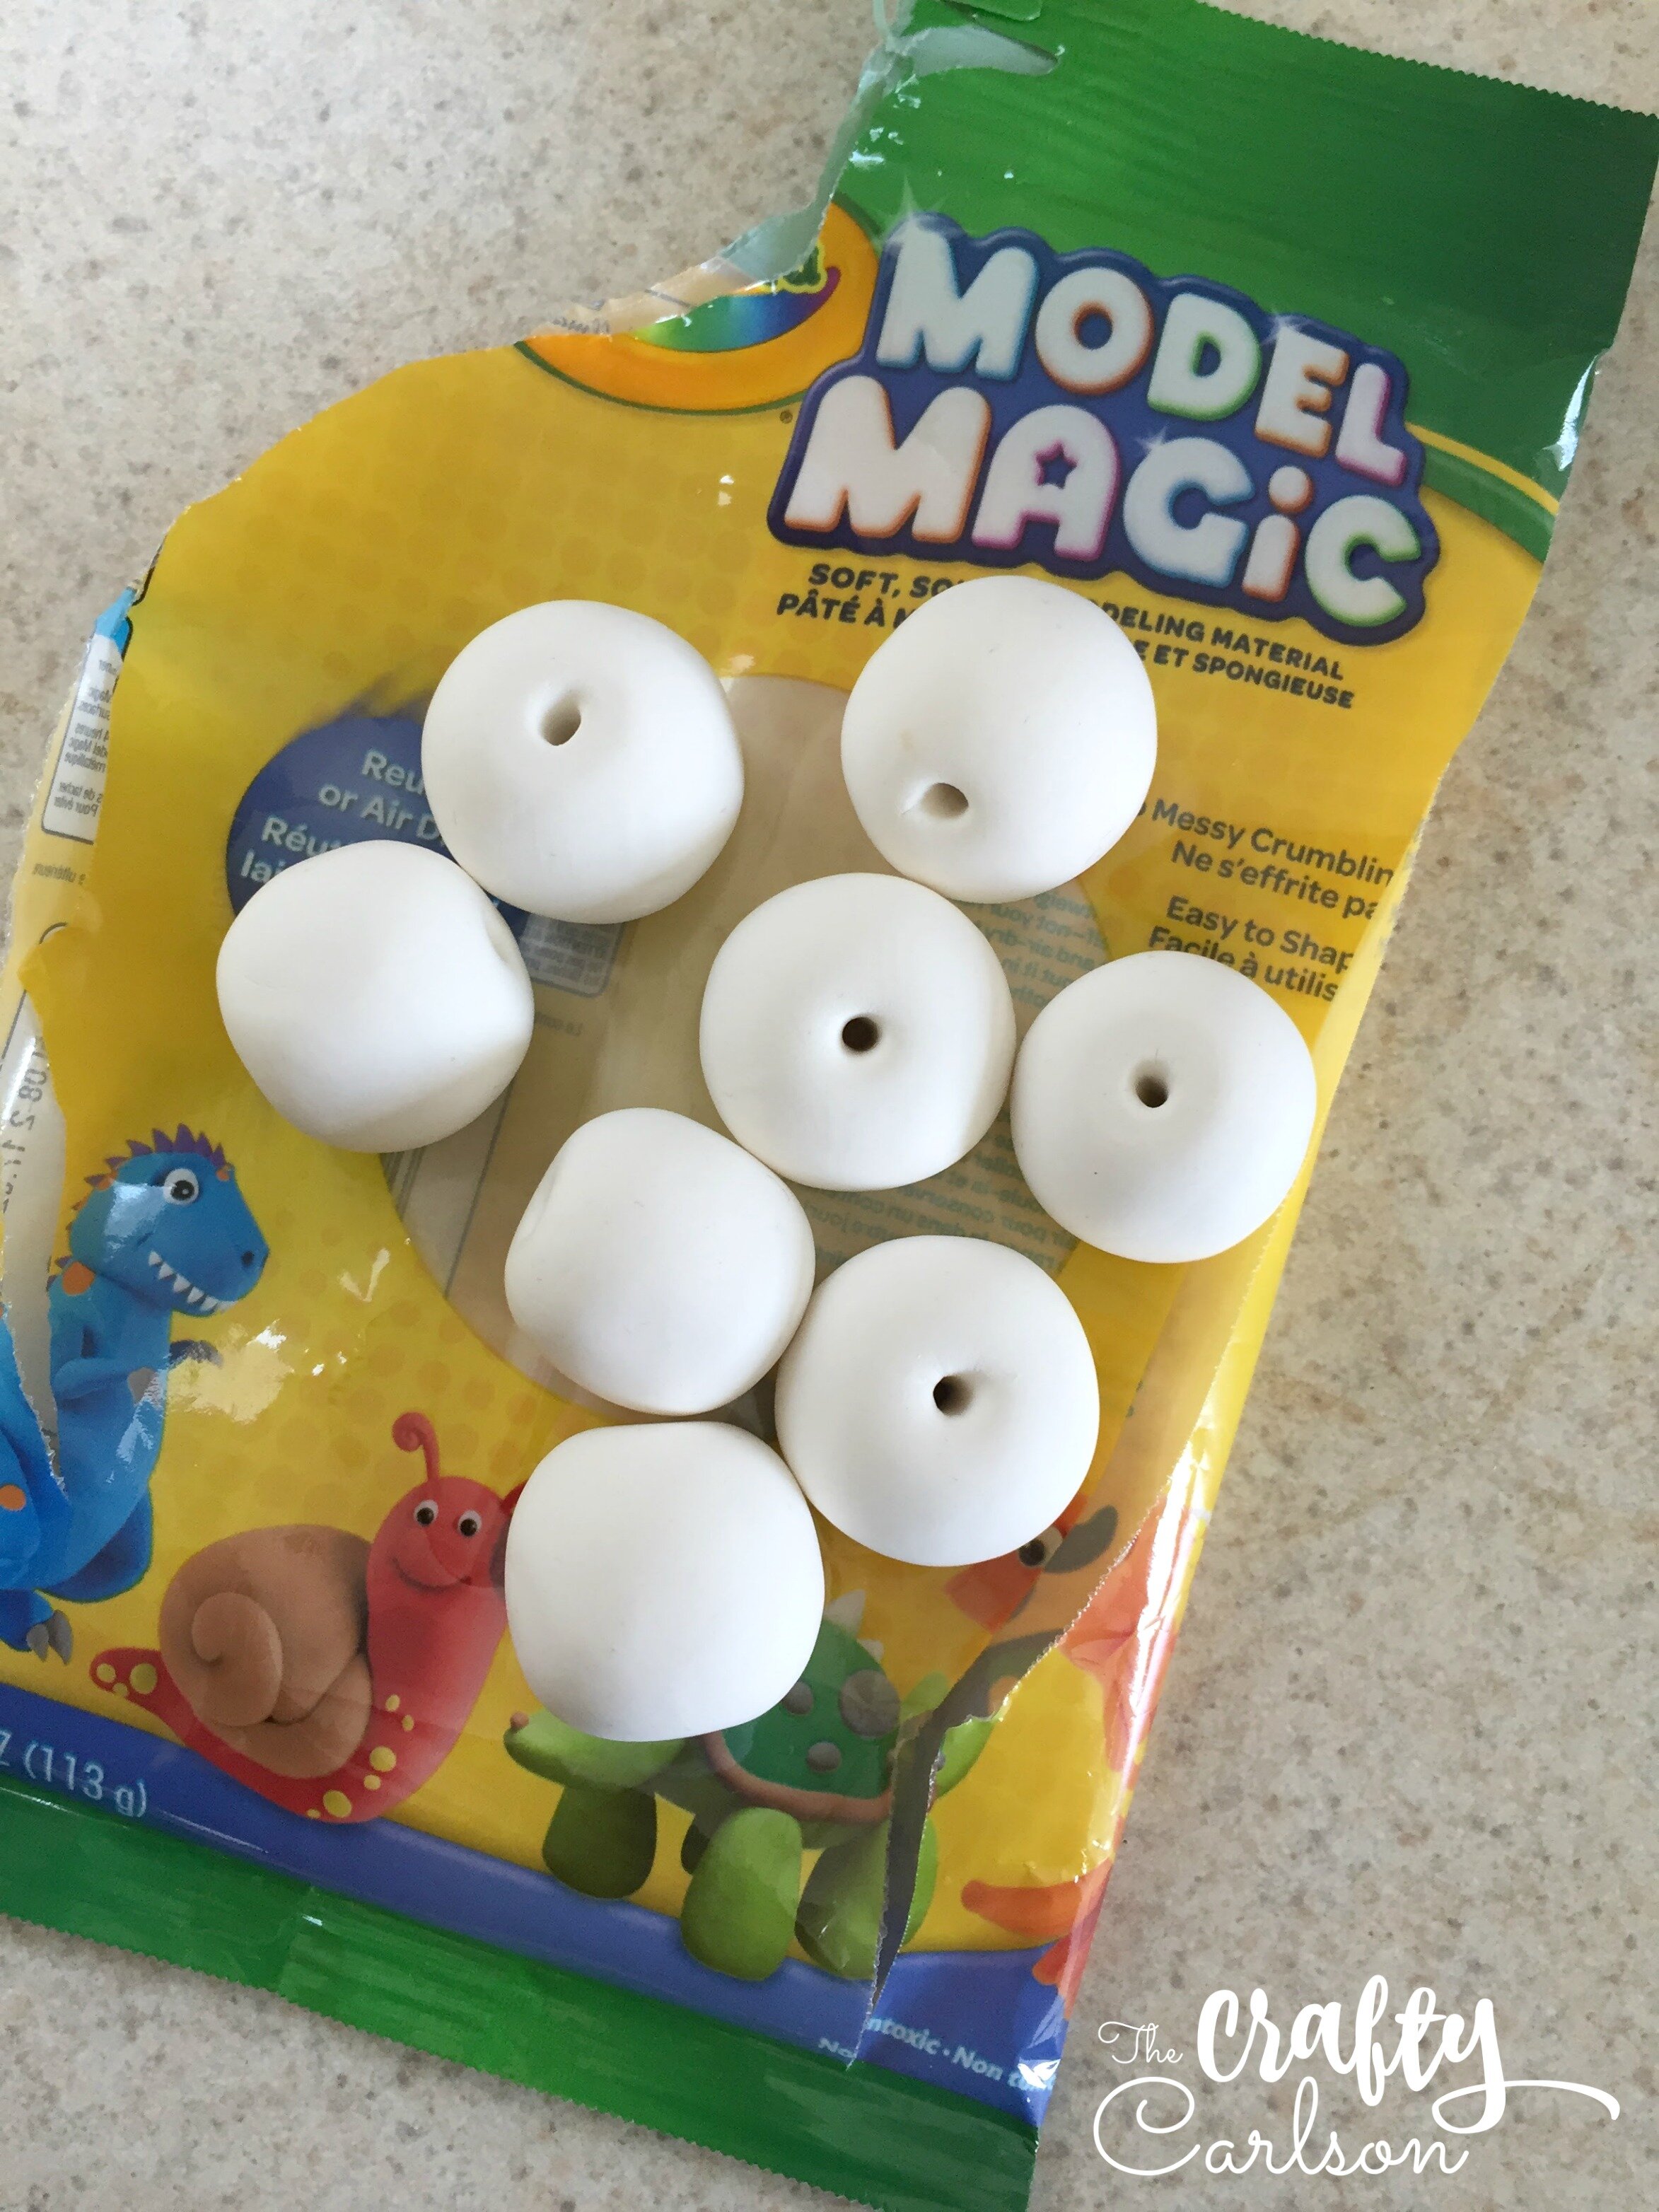
This project uses Crayola Air-Dry Clay. And let me tell you, that stuff is so fun. It’s really soft and super squishy. So you will need a bag of Model Magic Crayola clay, some wood skewers, watercolors & paintbrush, and string or twine.
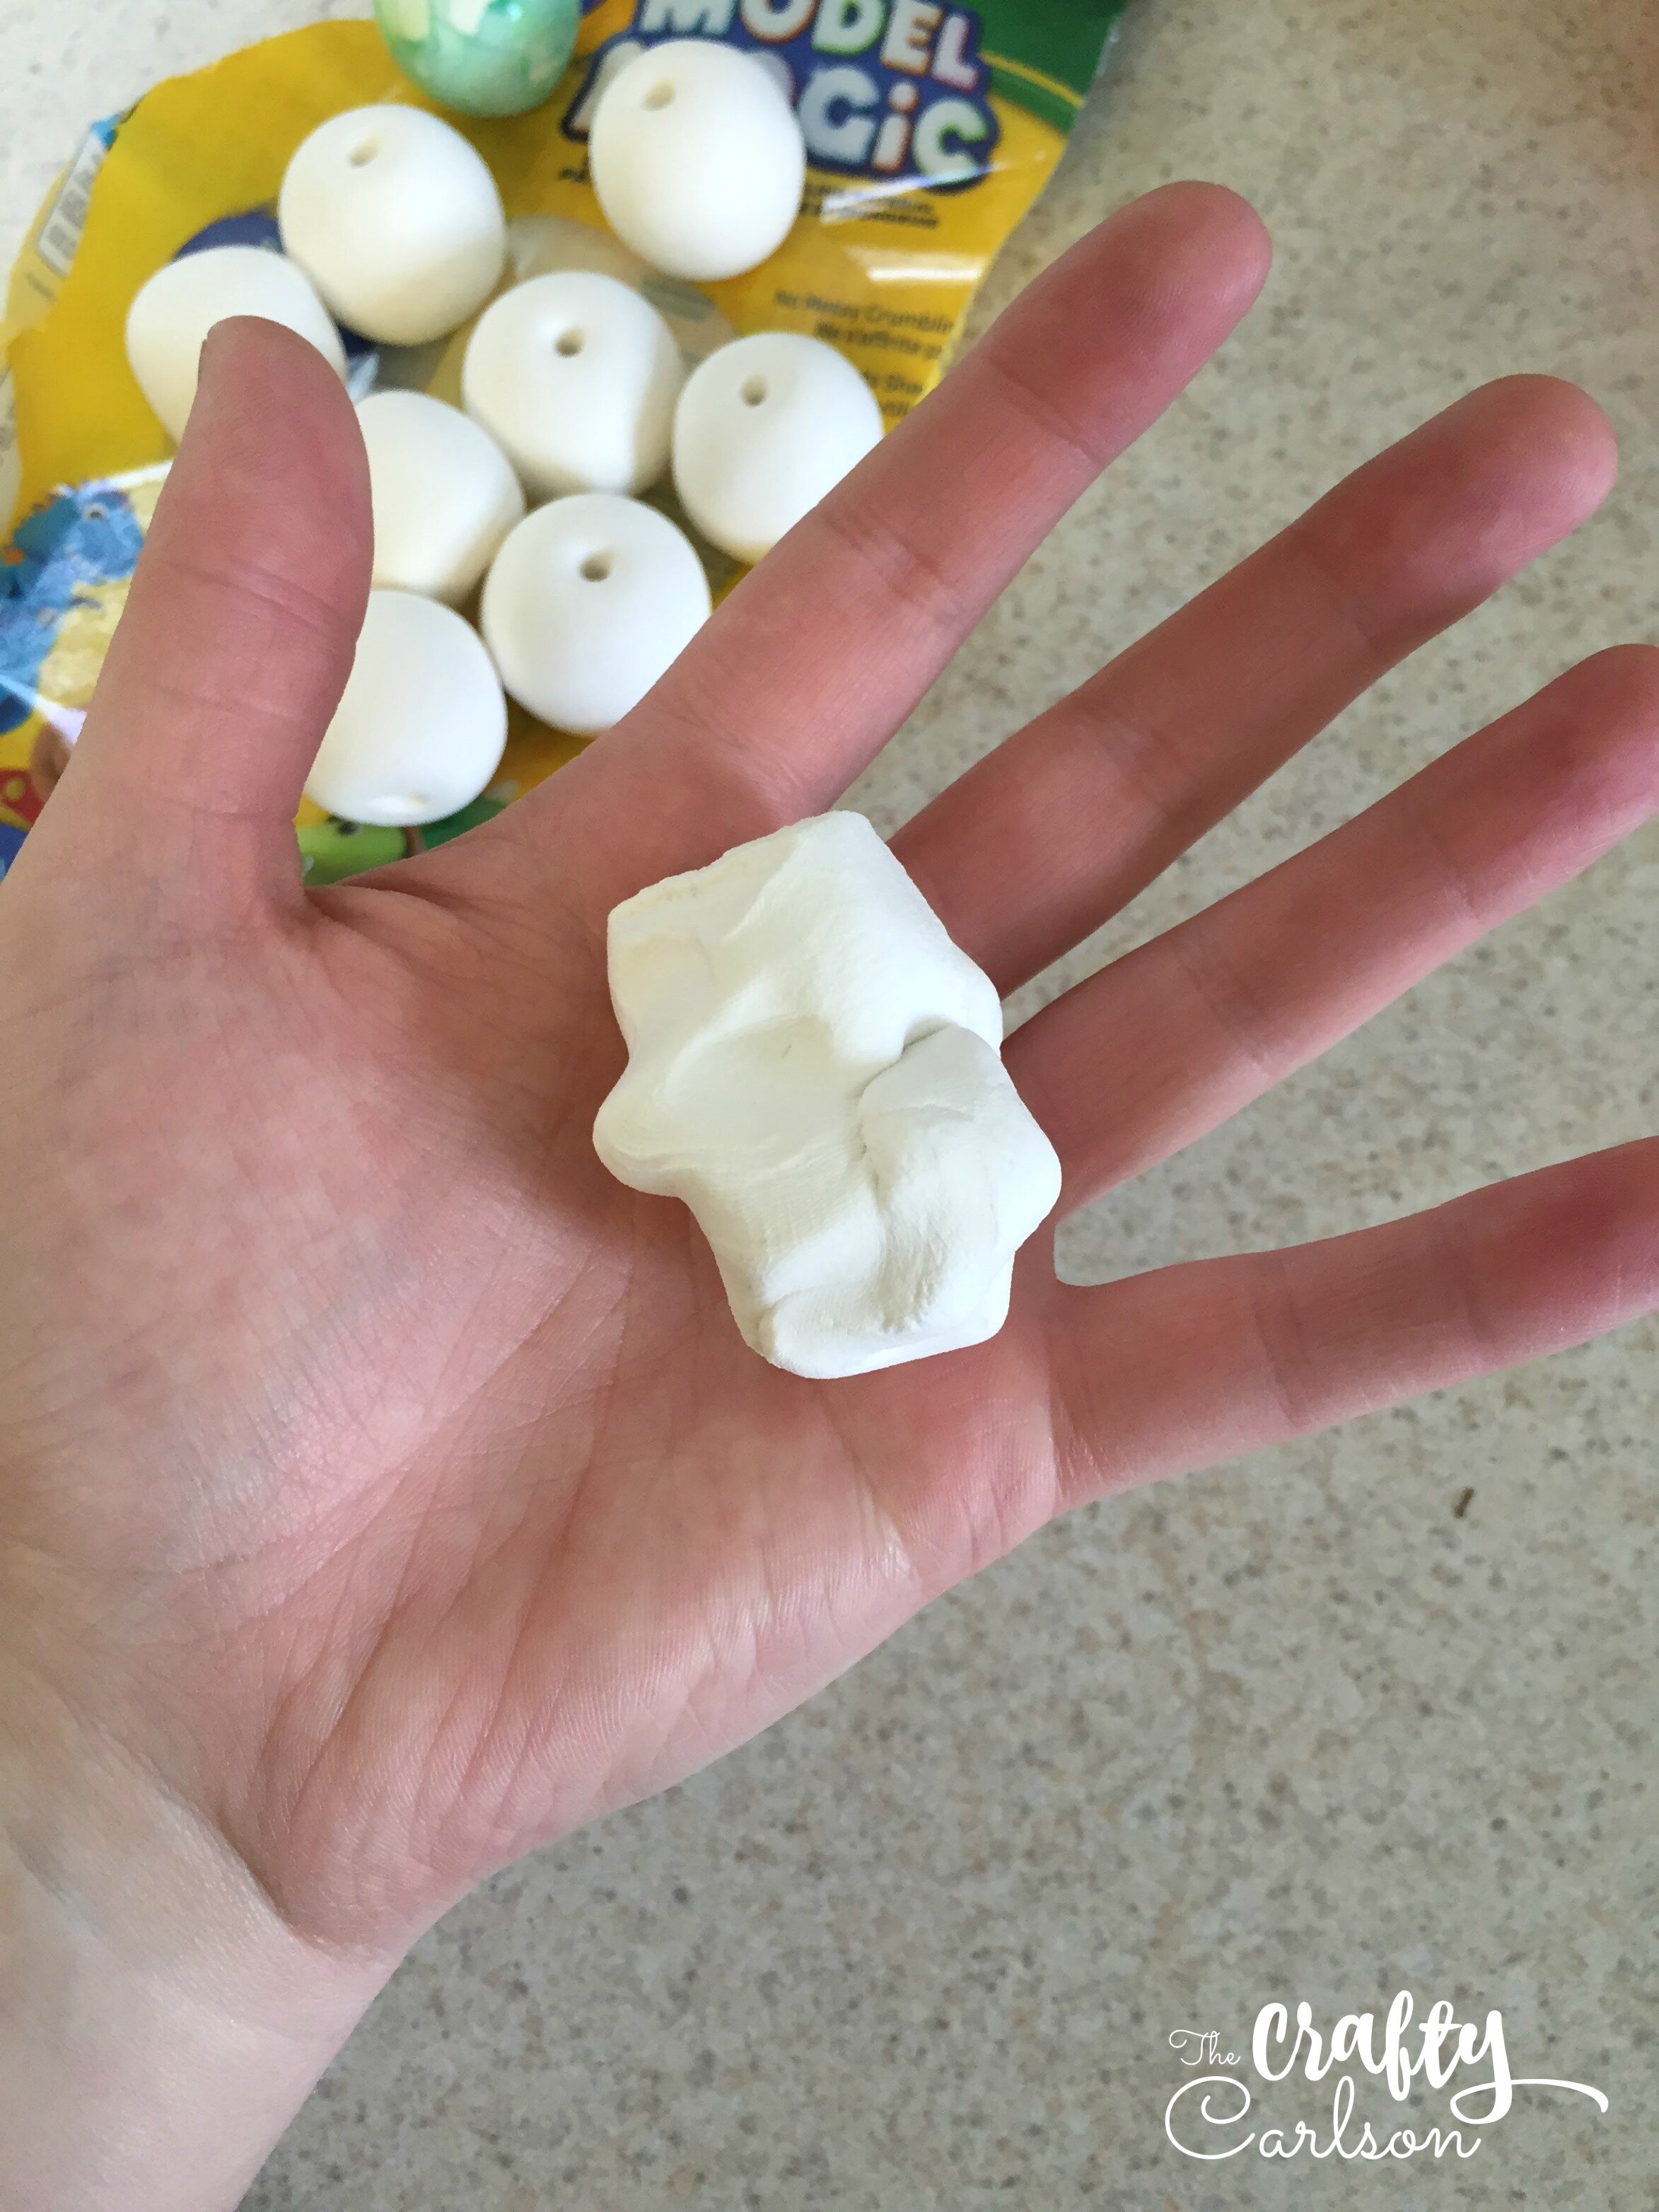
First you will need to form your beads. I got about 12 from one bag of clay, but I only used 9 on my garland. You can make them as big or as small as you would like. There are no rules here! To make a bead, start with a glob of clay about the size you are wanting for each bead.

Now take that clay and roll it into a ball. Try to roll out any cracks or creases that you can otherwise it might affect the outcome after it has dried. And note that the clay will shrink a tad after it has dried.
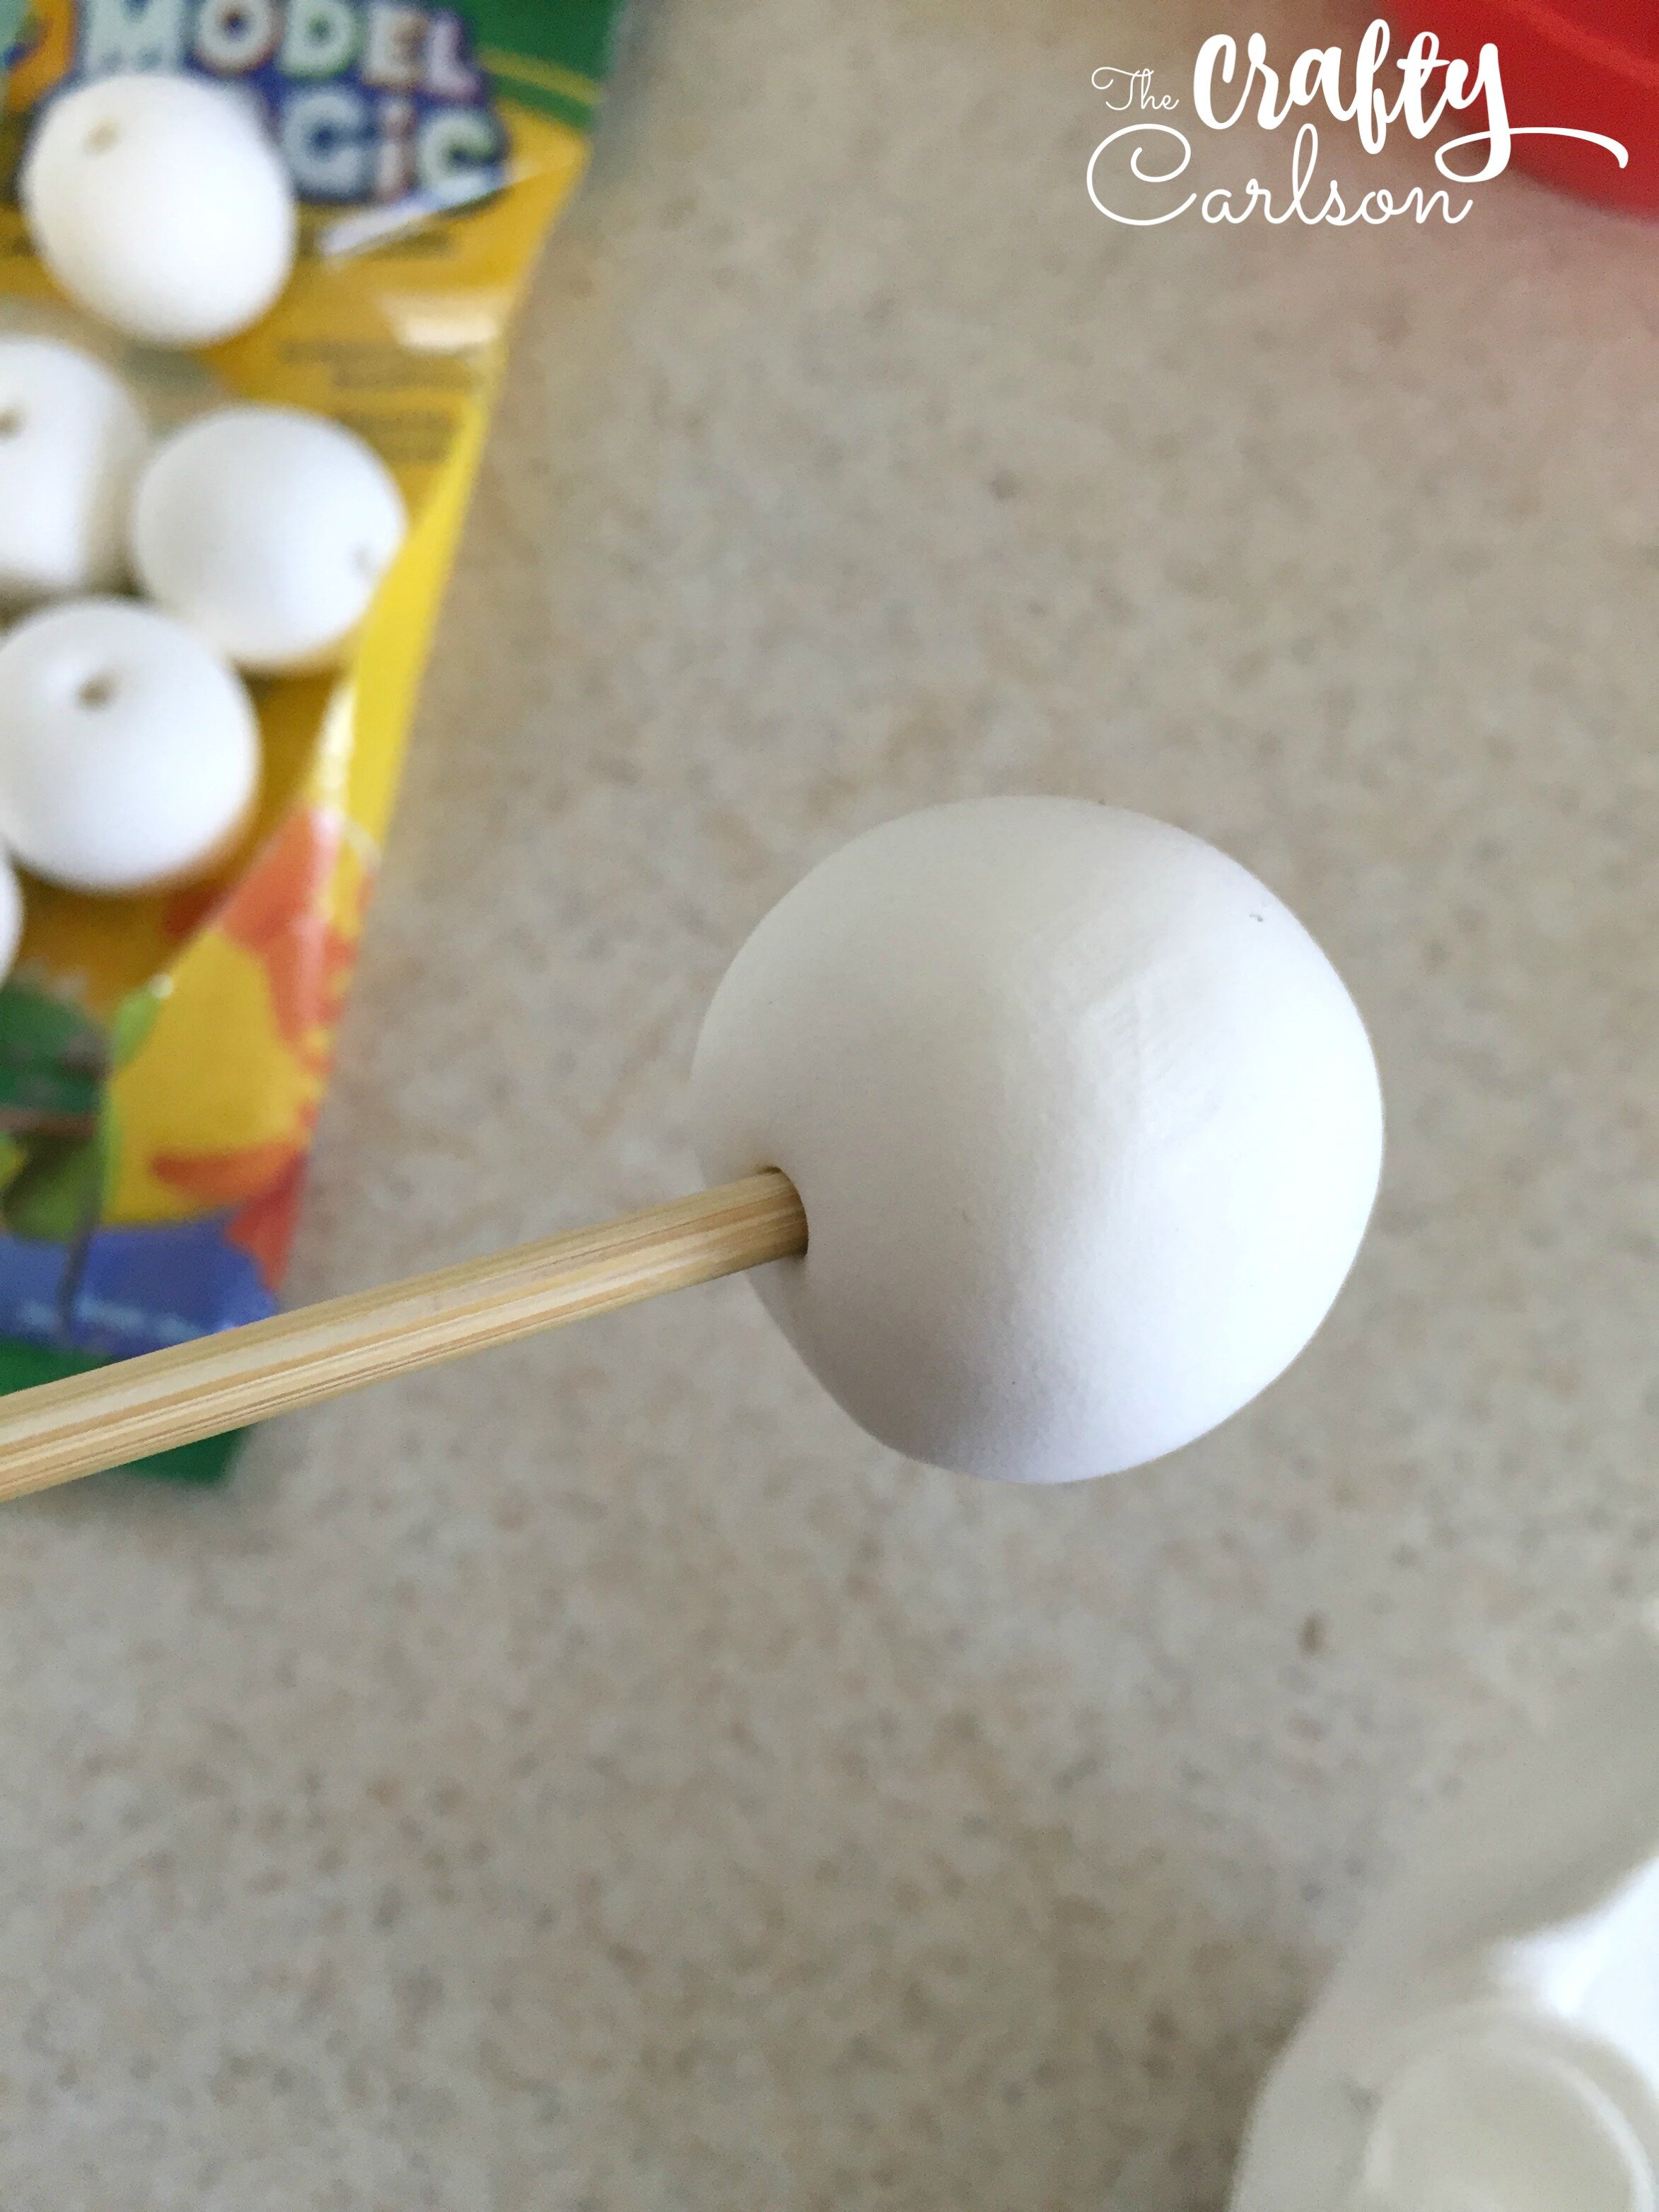
After you have formed your bead, take a wooden skewer and pierce it into one side of the ball. I found it easiest if I went through almost to the other side, pulled the skewer out, and went back into the side I came out of the first time (instead of going all the way through). That way you are left with nice and evenly indented holes on each side.

You should end up with something like this. (Don’t you love my super fancy manicure? I know, I know…)
And now, the hardest part. Waiting for them to dry…. I let mine dry overnight. Once they are dry, you get to start painting!

Now on to the painting. I painted one layer at a time on each bead. So I would start with one, put a base coat of watercolor on it, then go back over it after it dried with some drops of different watercolors.
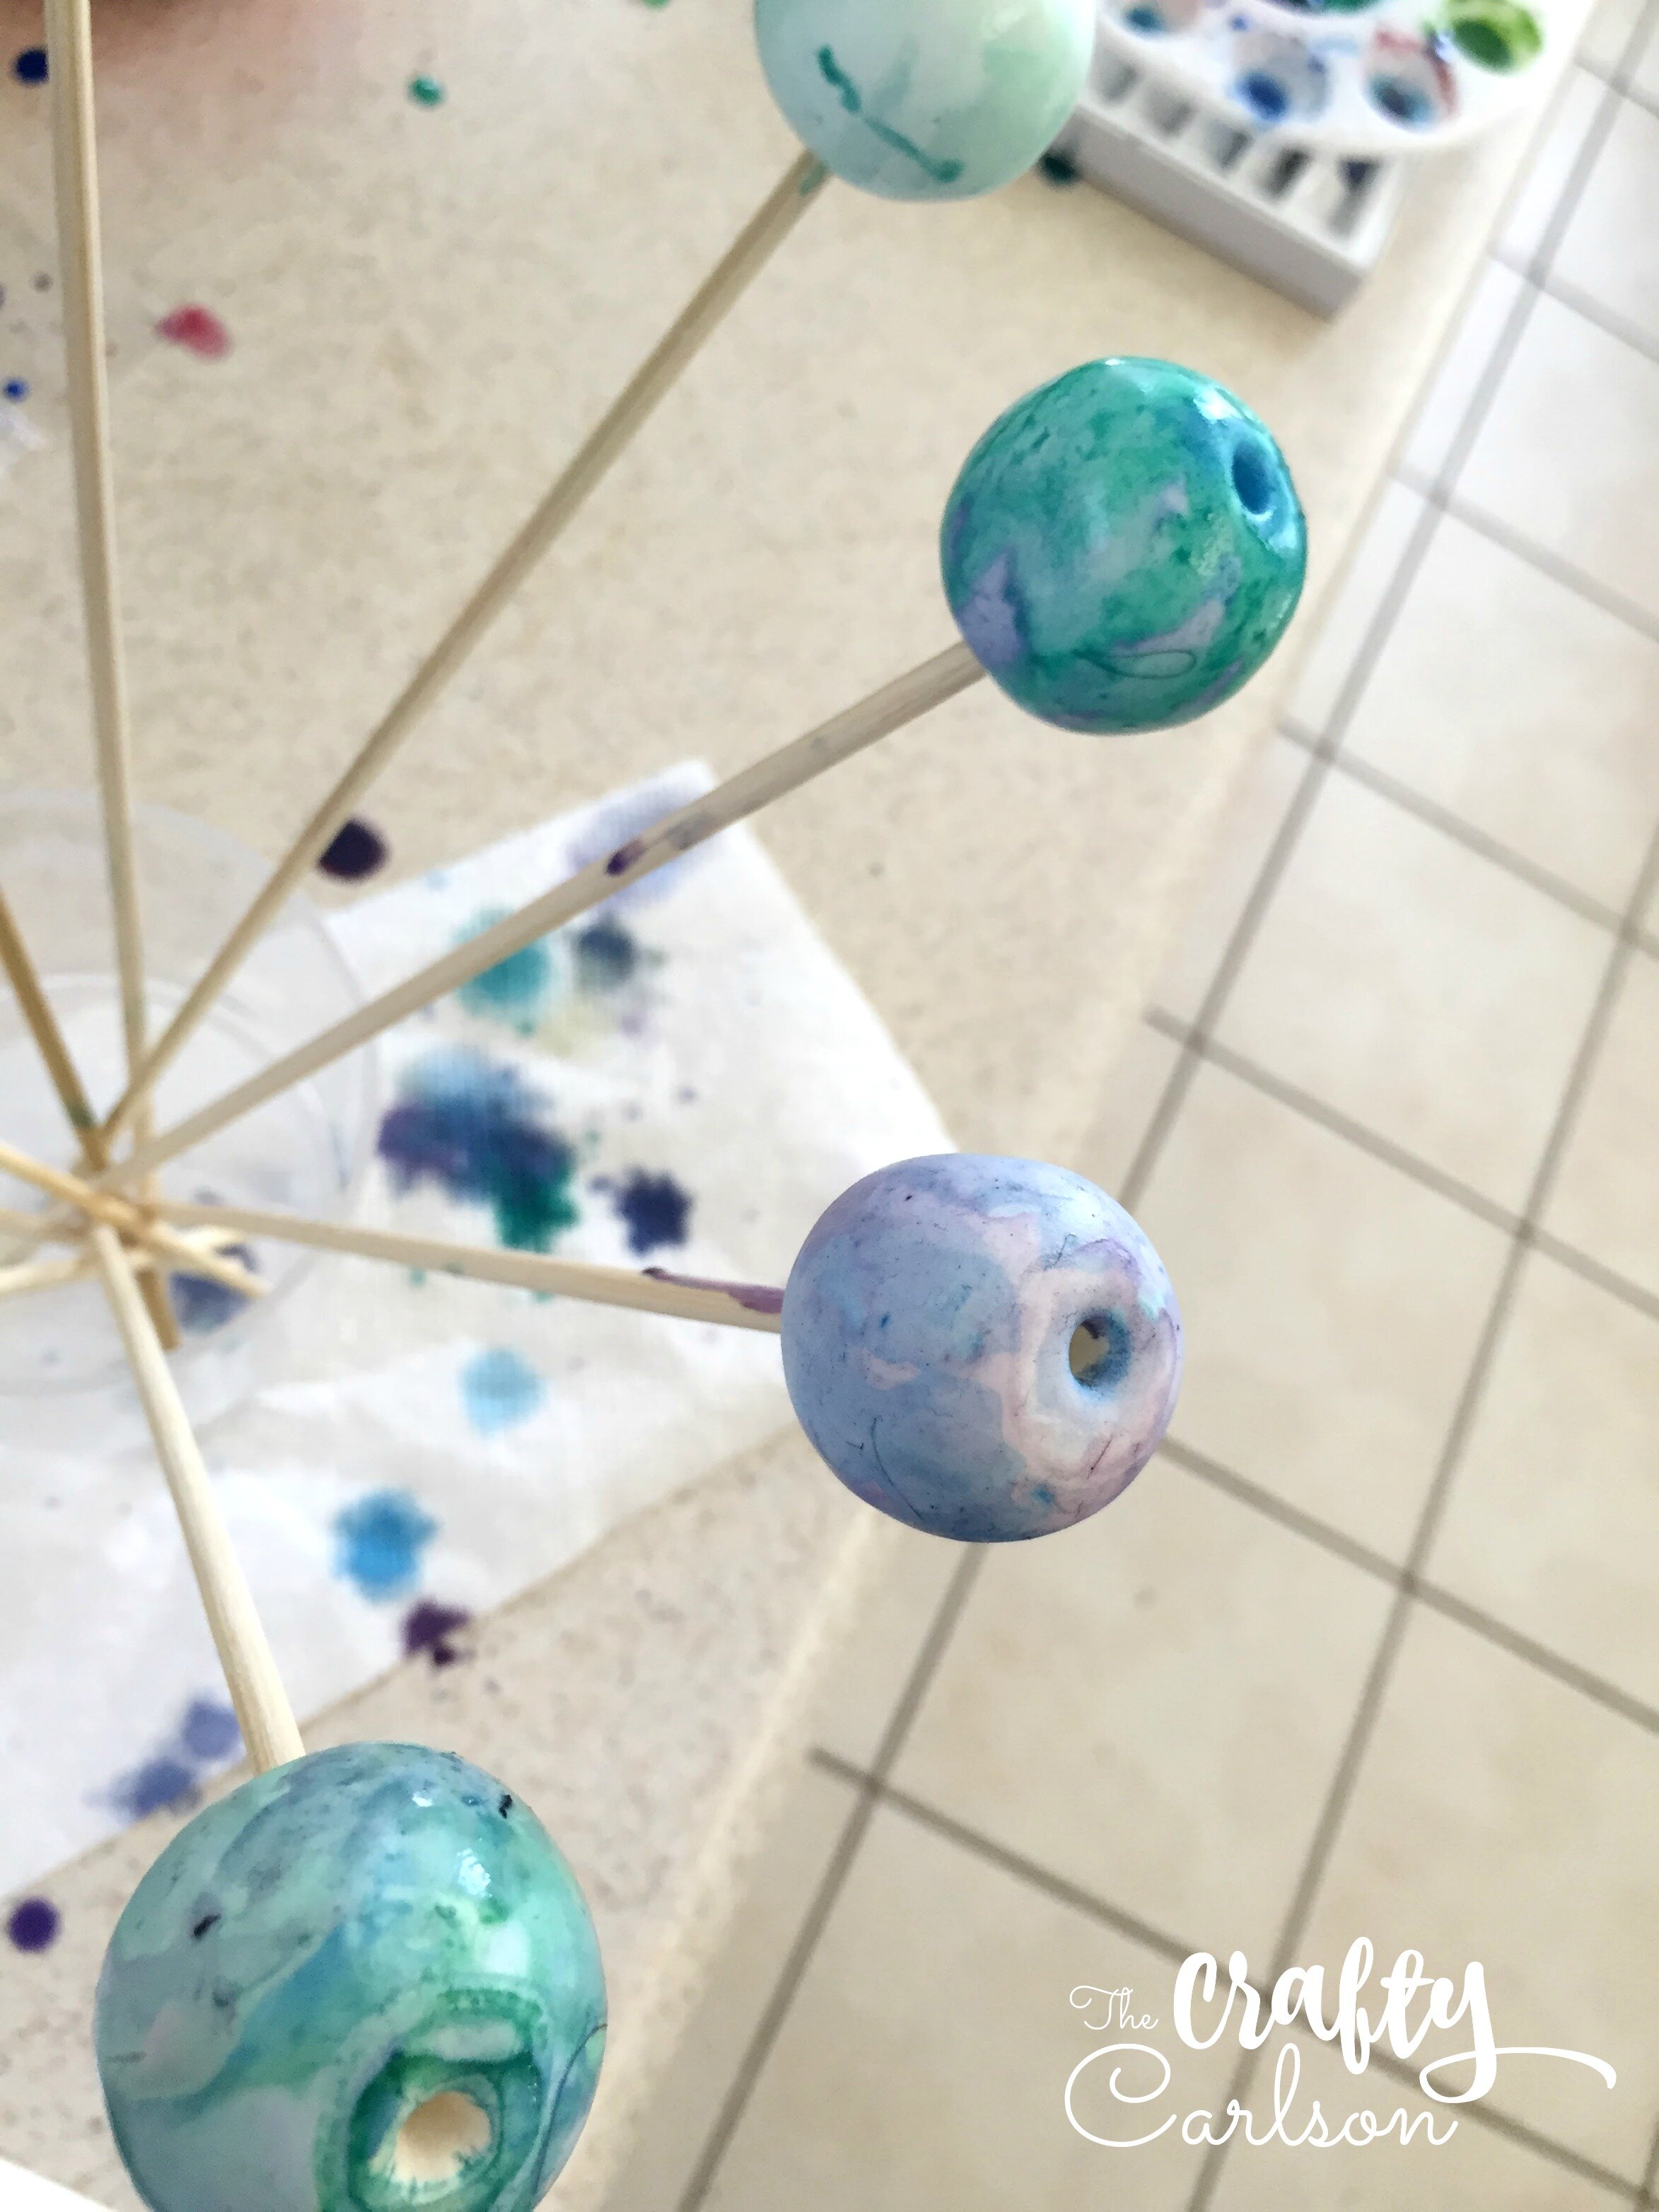
I rigged up this awesome drying station for the beads. Just stick them onto the end of a skewer and put it in a cup! Don’t worry though, the watercolor takes no time at all to dry. So I was able to just cycle through all the beads in order, adding colors and layers.

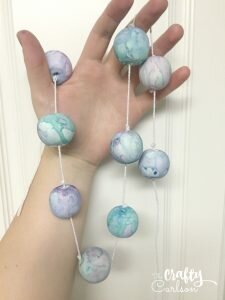
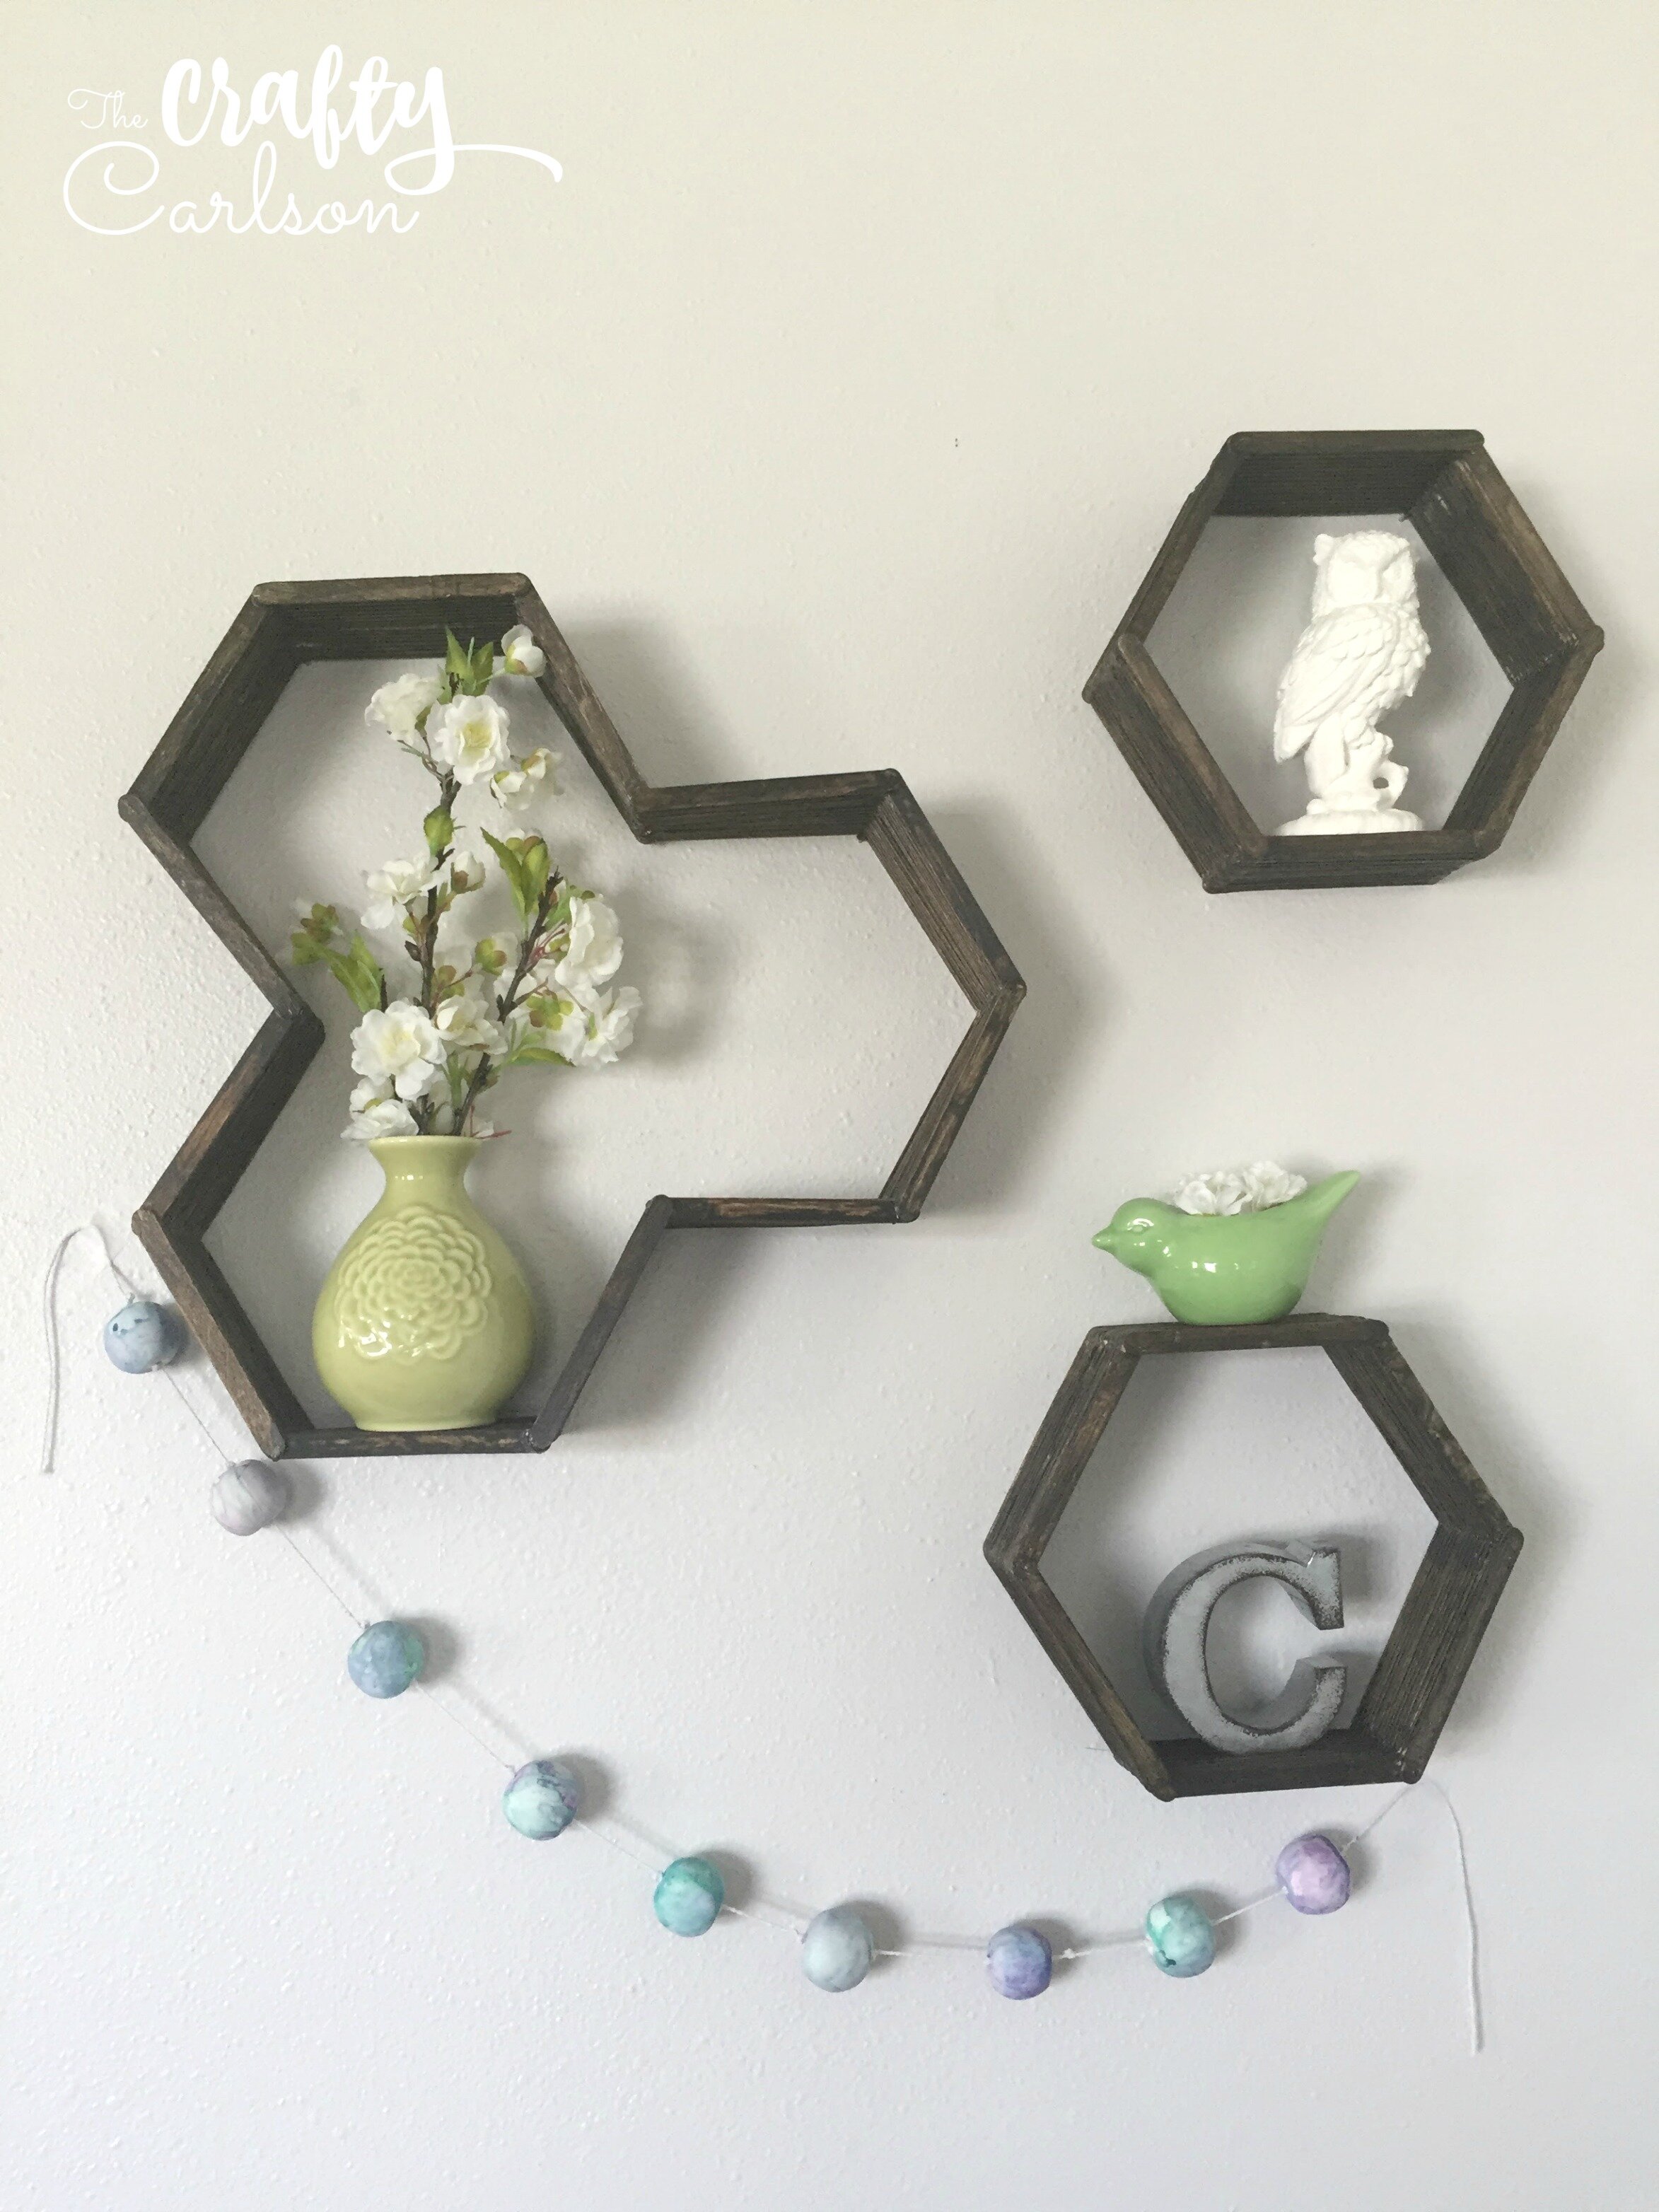
And this is what I ended up with. It totally reminds me of galaxy or even mermaid color combos! I am super happy with how they turned out. And you can do any colors you want! Or even stick to just one. Again, there are no rules!

Once the beads are dry, you get to string them into a garland! I used white twine for mine and tied a knot at one end of the bead, and another knot on the other side. That way it won’t move around when you hang the garland.
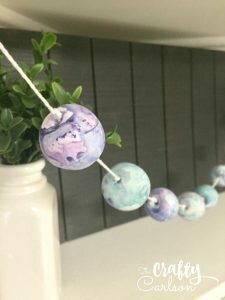

And that’s it! This garland would be super cute at a baby shower, party, or even a bridal shower! You can customize the colors of it to fit with any decor really…
I was so happy with how this turned out and it was really fun to make! Takes a little bit of patience, but that makes it even more worth it in the end.
If you’re interested in seeing more, come visit me at The Crafty Carlson! Thanks so much for reading!
Emily