Tissue Pom balls and flower vases
Lots of us may or may not have seen tissue paper pom balls. You can find a full tutorial on them HERE!
I made tissue balls and tissue ball flower vases for a baby shower I threw this past Saturday. To make the tissue balls you will need to watch the tutorial first. Then once they are made you simply stuff it down in the top of a covered photo paper roll.
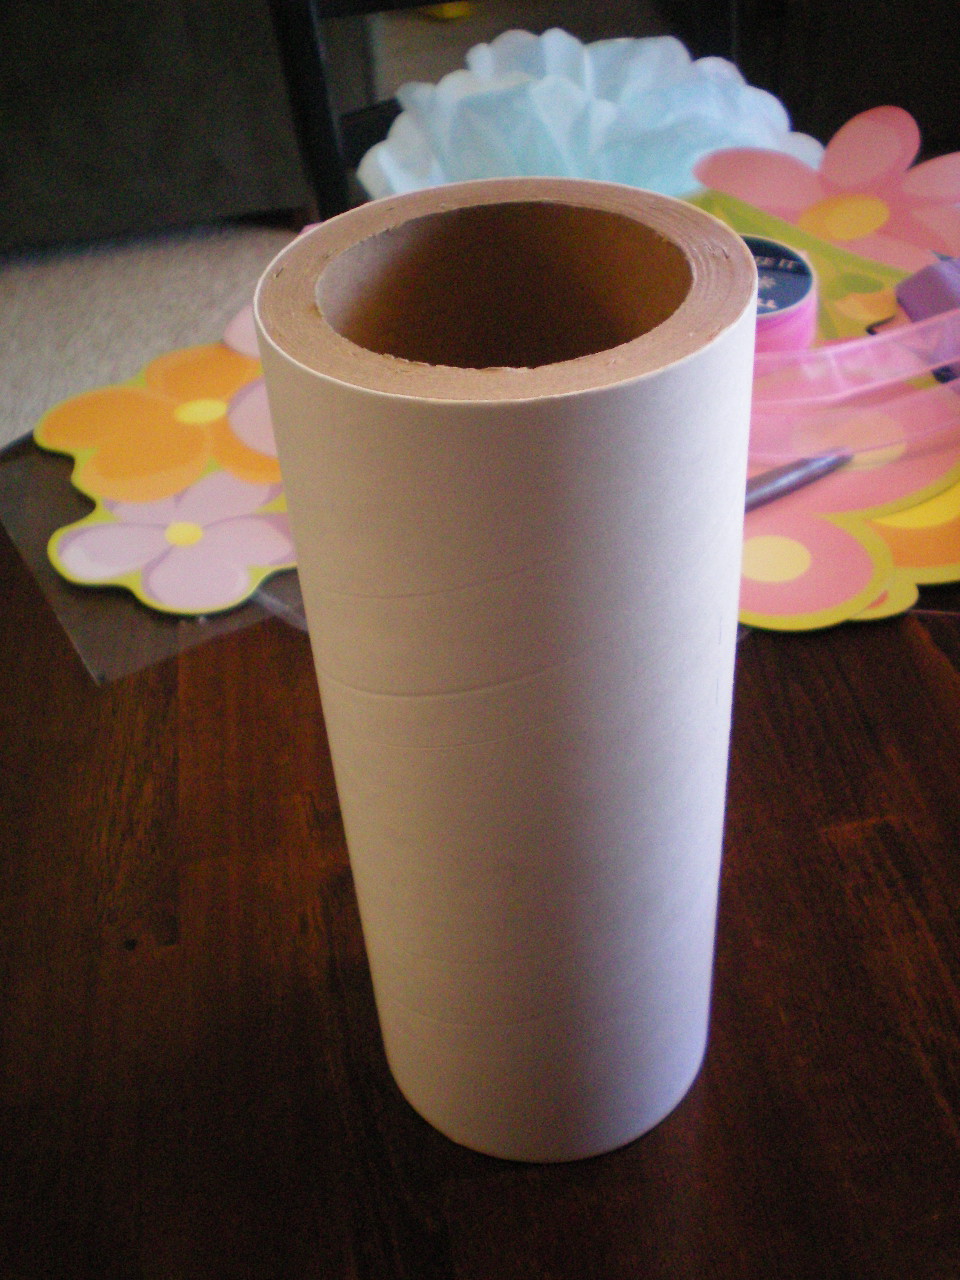
I got this very thick heavy duty photo paper roll from a Photography Studio… YOU can ask the owners if they will sale them to you or if you can have them. My friend showed me THESE emptied photo paper rolls and told me how her friend made a flower arrangement with them for a wedding. I new I could do something with it, so she gave it to me.
Cover the photo paper roll in tissue paper, by simply rolling the photo paper roll in the tissue paper. Tape or use glue dots to seal it. I didn’t mod podge it on, because I wanted to recycle it again. However, you could mod podge tissue paper or scrap paper to them.
for a medium sized tissue pom ball cut about 3-4 inches off one end. Use the rest.
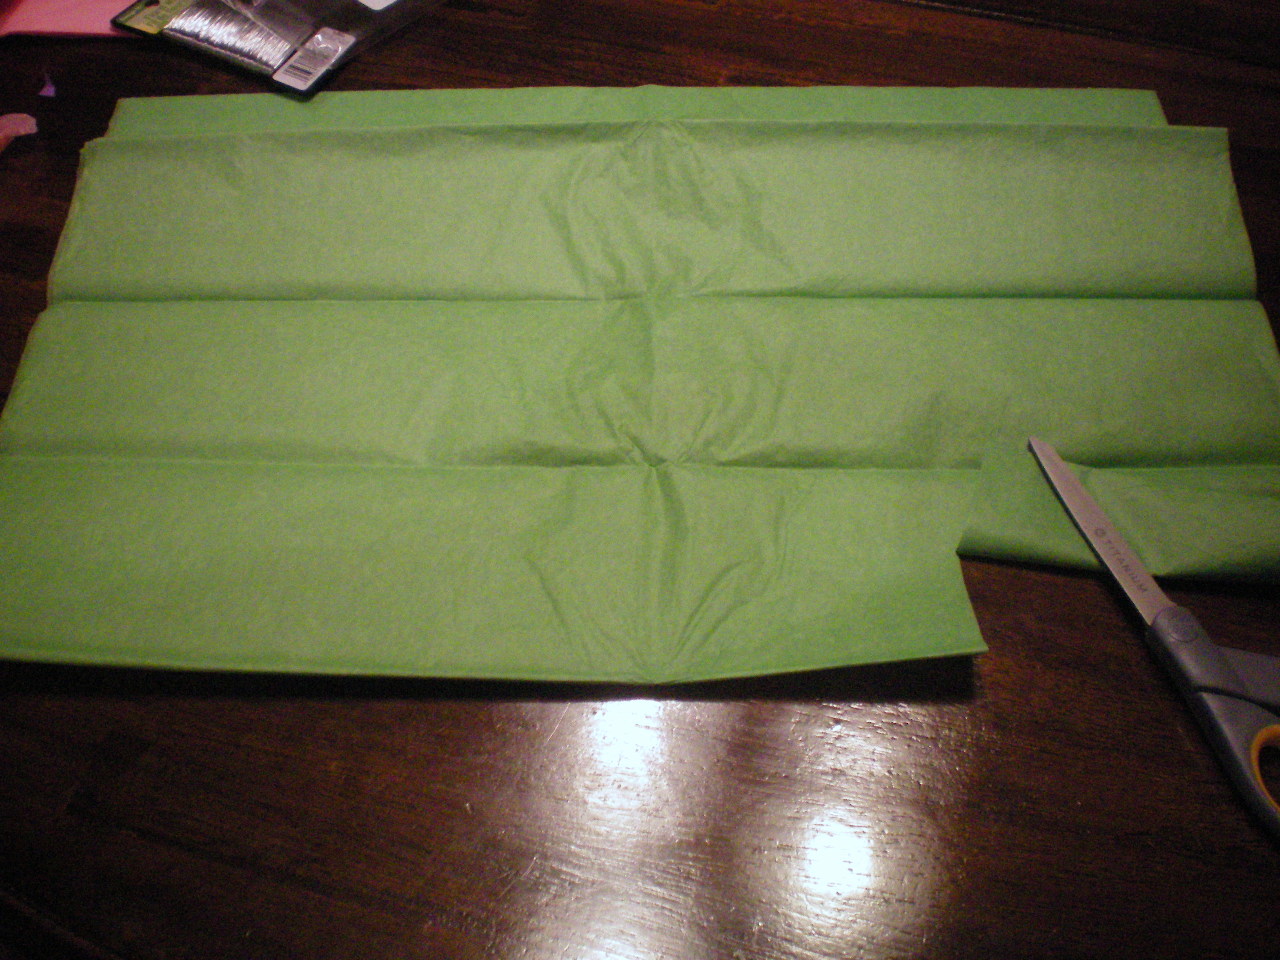
for a small tissue pom ball cut directly up the middle. Only use one half.

all made. These ones I hung up.

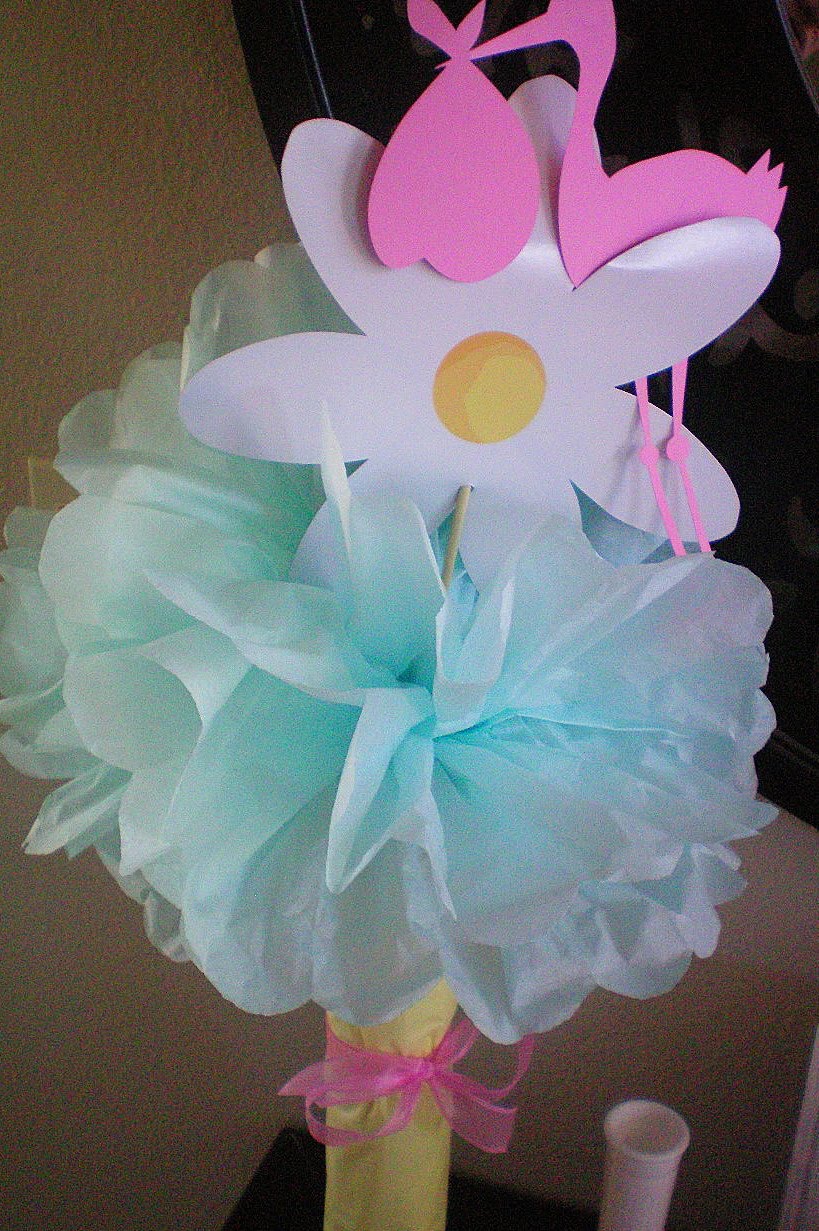
Here is one all finished and up close! The stork was cut out from my cricut from the Lyrical Letters cartridge “Spring” button!
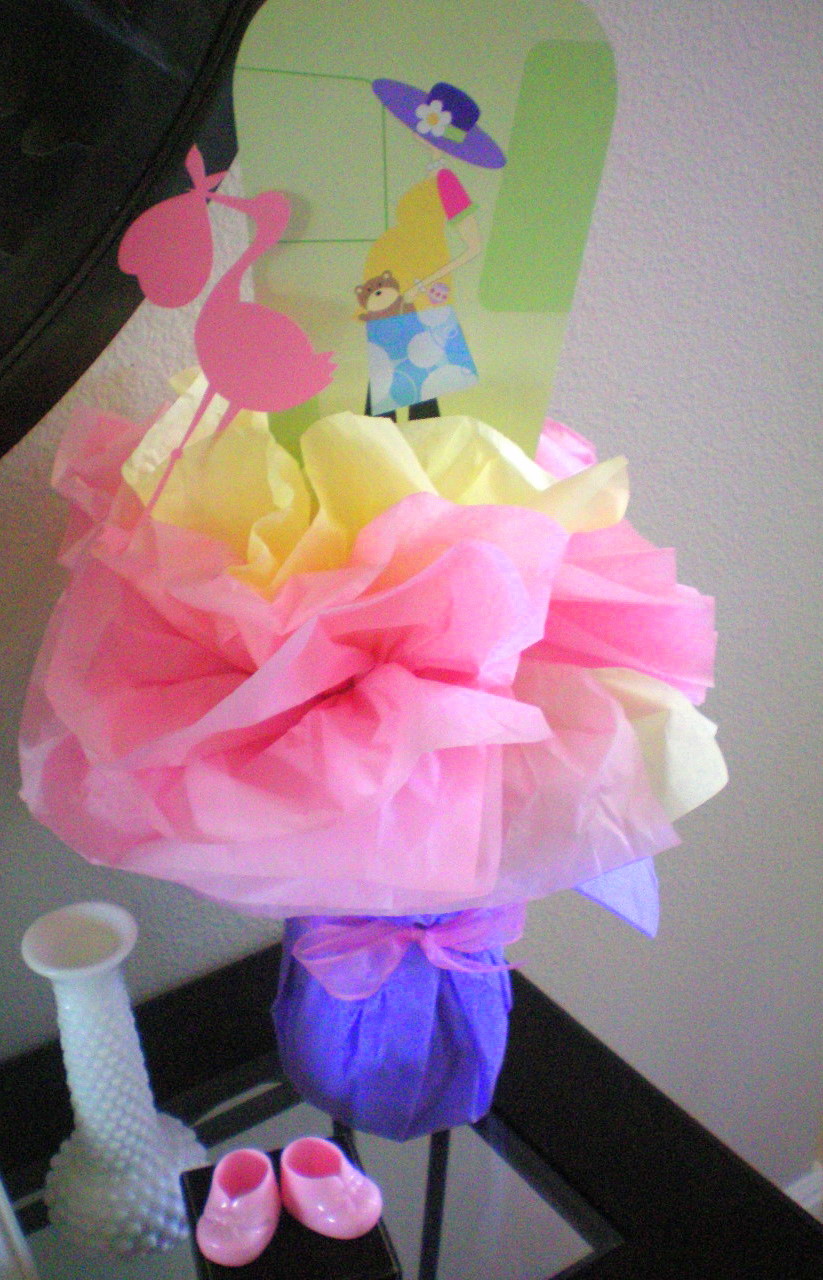
Here are the tissue flower vases all finished and on display on my entry table. The prego pic. and the flower pic. were made by whole punching a whole with a whole puncher in the card stock. Then you simply run a kabob skewer through the card paper and tape it on the other side. Then I just stabbed and pushed it into the tissue ball flower. The prego pic. the mom to be gave me and the flower… was in a package of party stuff at the dollar store.

Here are the ones I hung up above the food table for the baby shower.
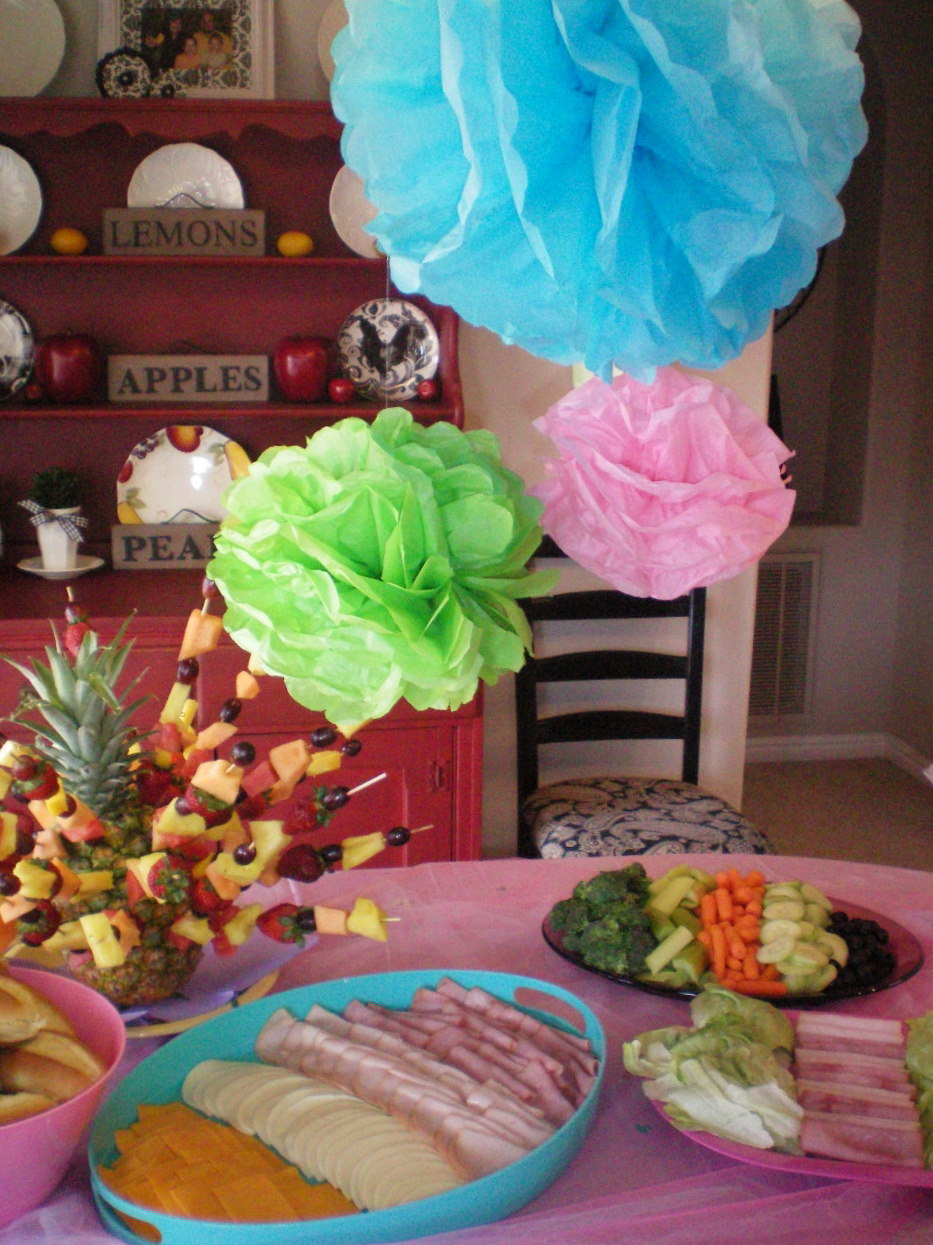
Most have seen them hanging from something. I hung them up in my daughters room after the shower.

IF YOU WOULD LIKE TO SEE FULL PICS. OF THE BABY SHOWER CLICK HERE!

Great decorations! I really want to make some of these pom poms. Cute!
Wow,
These are so adorable! They add so much to your party decorations!
Thanks for you visit to my site!
Dee Dee
Your shower was SO DARLING! What a lucky mom-to-be!!! 🙂 I love your blog 🙂