DIY Faux Frosted Window
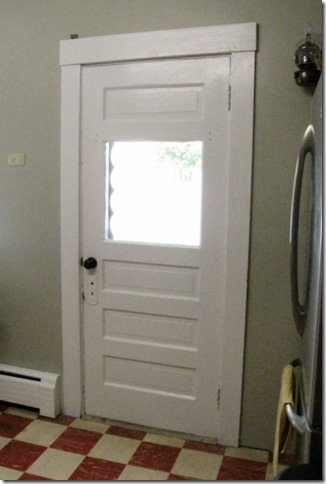
Our back door was in desperate need of help. Its an old door with the window cut out in it.
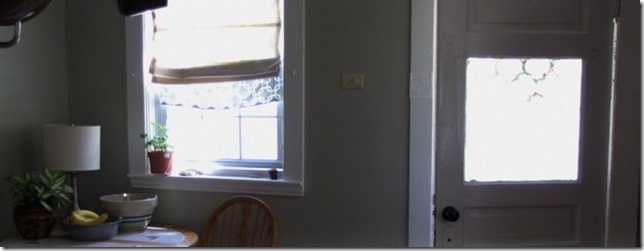
To cover the window, I’ve been hanging a curtain there but no matter which one I tried I have not been happy with its over all look in the kitchen. I want the window covered to help filter out the morning sun (its an east facing window) and also to cover the deep dark scariness that it becomes at night. After a while I just took the curtain down but I hate hate hate strongly dislike walking into the kitchen at night just to have that gaping hole of mysterious black lurking there and wondering what is beyond! I had to figure out something!
I searched for solutions and learned about a trick to faux frost a glass window super easy for super cheap. All you need is a stencil and some contact paper!
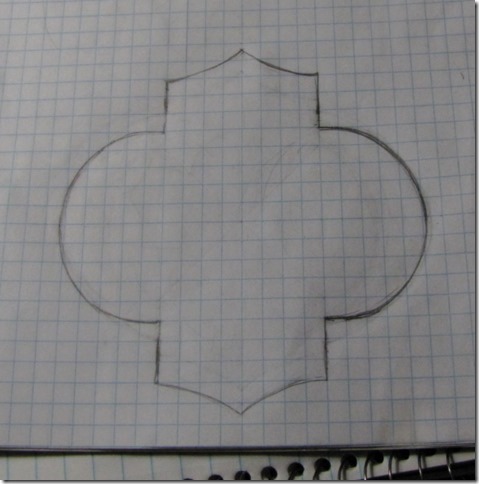
The steps are pretty simple; just a little time consuming. First, I needed to decide on the pattern/design that I wanted. I liked a quatrefoil pattern that I had on a magazine holder and I decided that was the pattern I was going to go with. Now, as I sit here and write this, I realize that I should have just photo copied the magazine holder and then enlarged the pattern for my perfect stencil. That would have been a great plan and super easy, however, I didn’t do that! Out came the graph paper and I painstakingly designed my own!
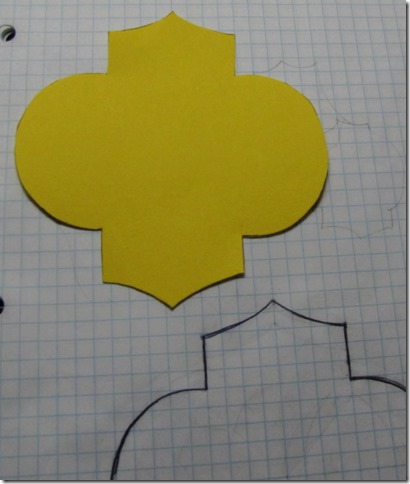
I measured, erased, drew, erased, measured, drew, and erased, and drew some more until finally, I had what I wanted! (Phew, ever get indents in your finger from a pencil?)! I traced my shape onto cardstock, cut it out, and had my finished stencil.
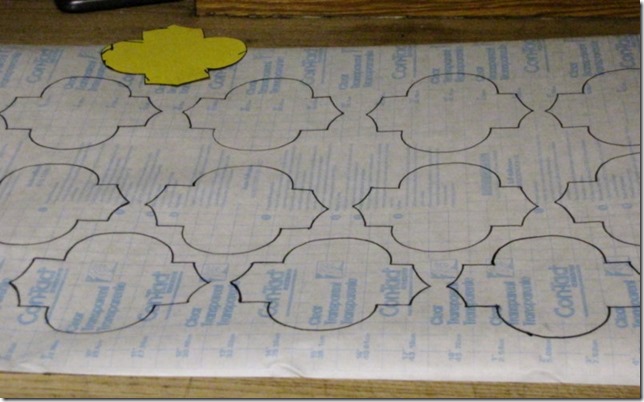
With the stencil ready I then had the job of tracing it over and over again onto the contact paper. You’ll want to settle in for this part because it takes a while ( is there a movie you’ve been wanting to watch?).
After all my tracing and careful cutting I had all my shapes ready.
Lining my shapes up on the window was a little tricky. I wanted to get the right effect that the glass came that way and so I had to do a little planning. I worked it out so my whole shapes started a few inches towards the center of the window and the pieces I cut were on the border to give the look the glass was cut that way.
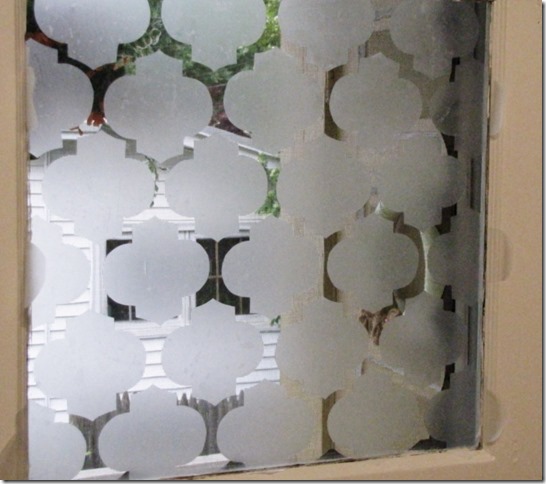
You can see in this picture how I have shapes over lapping the edge onto the door. This was so I could cut them with a razor blade along the edge of the window.
I went slowly and carefully so to make sure my shapes were lining up to create my desired pattern. I had to place each piece on very carefully to avoid a large amount of bubbles. The bubbles I did have, I worked out by rotating using a dry cloth and plastic scraper. Using the dry cloth, I rubbed in circular motions from the center of the contact paper out to the edge. The plastic scraper was best used by running along the contact paper in a straight line. Some of the bubbles I just ended up chasing to the edge with my fingertips. After I trimmed all the outside pieces and got as many bubbles out as I could, my project was complete!
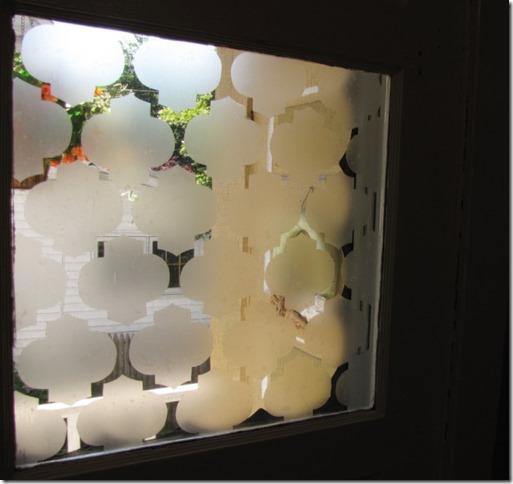
Soooo, a confession! Shortly after this project was completed, I found myself a little unhappy with it because the contact paper still had some very notable bubbles. But after a few weeks I saw that the bubbles were disappearing and this made me very happy! I think it was because of the sun heating it slightly and somehow helping to work the rest of the bubbles out but no matter the reason, my faux frosting is now bubble free and perfect!
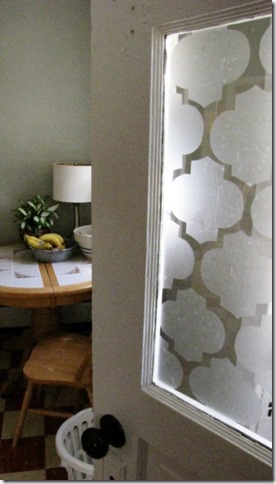
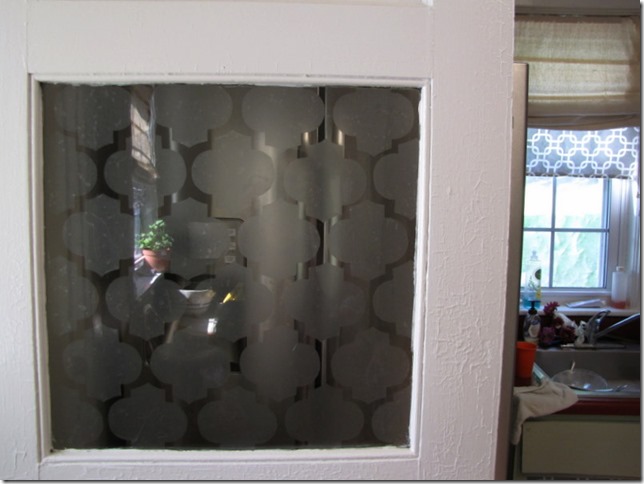
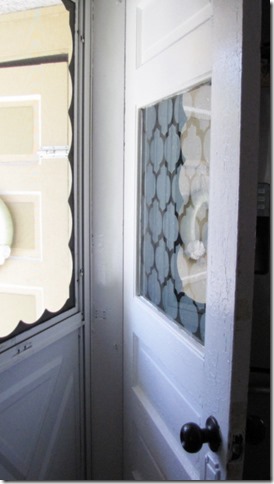
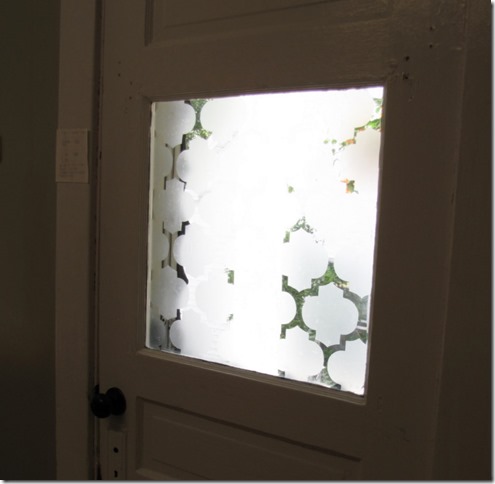
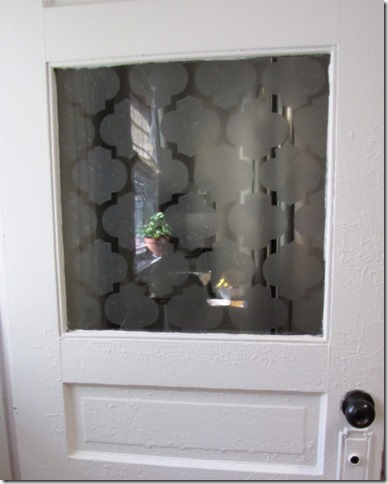
Here is the window after the faux frosting technique.
Oooooh, so much lovelier!!
What do you think? I love it! It’s exactly the look I was hoping for. I like it waaaay better than a curtain and I think the frosted window really helps to update the door.
We’ve definitely had some high temps and high humidity this summer and the window still looks perfect. The contact paper is holding up beautifully.
So that’s it. What do you think? If you like this and have any questions before starting this project yourself, I would happy to try and answer them the best I can.
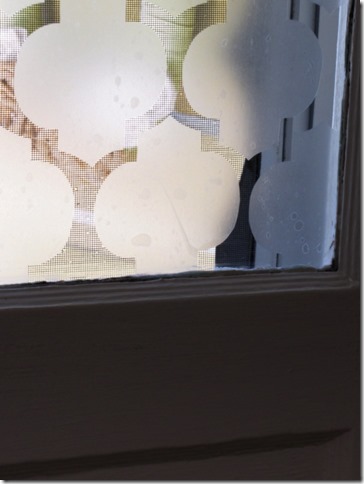
Ps. All these pictures were taken right after I applied the contact paper so you can still see the bubbles. I’ll post an update soon so you may see how much sweeter they look now!
IMAGES: All Ivy Bingham for ‘My ruffled life’.
Beautifully done! Very pretty.
I absolutely love this- but is the contact paper removable? I’m just asking because I’d love to do this on our sliding glass doors, so that I can have the blinds open during the day and not worry about nosy neighbors peeping into the apartment all of the time, but we can’t do anything permanent or else we’ll lose our security deposit.
Great idea. I have a vertical window along side my front door and my dog goes ballistic when someone comes to the door. She has torn up the molding from her frenzies. I hung up a curtain and it has cut down her episodes but I hate the curtain. I love this alternative and am going to try it!