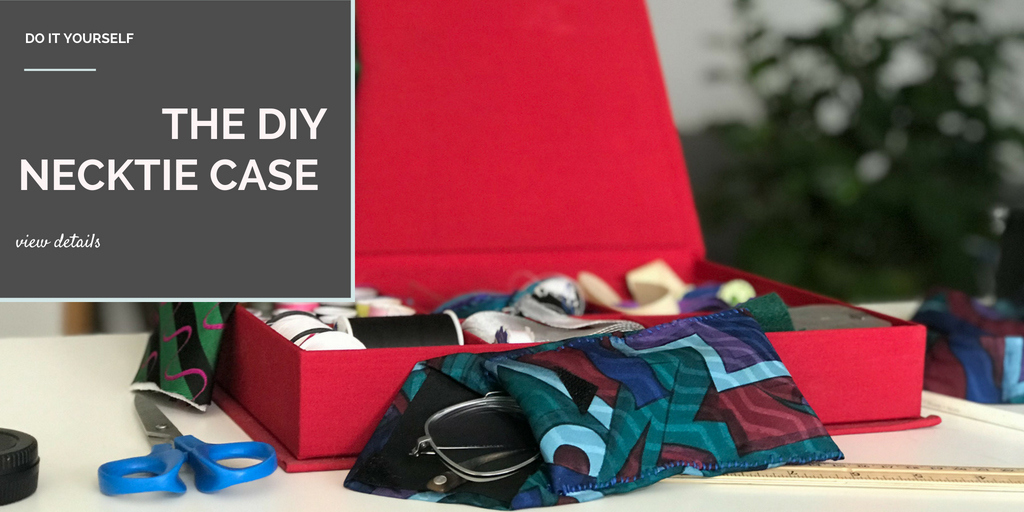
The DIY Necktie Glasses Case
Hello! This is Ali from Cut, Cut, Craft! (cutcutcraft.com)
It’s late June, and if you’re like me that means you’re already thinking about what sorts of things you can make for the 4th of July. But before we start lighting the fireworks, maybe there’s something we can do to make sure our view is as breathtaking as possible?
Jen invited me to write a post about crafty gift ideas for husbands. And guess what? I’ve got just the thing!
Presenting… the necktie glasses case!

This is a fun, easy project you can make with materials you probably already have around your house. Plus, who wants to see fireworks through smudged glasses?
You don’t have to be a talented seamstress to make this project (I know I’m not). You just sew three sides closed and boom! You’ve got a pocket for glasses.
If you can actually use one of your husband’s old ties to make this, it can be a touching gift. But if you are using a precious necktie that carries strong sentimental value, it might be a good idea to practice on a less valuable tie first… or maybe pick another.
First, I’ll run through the supplies you’ll need to make this, as well as some tips for picking out a good tie. Then, I’ve got step-by-step directions for you, along with pictures to show you how it’s done. At the end, I have some tips to help you through.
Supplies
- 1 necktie
- 1 pair of scissors
- 1 seam ripper (or sharp scissors)
- needle and thread
- pins
- velcro and fabric glue (or other closure)
- glasses (for measuring) or ruler
Necktie selection
Take a bit of time when choosing what tie you’re going to use for this project. You want something pretty, but also functional.
You’ll be using the bottom 18″, so make sure it doesn’t have any visible stains or tears.
(make sure to check the backside of the tie tip, because this will be visible.)
Oh, and skinny ties? They’re out.
Unless you are making a case for a small pair of reading glasses, they just won’t be wide enough to actually fit glasses.
The most important thing to look for is the lining. You want to make sure that the lining is soft, and that it extends 6 or 7” from the tip of the tie.
I basically went through all the ties my dad hadn’t worn in over a decade and picked the pretty ones that had a soft lining.
But some of them only had silk extending a couple of inches inside, and then the slightly scratchy padding was exposed farther in. So look out for that!
Alright, let’s go over the steps to make this glasses case.
Making the necktie case
- Find a necktie. I’m lucky enough to live close to my dad, so I got to ask him for an old tie. “For no particular reason,” I said. I’m not sure if he’s suspicious, but I’m always scrounging around his house for strange items to use in crafts, so it’s not that unusual.

- Measure and cut the tie. Lay the necktie frontside down on a table. Place the glasses on the wide end of the tie, making sure they fit comfortably. Fold the rest of the tie over the glasses and cut off the remainder, allowing a 1” overlap past the glasses. (If you don’t have a pair of glasses to measure, mine ended up 16” from the tip of the tie.)

- Finish the cut end. Fold about 1” of the cut end towards the back of the tie, and sew it closed with a whipstitch. Make sure to tuck the padding in as you go. Don’t worry about the sides, they’ll get taken care of later.

- Remove the center seam. If the tie is stitched closed down the middle, use a seam ripper or sharp pair of scissors to remove the stitches from the first 5-6” to create a pocket that can fit a pair of glasses. Remove the label if there is one because that will get in the way.

- Fold over and sew closed. Fold the tie over and pin it in place. If you have a pair of glasses, you can use them to make sure they’ll fit in the finished case. Sew the edges of the tie to the top layer of the fabric beneath it, creating a pocket. Use a tiny whipstitch, and make sure not to accidentally sew the pouch closed.

- Add a closure. The tip of the tie will be a flap that can be folded over to close the pouch. I glued two triangles of velcro, with the soft side on the flap so it won’t scratch the glasses. A button would look great too!

Alright, that’s it! Pretty easy, right? It’s great for a last minute gift. If you need any help wrapping it, check out these ideas from Jen for tying the perfect bow.
As promised, I have a few tips on the tutorial down below, in case you run into any trouble.
Tips
- Make sure to let the glue dry entirely before you try to put glasses in. You definitely don’t want to get glue on a pair of glasses.
- If you don’t like to sew at all, you can actually just use fabric glue for this. It will take a bit longer because you’ll have to wait for it to dry at each stage.
- You can even use a sewing machine to finish this, though I prefer the hand-sewn look.
- Use contrasting thread if you want to show off your stitching, or the same color if you want to keep it hidden.
- On some ties, I have found that removing the center seam actually makes the whole thing fall apart. If this happens, you’ll want to glue (or sew) the tie back together along the center line. Make sure it doesn’t get attached to the layer below, so you keep a nice pocket in there.
Ali Fields is a DIY geek who writes home craft tutorials and reviews over at Cut, Cut, Craft!