
DIY Revamped Rustic Kitchen Table
Hi guys, I am thrilled to share mine and the family’s new DIY Revamped Rustic Kitchen Table. We took our existing kitchen table and revamped it. They hubby and I were a good team getting it all done. WA-HOO! We did away with the old kitchen chairs, they themselves had a few revamps of their own. Plus two of the chairs were broken, like the seats under neath, and the wood on the bottom. Plus I was down with fabric and dealing with recovering it.
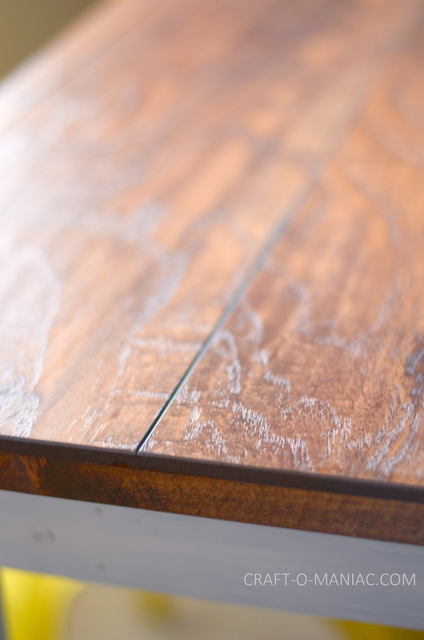
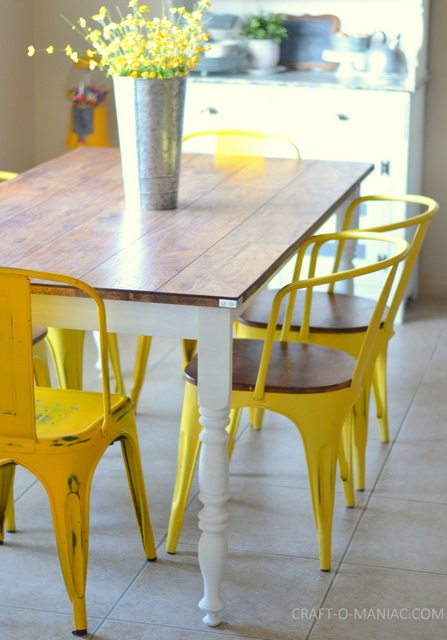
The hubby and I went out shopping and went to 4 different stores, we ended up finding “4” great rustic metal yellow chairs with the wood seats, at Down East. The other rustic metal yellow chairs I found at Kmart online, and they sit at each end of the table, for hubby and I. We picked out some “wood laminate flooring” at Home Depot and it was the perfect laminate flooring, it matched the wood on our set of four chairs perfectly. However, this particular laminate flooring is discontinued. We just happened to be at Home Depot on the right day and got the last box (seriously it was meant to be). My hubby totally had the idea of laying the laminate flooring over the top of our existing wood table top, BRILLZ YA’LL! The table top before had many dips, large cracks, and grooves, it was a free for all of every kind of crumb and droppings. EW, GAG, EW! I hated it and it could never clean it (out) properly. Anyway, I found the EW table on Craigslist for $40.00 bucks, but they never took a close up of the table and its cracks and such… (I new why), and learned the hard way.
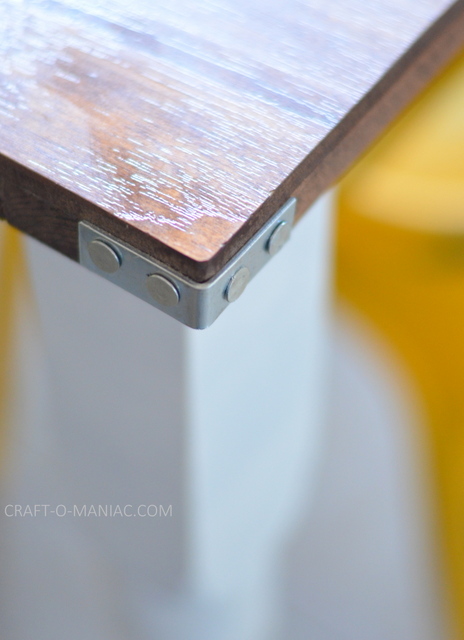
Anyway the hubby glued, clamped, and sawed the laminate flooring to the top. Once all the gluing was done he sawed all the edges to remove the table underneath that was still sticking out a 1/2 an inch. He made it so that both top and bottom of the table top was flush and even. Then he stained the sides of the table top to match and blend together. Then I wanted some rustic hardware to ad to the sides. I found the metal corner pieces at Ace Hardware and the hubs hammered in some galvanized nails to adhere the corner pieces to each corner. Lastly, I used Amy Howard “At Home” One Step Chalk Paint in white “Natural”. I painted the legs and the underneath base in two coats of the chalk paint. I used a 1′ inch bristle brush, to chalk paint the table. Both products were also from Ace Hardware. Psssst, I still want to sand and chippy-fi the table legs, but hubby likes it the way it is. I will just wait until he is at work to do that. wink.
I am so happy with how it came out and the money we saved on the table too. Not purchasing a new one (my gosh tables are expensive) saved us a ton of money, and we were able to spend some of our budget on new chairs.
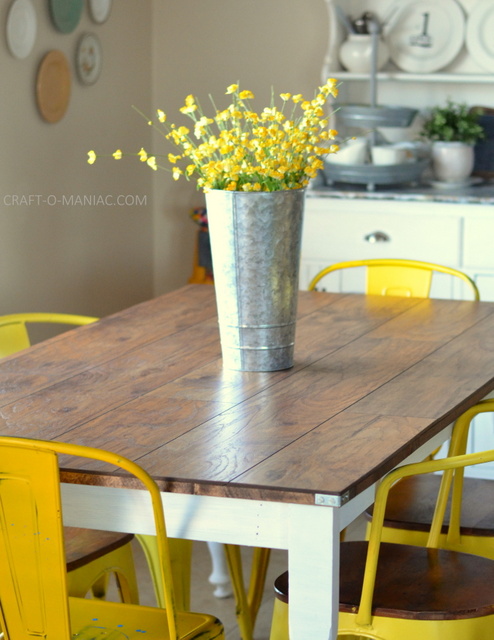
Here it is!

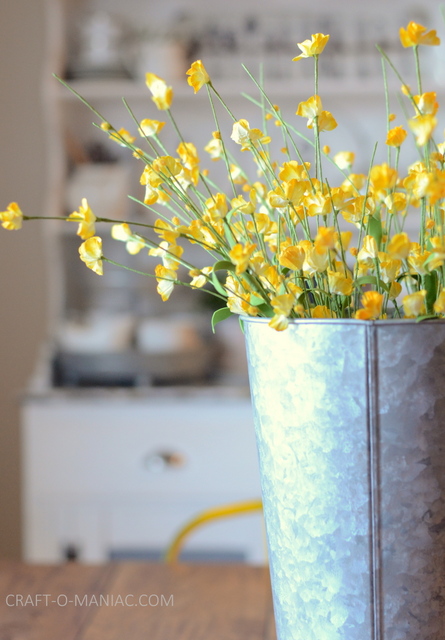
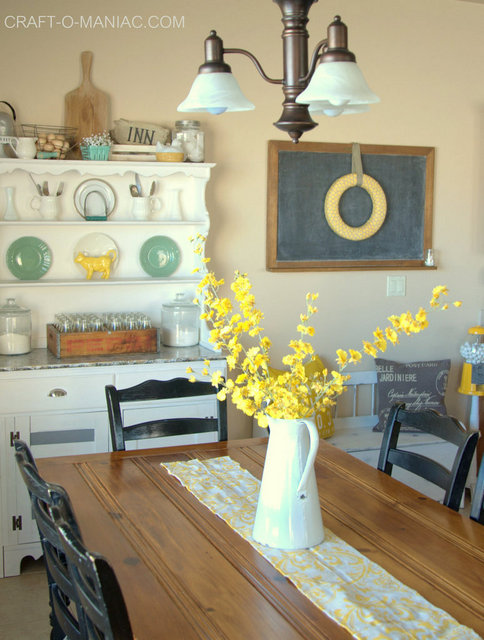
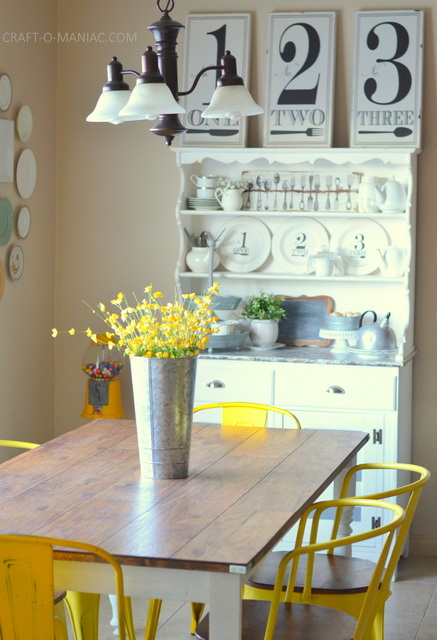
Love the flowers, (as you can see in the many pictures I took) both the flowers and the galvanized tin are from JOANN’S


BEFORE
AFTER!
Thank you all for stopping by. I can’t wait to make more yummy memories at our new revamped table.
xo jen
I love how your table turned out. And the chairs are absolutely gorgeous.
The table looks amazing and so well done. I love the chairs. That pop of color is perfect for spring!
Wow that turned out amazing!!!! I have never heard of putting laminate flooring on top of a table. Cool idea! Have a great week.