Upcycled Backpack Vintage Door
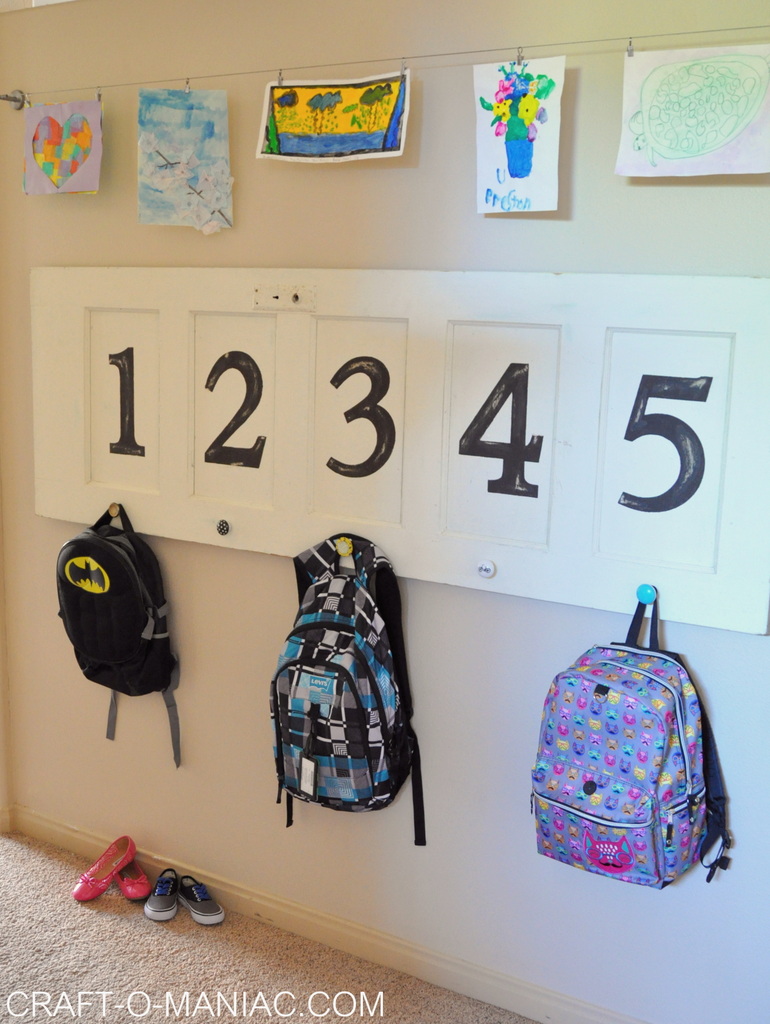
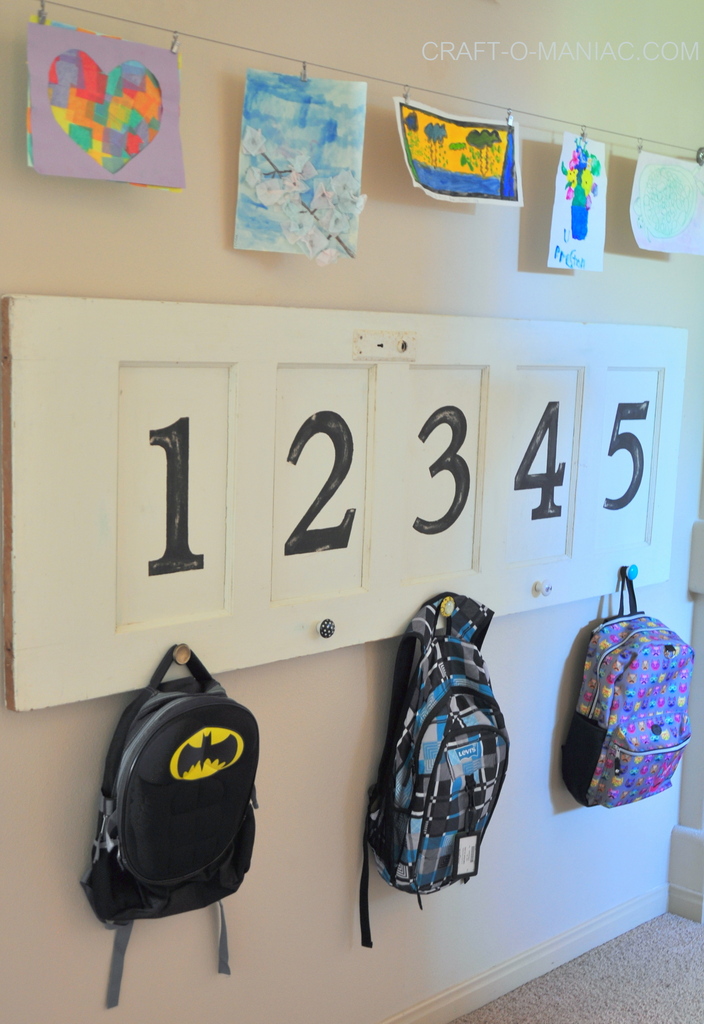
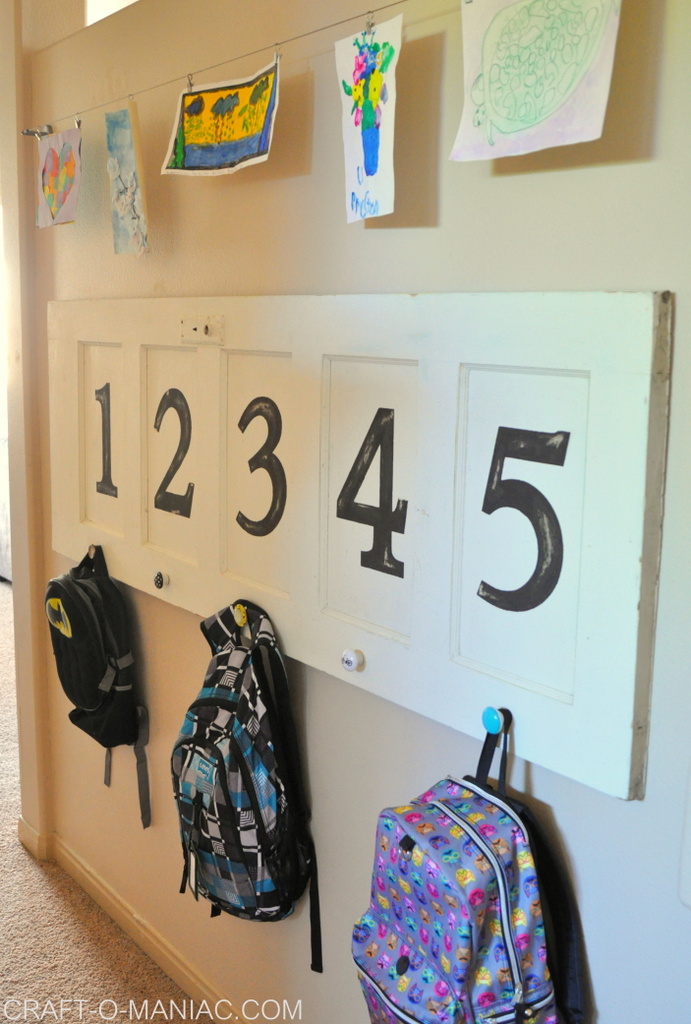
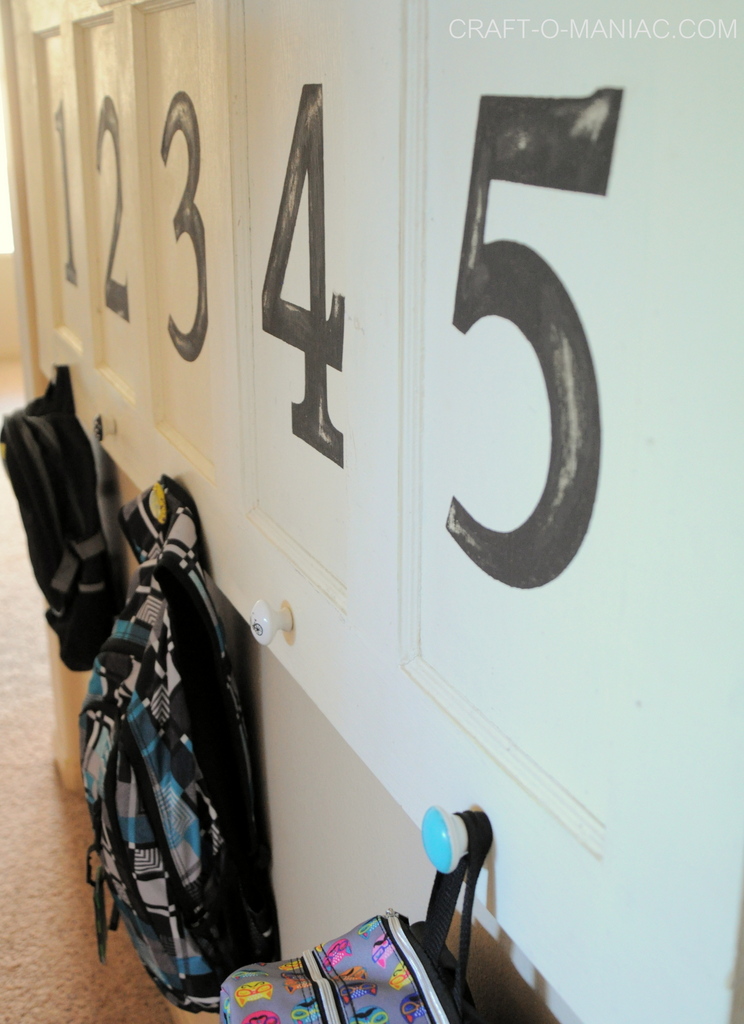
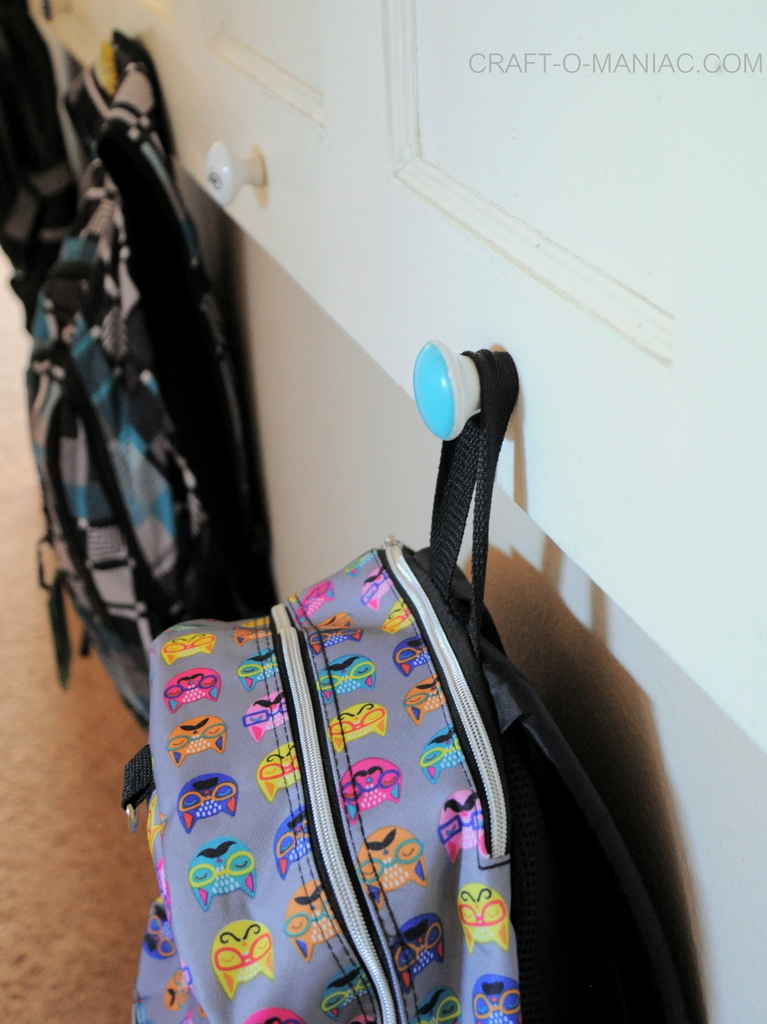
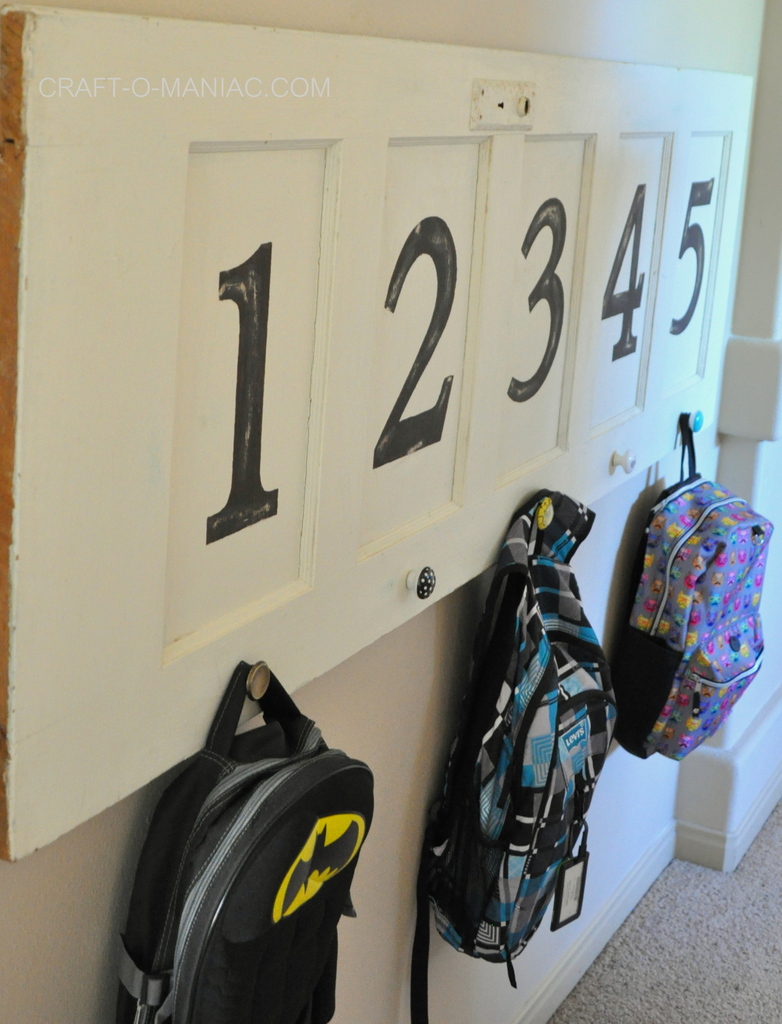
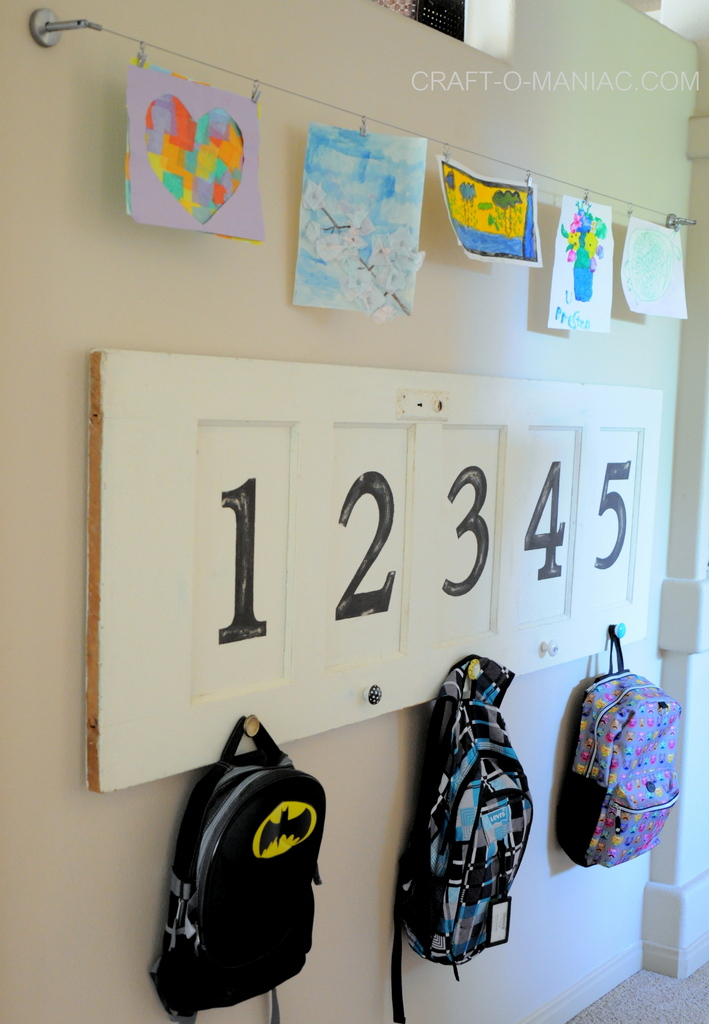
Hi friends, today I am talking about this old vintage door I got almost a year ago at a local Mercantile I frequent. I am sharing how I upcycled it to an Upcycled Backpack Vintage Door for my kids. The idea just came to me the other day when I was looking at the door and wondering what else I could do with it besides leaning it against my wall and hanging a wreath from it. Then I remembered all these cute knobs I got at Hobby Lobby online and BAM! “Backpack Door!” So with the help from the hubs adding some screws and wire to the back of the door on both sides for hanging, drilling some holes for knobs, and stenciling on large numbers I cut out from my Cricut, I had a new upcycled backpack door. Before this project it drove me nuts that my kids would come home from school and plop their backpacks where ever they wanted GAH! This large wall is right down past our entry, then they turn left, and there on the right they can hang up their backpacks. I also had one of those awesome Ikea art displays and I new it would be perfect above the backpack door. The wire art display allows my kids to hang up or display any of their recent art work or special papers they have made or done. This new organized space has been working great, and I got it done just before they started school this past Monday. Boom! Now if I can get them to put their shoes away in the shoe bench, or in their door hanging shoe harness.. then we’re golden.
Lets take a look at the final project.

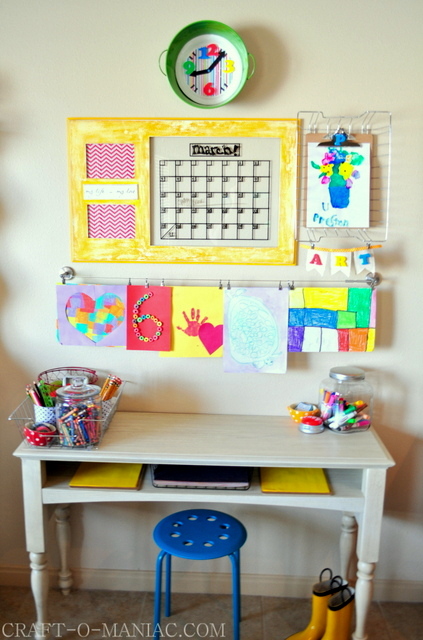
and check out my kids Art and Homework Station I did for them a few years ago. Go Here.
Thanks for stopping in today.
xo jen
Hi Jen. Love how this turned out! Really love the look of the numbers. Happened to notice that there is the number 5 on there. Is this a small hint of what is coming or where you just filling the extra space? Thought I may have missed an important post. 🙂
Hey Samantha,
I kind of hope that maybe one day soon the number #5 would mean another baby, but for now I was just filling in the space. Have a lovely weekend. Jen
Love love love this. I am a sucker for black and white and numbered things! So cute.
Hi there! Did you paint the numbers black and then go over it with white for the rubbed look or just sand it down in places?
Hey Ashley,
I stenciled on the numbers and then while the paint was still damp, I took a thin Cricut spatula or like a spackle tool (something with a thin metal like edge) and scrapped off some of the paint. Hope that helps, jen