
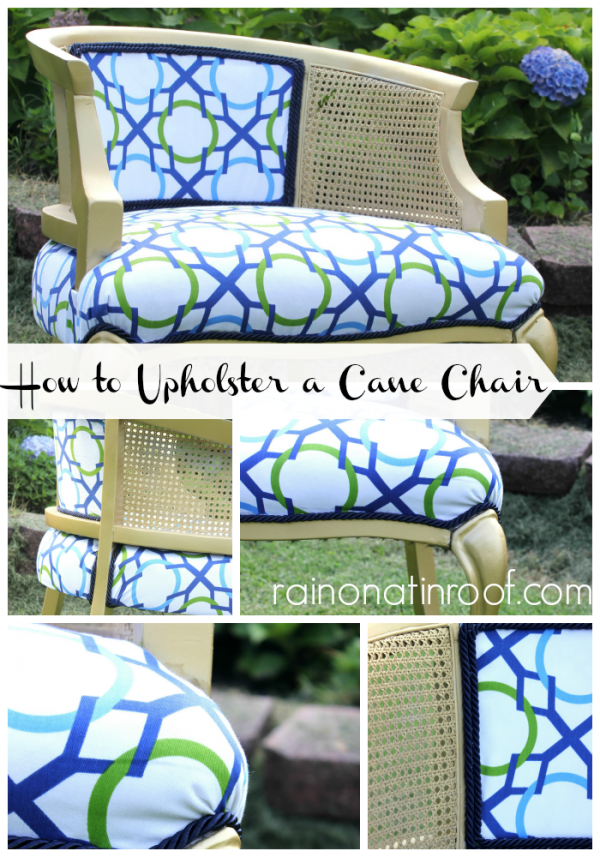
DIY Upholstered Cane Chair
Hi Craft-O-Maniac Readers!
I’m Jenna from Rain on a Tin Roof and I’m thrilled to be here sharing my Jonathan Adler DIY Upholstered Cane Chair makeover.
Thanks, Jen for having me!
If you haven’t been to my blog before, here’s a little about me:
I’m an ex-southern belle who is passionate about DIY projects, turning junk into chic decor, thrifty finds, re-finishing furniture, and other decorating dilemmas. When I’m not trying to keep my kid from climbing out of the circus ring or making sure Grunt Labor’s shirts are taken to the dry cleaners (so I get out of ironing), I can be found with a paintbrush in one hand and a cheap beer in the other. But if you’re buying, I’ll have a cosmopolitan. You can find out more about me here.
Now, onto why you’re really here.
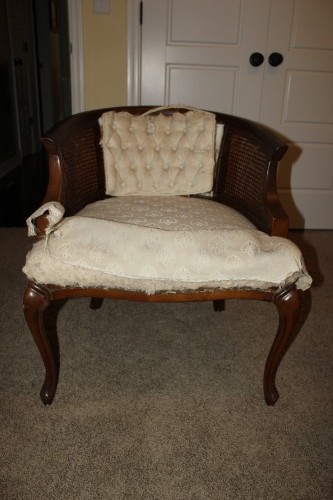
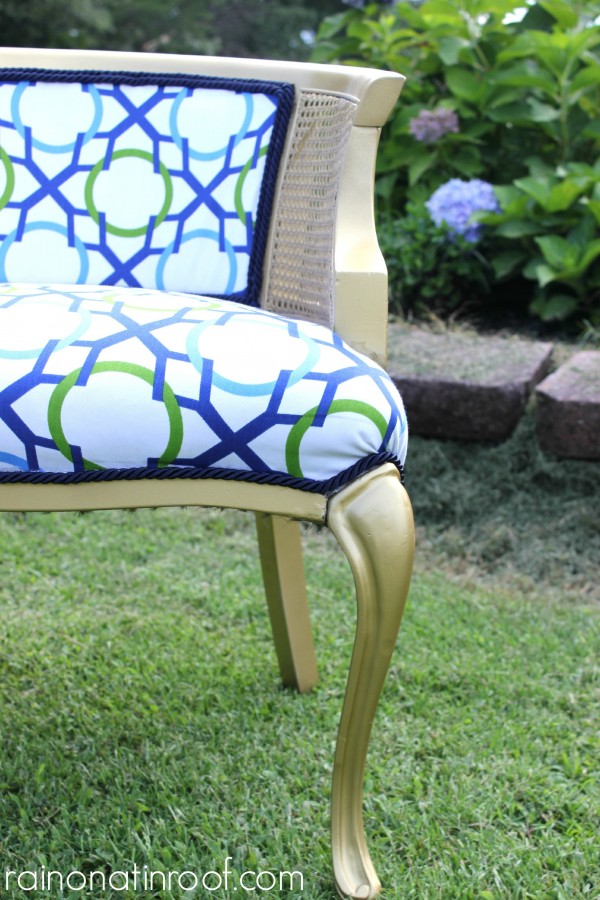
The fabulous chair:
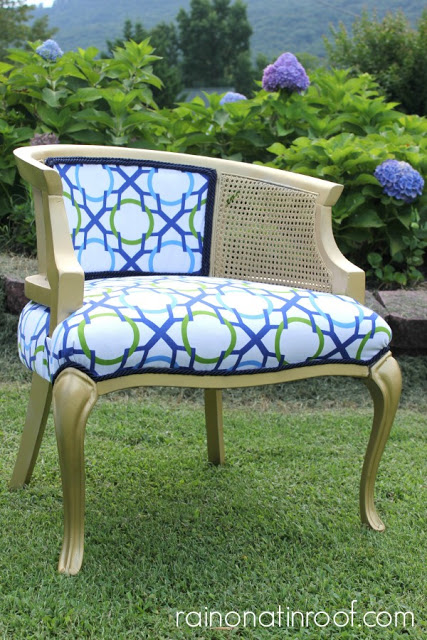
I thought re-upholstering this chair would be difficult.
I was wrong.
Shocking, I know.
Now, I will teach you how to upholster a cane chair like this.
Aren’t you so excited?
But don’t ask me about upholstering other types of chairs – I’ve only conquered this one.
This chair started off like this:
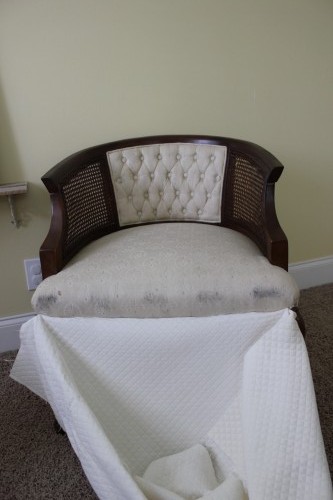
It is one of a set that my grandparent’s had. My dad is holding the other one hostage and refuses to negotiate – something about how he needs it to watch TV in. He can’t sit in the floor? But now he is impressed with my stellar upholstery skills and wants me to re-do his. Hmmm…..maybe I will “lose” it. Is it possible to “lose” a chair?
Back to this chair. It has all the cream colored fabric on it because once upon a time, I thought I would just re-cover it with that without taking off the old fabric, but I wasn’t really in love with that fabric so it sat like this for at least a year.
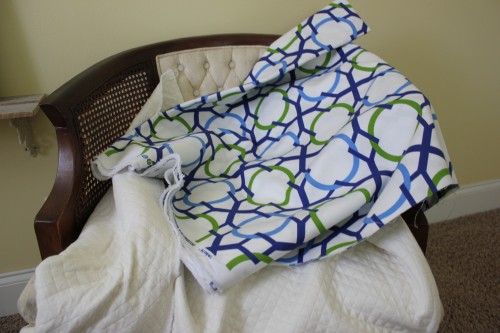
Then, I found this fabric that screamed Jonathan Adler to me and I knew it would be perfect for the chair and the Summer Soiree Style Series.
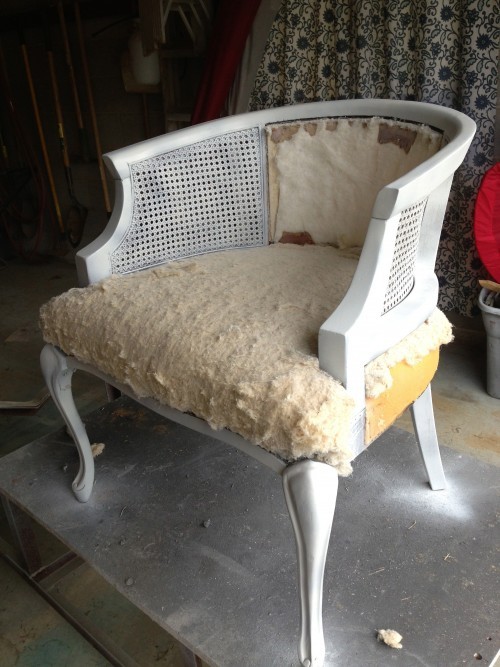
First, I got out a flat head screwdriver and pliers and began pulling out all the staples along the underside and frame of the chair, which resulted in this.
I made sure to keep my old fabric pieces in tact so that I could use them as a guide for cutting out the new fabric. You should do this too, it makes the process so much simpler.
Before, I started upholstering the chair, it needed a new paint job. I primed it first with Rust-Oleum‘s white primer spray paint, then a couple coats of Rust-Oleum’s metallic gold spray paint and finished it off with Rust-Oleum’s gloss topcoat finish. Can you tell I’m a Rust-Oleum girl?

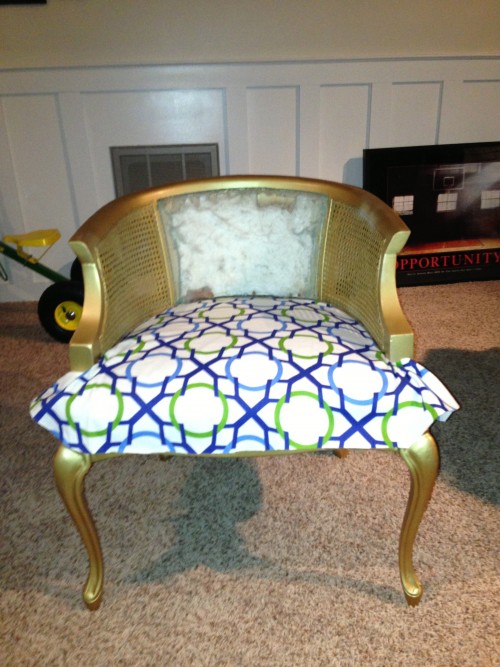
Once it was all dry, I brought it inside to get down to business. I laid out the old bottom piece of upholstery on top of my new Jonathan Adler-ish fabric and cut it out.

After getting it cut out, I put it onto the seat cushion and adjusted it into place.
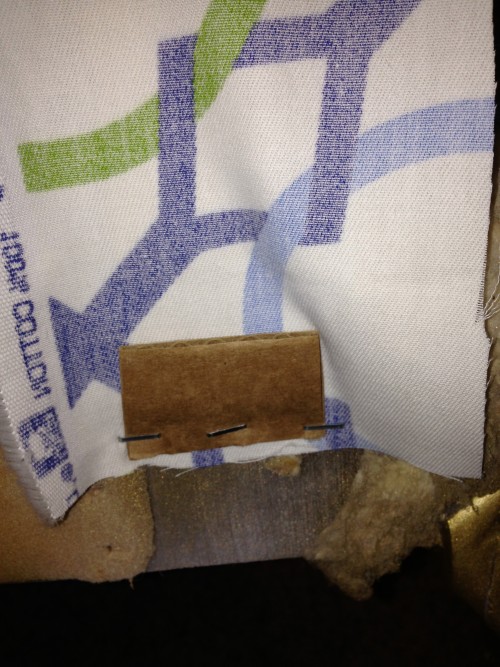
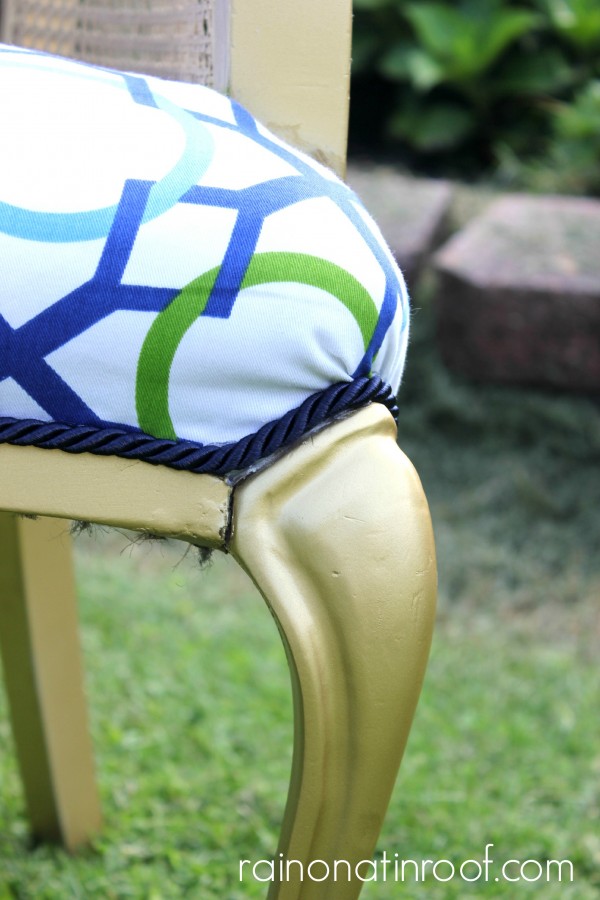
Before I could start stapling it down, I had to take care of this place though:
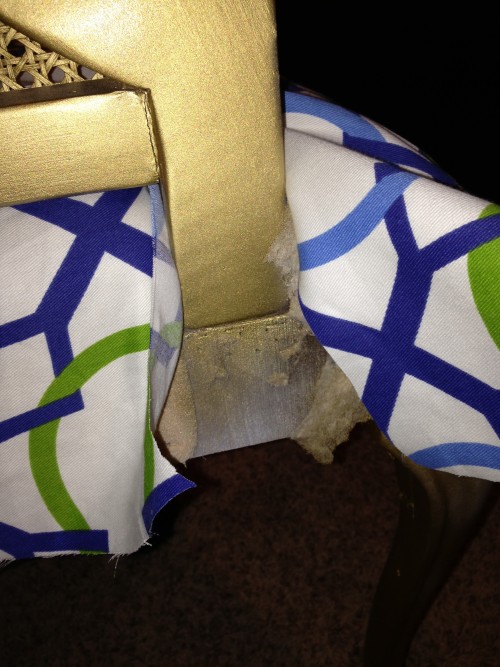
The main piece of fabric on the seat would not cover this area where the arm meets the base. So, first I had to cover it and then put the main piece of fabric over the edges. Are you with me?
Here’s what I did. I took small rectangle of fabric and put it over a piece of cardboard I cut from a box. I stapled the cardboard with the fabric on it to the chair like this:

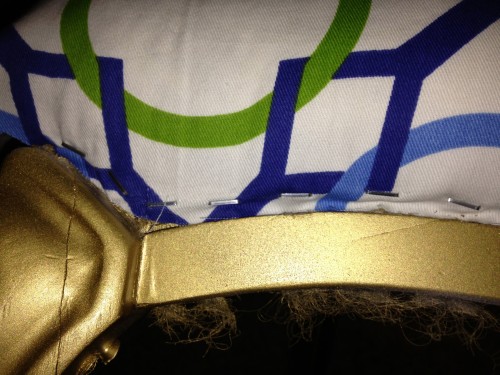
Then, I just pulled the fabric that was stapled with the cardboard down and stapled it under the base of the chair. The main piece of fabric on the seat covered the raw edges of the fabric around the cardboard.
After doing both sides like this (it was only like this on the front legs, not the back), you can start stapling your fabric along the base of the chair and/or underside stretching it as you go to get a tight fit.
For the seat back of the chair, I just cut fabric in the shape of the old upholstery that was there and stapled it to the frame as it had been before. I skipped the tufting on this one, but you can buy tufting kits if you wanted to keep it.
On the very back of the chair, I did not remove the old fabric:
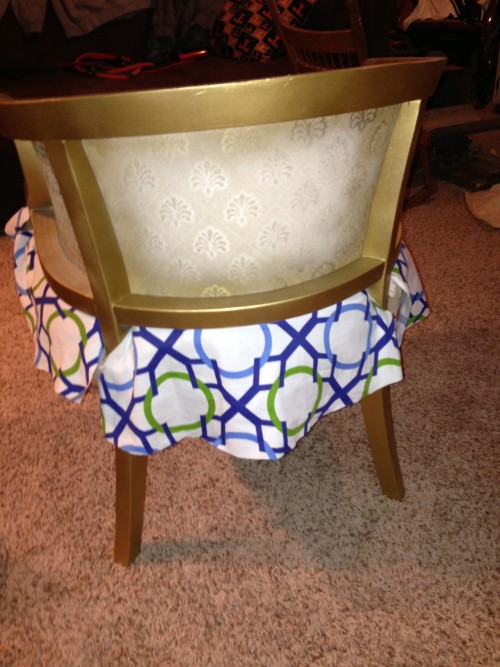
I was worried that if I removed that fabric I would essentially lose the whole back of the chair and have a hole there and then I wouldn’t know what to do. So, I just cut out a piece of fabric to fit there and hot-glued it on.
After everything is stapled down, you can take coordinating trim and hot glue it on top of any staples that show.
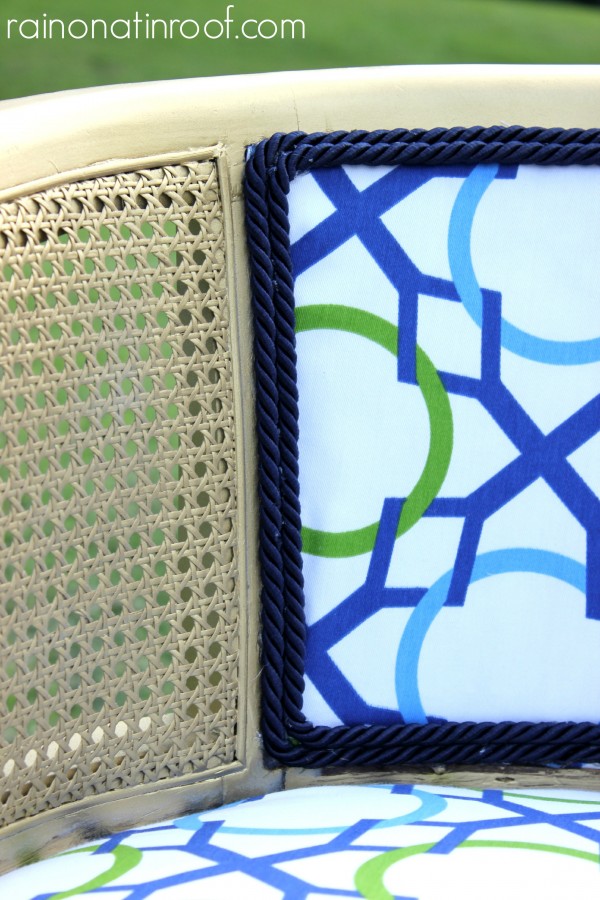
And now you step back and call yourself a rockstar.
Or call me a rockstar if you like.
haha.


Like what you saw?
I’d love to have you follow along:
Thanks so much for featuring my chair, Jen!
Love this! These chairs can be such a bear to refinish with all the curves! You did a fabulous job!