DIY Personal Progress Book Holder

Hello COM readers. I’m SO happy to be here today!

My name is Emma and I’m a 13 (almost 14) year old craft blogger. I blog over at Crafting {E} where I share crafts, decor, printables , and occasionally a recipe.
Before we start, here are some fun facts about me:
– I’m LDS
– I love to run and play volleyball
– I have an addiction to chocolate and smoothies
– I’m a total book nerd and LOVE to read
– I love technology and want to be a graphic designer when I grow up
– I’m a BYU fan (GO COUGARS!!)
I would love it if you stopped by my blog sometime!
. . . . . . . . . . . . . . . . . . . . . . . . . . . . . . . . . . . . . . . . . . . .
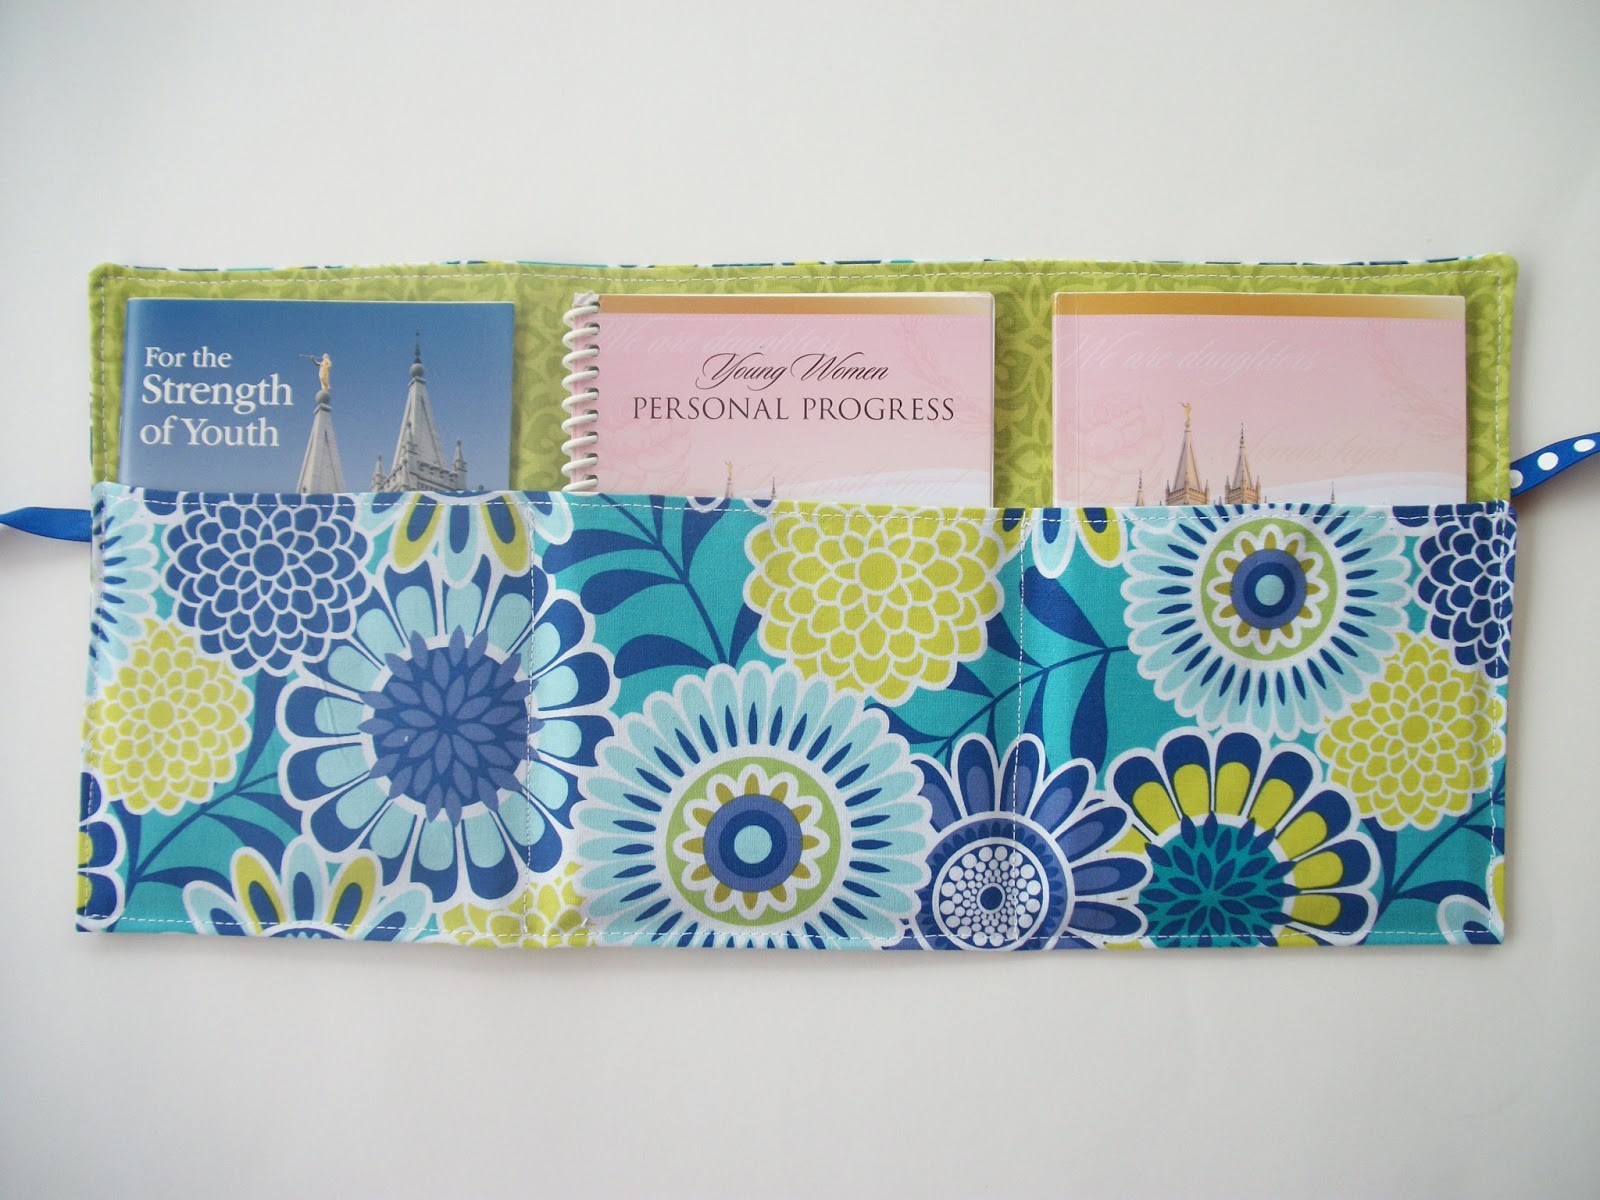
Today I’m going to share a tutorial on how to make an ADORABLE Personal Progress holder. It holds all three of my church books: Personal Progress, My Personal Progress Journal, and my For the Strength of Youth pamphlet. If you have no clue what I’m talking about go here.
I decided to make this after I truly realized the terrible state of my last PP holder. It was one of the first sewing projects I’d ever done. Let me just say, the lines were not very straight. I also made it before I learned to cut off the selvage of my fabric, so there was some of that on it too. Yes but, I was still very proud of it.
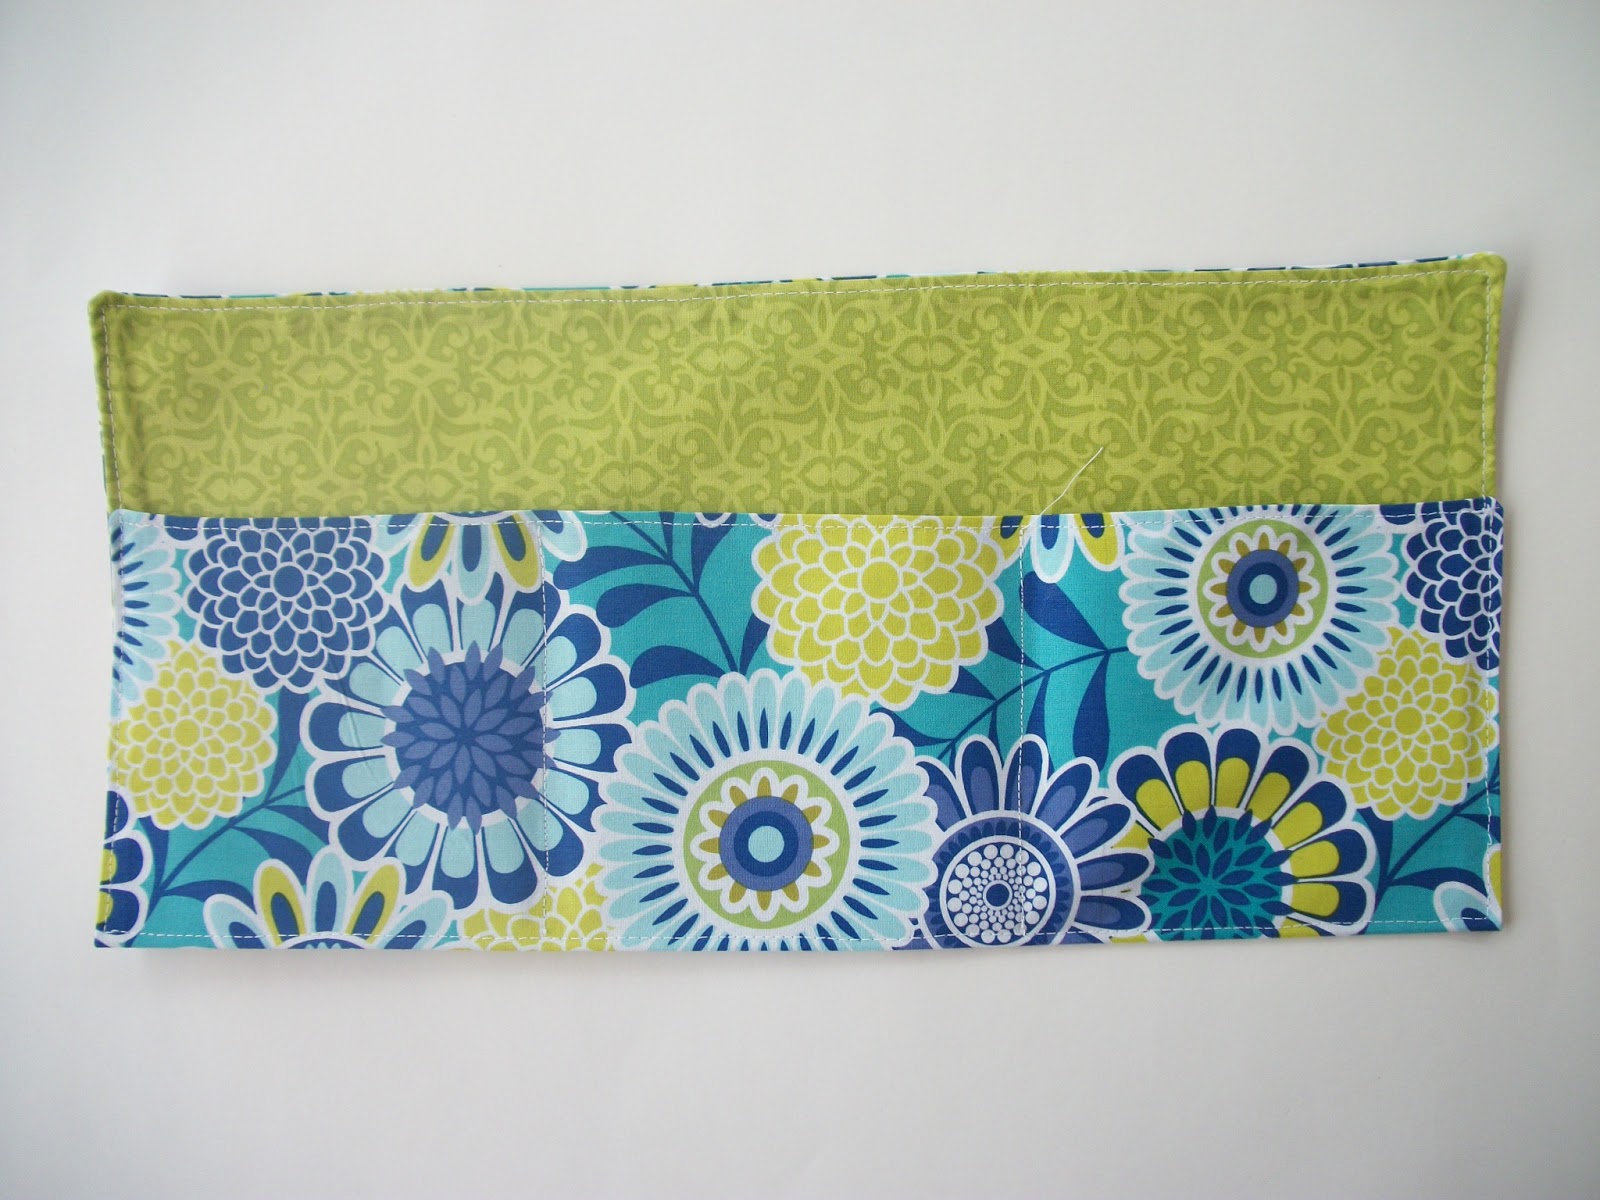
This is the final result…. isn’t it lovely. I LOVE the fabric I used. I love how it’s bright, and modern, mixed with just the right amount of floral. (BTW I bought all the things for this project at Hobby Lobby [love that place!!]). It’s a pretty good project for a beginner too because it is all straight lines (YAY). The best part is it only takes less than a 1/2 yard of fabric to make!!
Here it is when it’s all folded up:

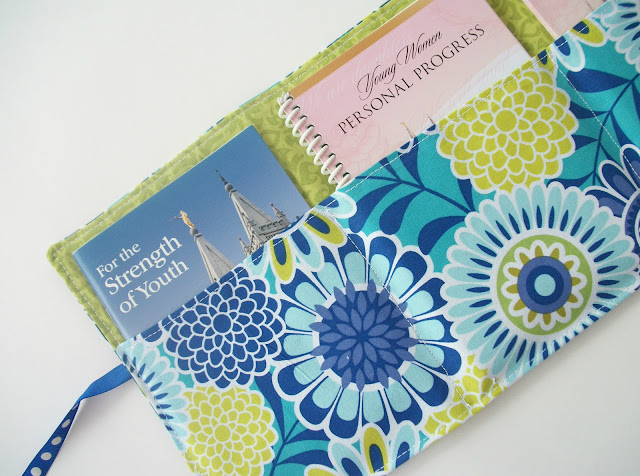
And now here it is unfolded with individual pockets for each of the books:

If you want to make one (you know you do) keep scrolling for the full tutorial.
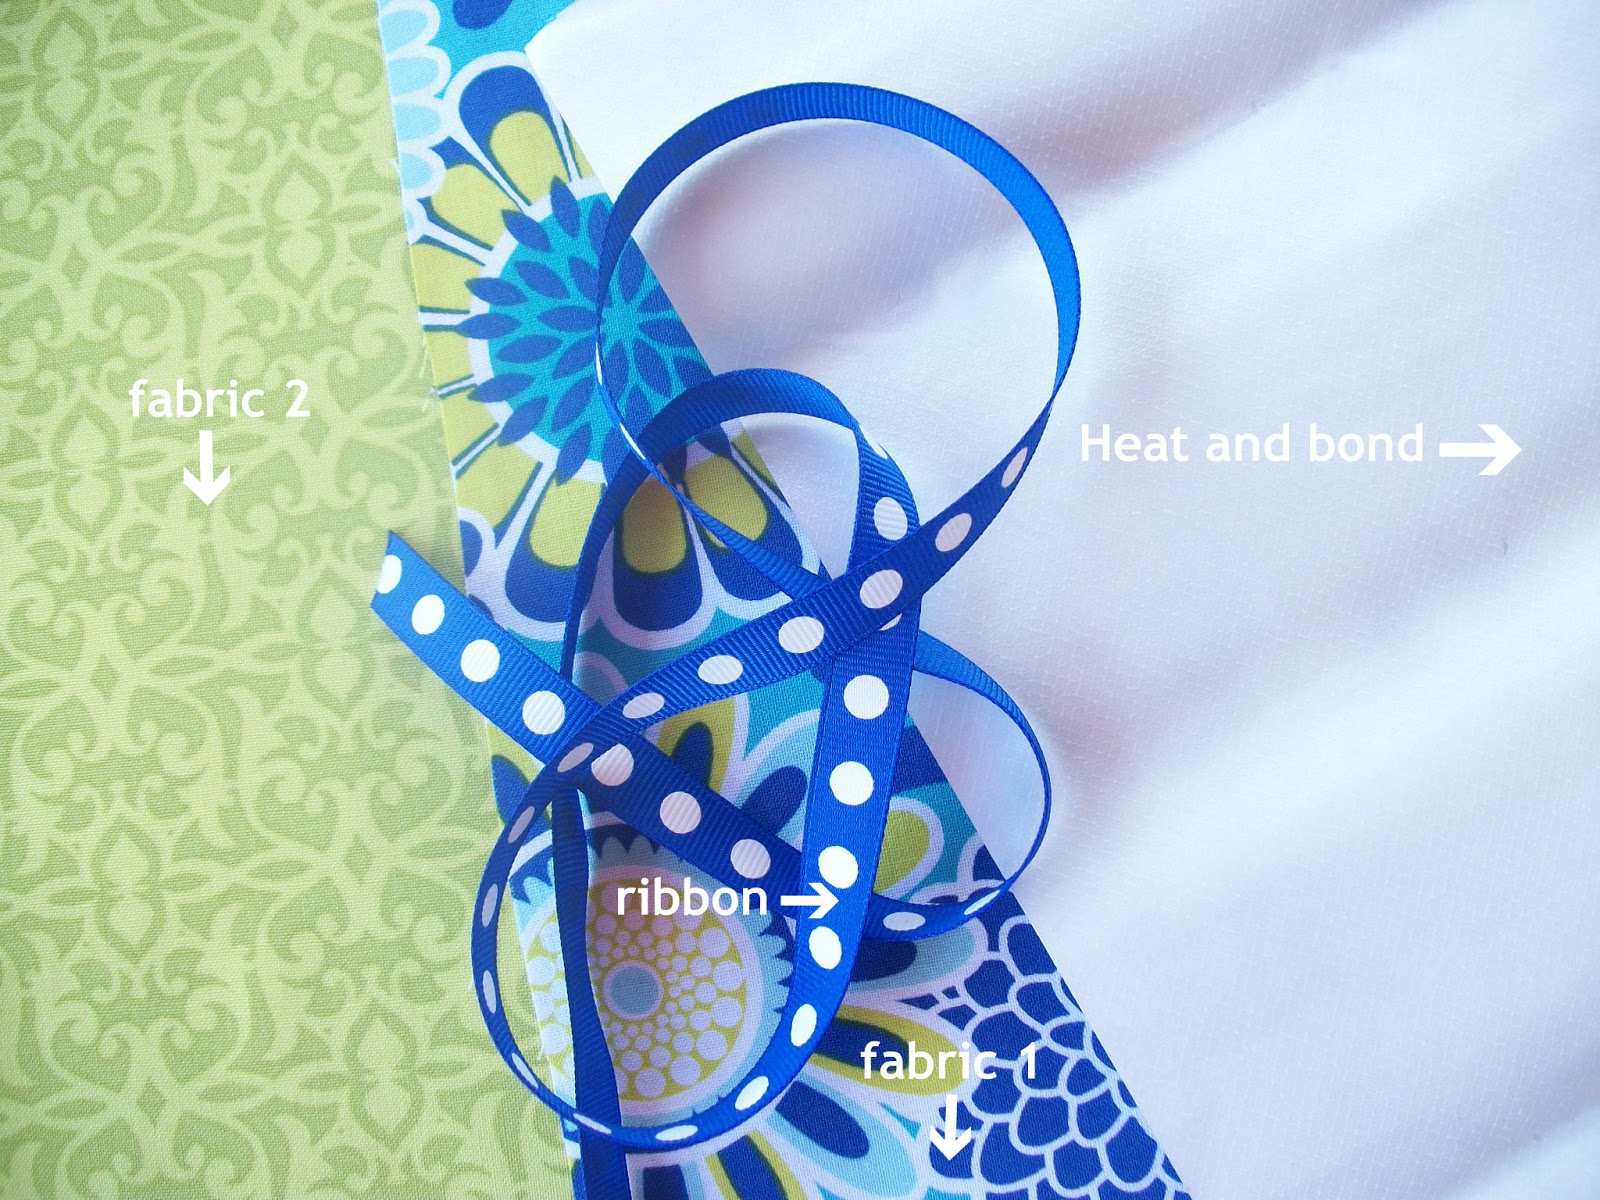
All you need is 2 pieces of coordinating fabric that measure 14×18″ + 1 yard of coordinating ribbon + 14×18″ of heat and bond.
1. Iron the heat and bond onto the wrong side of one of the pieces of fabric. (once you iron on the heat and bond the back of the fabric should be kind of shiny). So you’re probably wondering “why do I need the heat and bond ?” Well you don’t NEED the heat and bond, but it sure makes this project a lot easier: it makes the fabric stiffer and easier to work with.

2. Pin the two pieces of fabric right sides together and sew a 1/2″ seam around the edge. Make sure to leave a three inch opening on one of the 18″ ( long ) sides of the fabric.

3. Clip the corners. This will ensure that the corners come out are crisp and pointy.

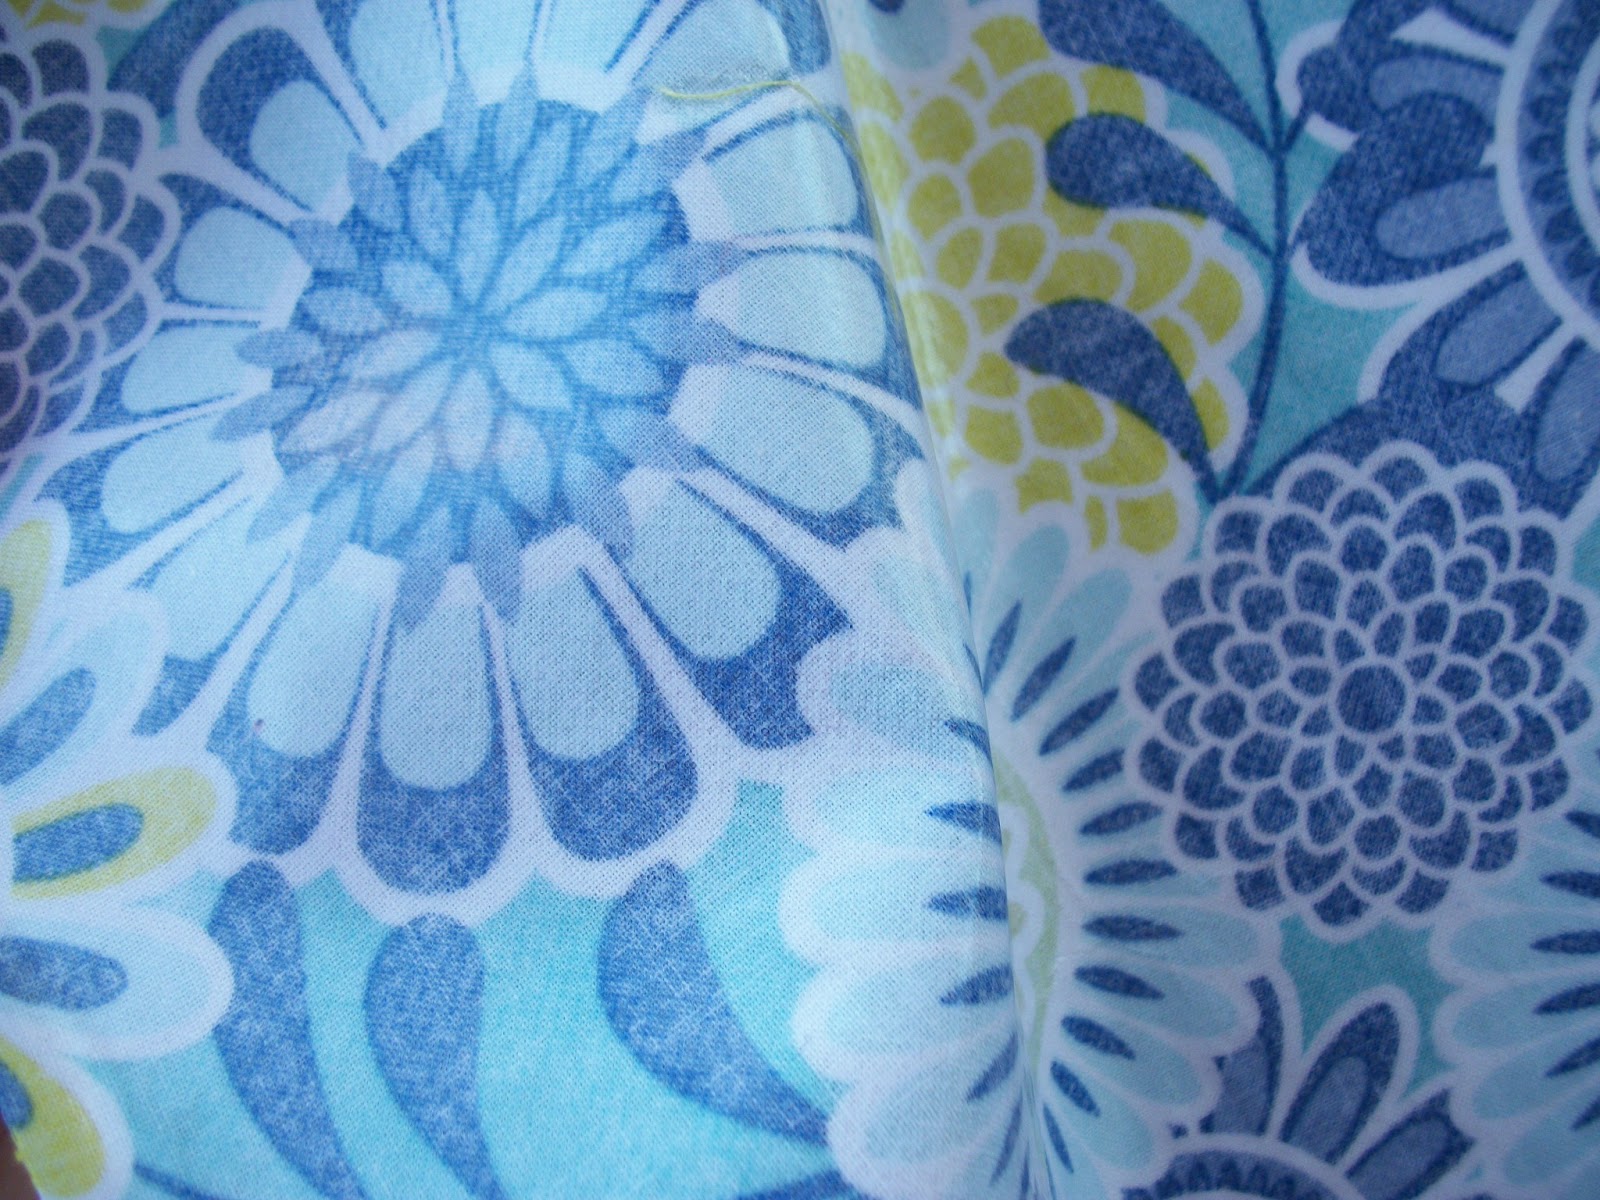
4. Flip the fabric right side out. Then you want to iron the whole piece of fabric. Make sure the 3″ that weren’t sewn get folded under and ironed in place. Because the interfacing is on one piece of fabric, the two pieces of fabric should stick together.
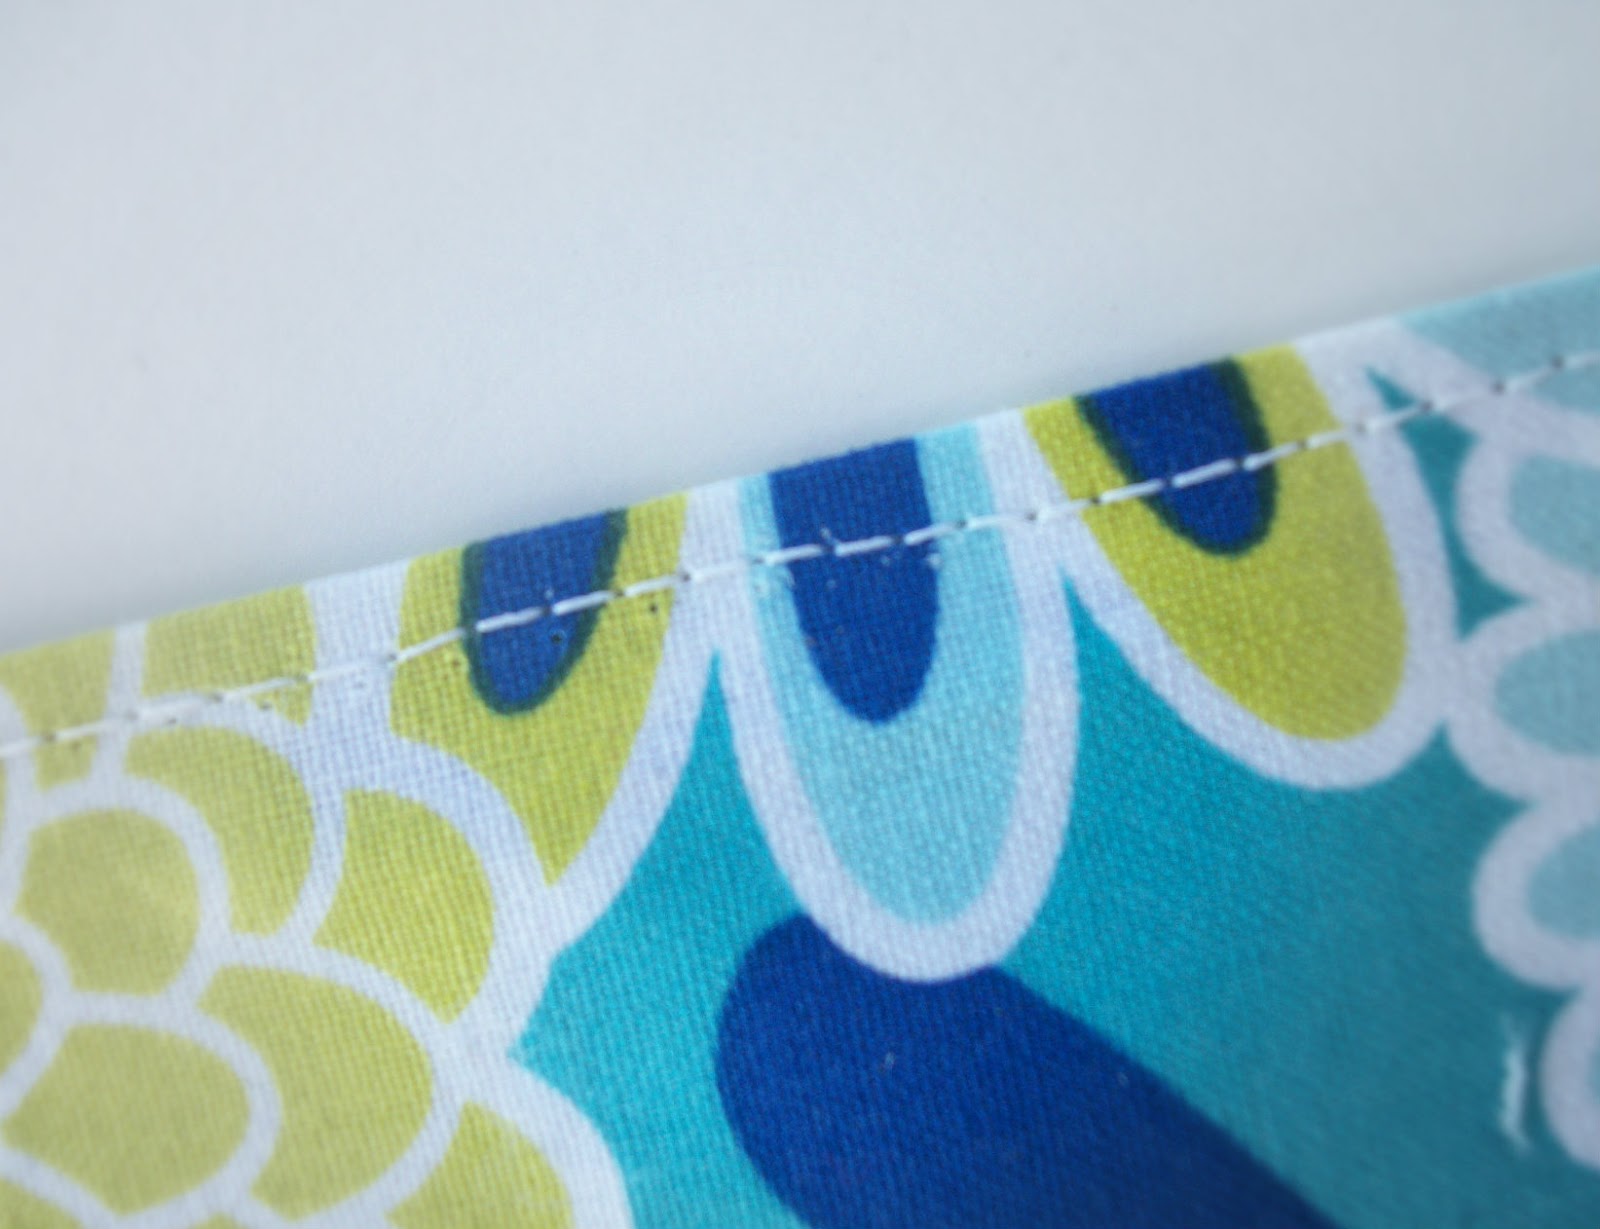
5. Topstitch 1/8″ from the edge on the 18″ side with the opening.

6. Fold the bottom side (that is stitched) up five inches and pin. Sew 1/8″ around the whole thing of fabric.
7. Starting from the left side, mark lines that at 5.5″ and 10 3/4″. Sew along the lines to make pockets.
8. Turn the packet over and place the ribbon so it’s in the middle of the fabric (about 5″ up or so). Sew the ribbon on starting at the right edge of the fabric and on the other pocket stitches. Make sure you aren’t sewing the ribbon on at the right side… (sorry no pic for this step)
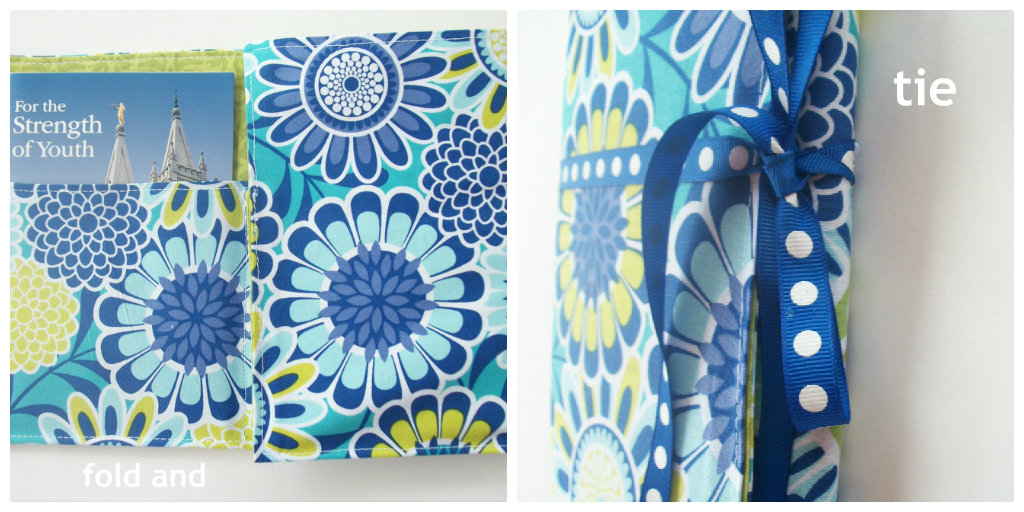
9. Place your books in. Then fold the right side over and tie. Enjoy the cuteness.
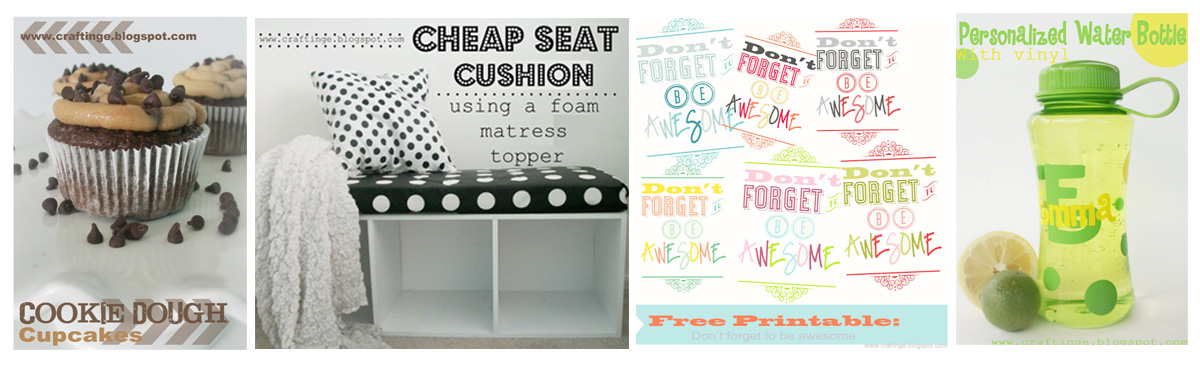
If you likes this post make sure to check these out:
____________________

Emma- I can’t tell you enough how thrilled I am that you emailed me. I am so happy to have you guest post on COM today. You have a lot of talent packed into such a young and ambitious body. I wish I was as talented as you at 13. Well done. Hugs, jen-COM
Hello, but that pretty that six and that nice your tutorial, and expert really, a kiss and see you soon, kisses
Sara
Thanks so much for the feature!!!! You’re awesome!
-Emma
Which!project for personal progress should I do for making this?
Do you mind emailing me the instruction. I am having trouble copying it. Thank you
I wish I could be more of a help, this was a guest post another blogger did for my blog back in 2013. Perhaps you can find something similar on Pinterest. Best of luck to ya, jne
Do you have a video ?
No, I’m sorry. This was actually a guest post someone did for my blog many years ago.